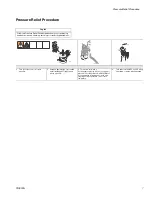
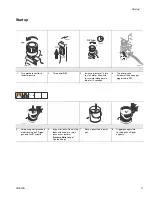
Startup
12
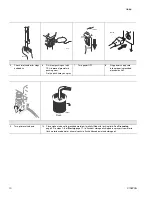
310820H
9
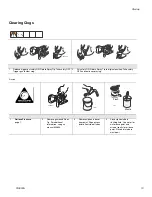
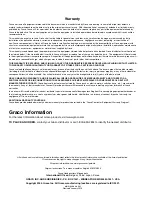
Move gun to paint pail and
trigger for 20 seconds. Set
gun safety ON.
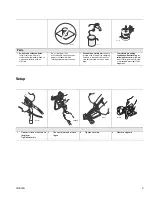
10
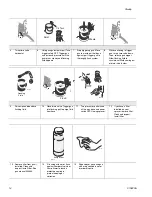
Screw tip assembly onto
gun. Tighten. For gun
assembly instructions, see
gun manual, 309639.
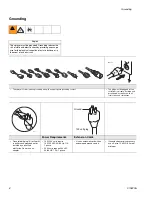
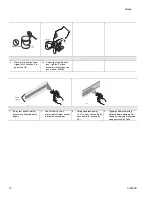
1
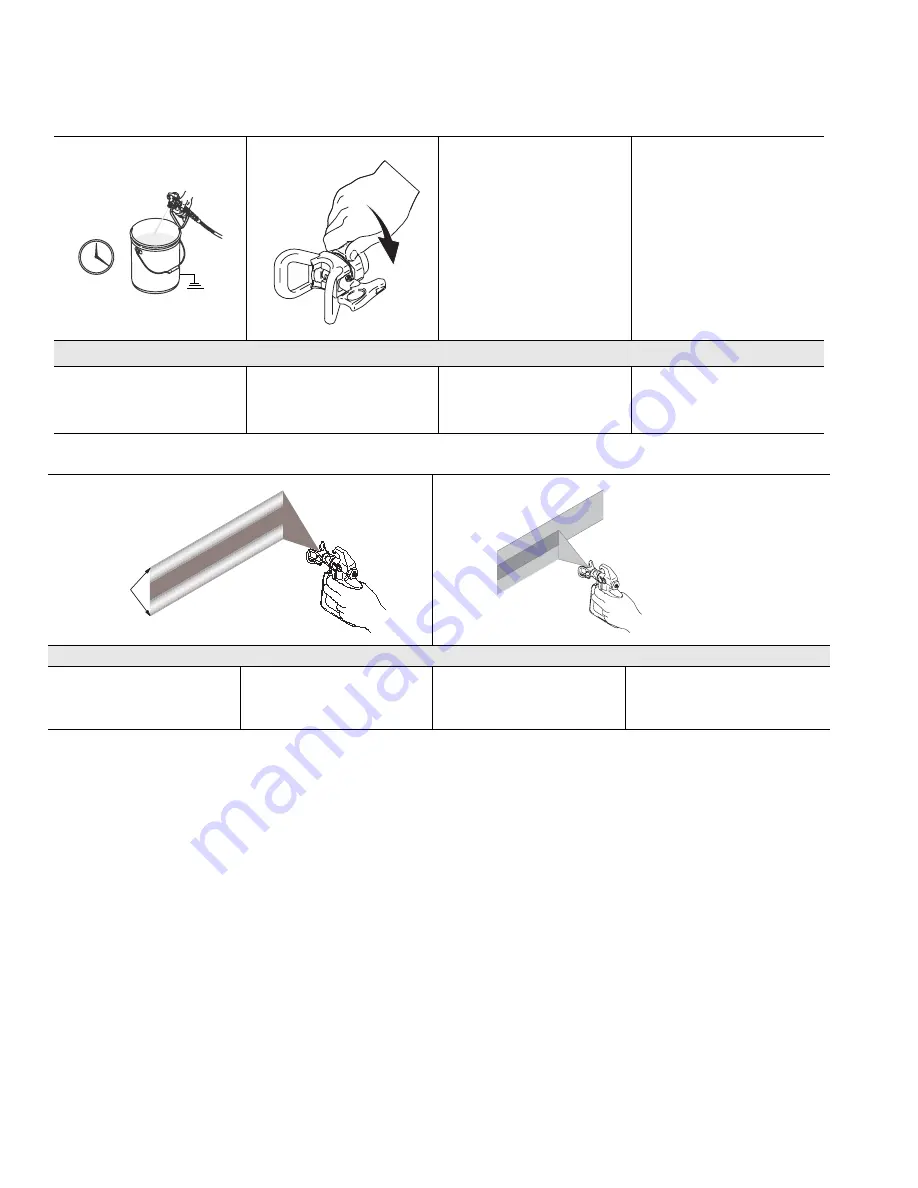
Spray test pattern. Adjust
pressure to eliminate heavy
edges.
2
Use smaller tip size if
pressure adjustment cannot
eliminate heavy edges.
3
Hold gun perpendicular,
10-12 in. from surface. Spray
back and forth; overlap by
50%.
4
Trigger gun before moving.
Release before stopping. For
additional spraying information,
see gun manual 309639.
20 seconds
ti2710a
heavy
edges
ti2757a
ti2758a


