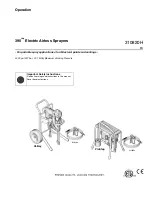
Startup
310820H
13
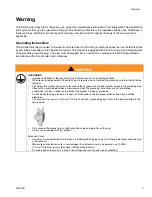
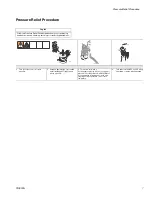
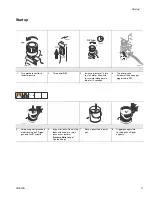
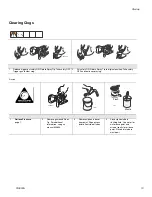
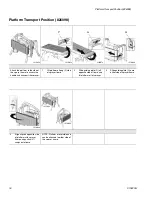
Clearing Clogs
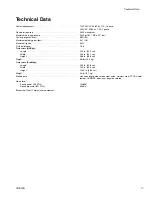
Cleanup
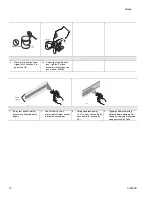
1
Release trigger, put safety ON. Rotate Spray Tip. Take safety OFF.
Trigger gun to clear clog.
2
Put safety ON. Return Spray Tip to original position. Take safety
OFF and continue spraying.
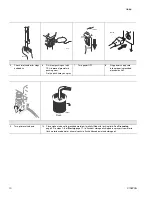
1
Relieve Pressure,
page 7.
2
Remove guard and Spray
Tip. For additional
information, see gun
manual 309639.
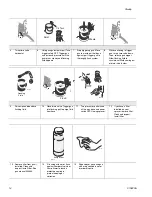
3
Remove siphon tube set
from paint. Wipe excess
paint off outside of tubes.
4
Place siphon tube in
flushing fluid. Use water for
water base paint and
mineral spirits for oil base
paint. Place drain tube in
waste pail.
ti2760a
ti2769a
TIA
TI"
Flush
Waste