Startup
14
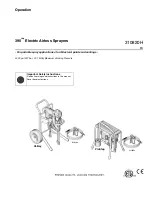
310820H
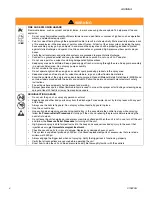
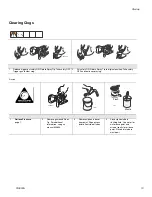
5
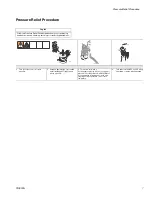
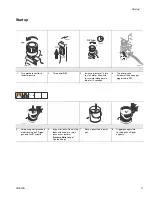
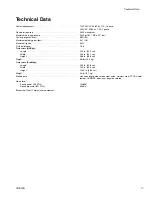
Turn prime valve
horizontal.
6
Hold gun against paint pail. Take
trigger safety OFF. Trigger gun
and increase pressure until the
pump runs steady and flushing
fluid appears
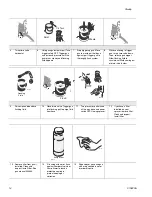
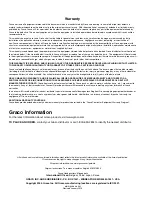
7
Stop triggering gun. Move
gun to waste pail, hold gun
against pail, trigger gun to
thoroughly flush system.
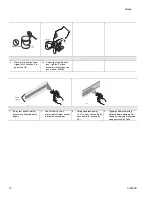
8
While continuing to trigger
gun, turn prime valve down.
Then, release gun trigger.
Allow flushing fluid to
circulate until fluid coming out
of drain tube is clear.
9
Raise siphon tube above
flushing fluid.
10
Close drain valve. Trigger gun
into flushing pail to purge fluid
from hose.
11
Turn pressure control knob
all the way down and power
switch OFF. Unplug sprayer.
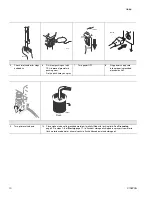
12
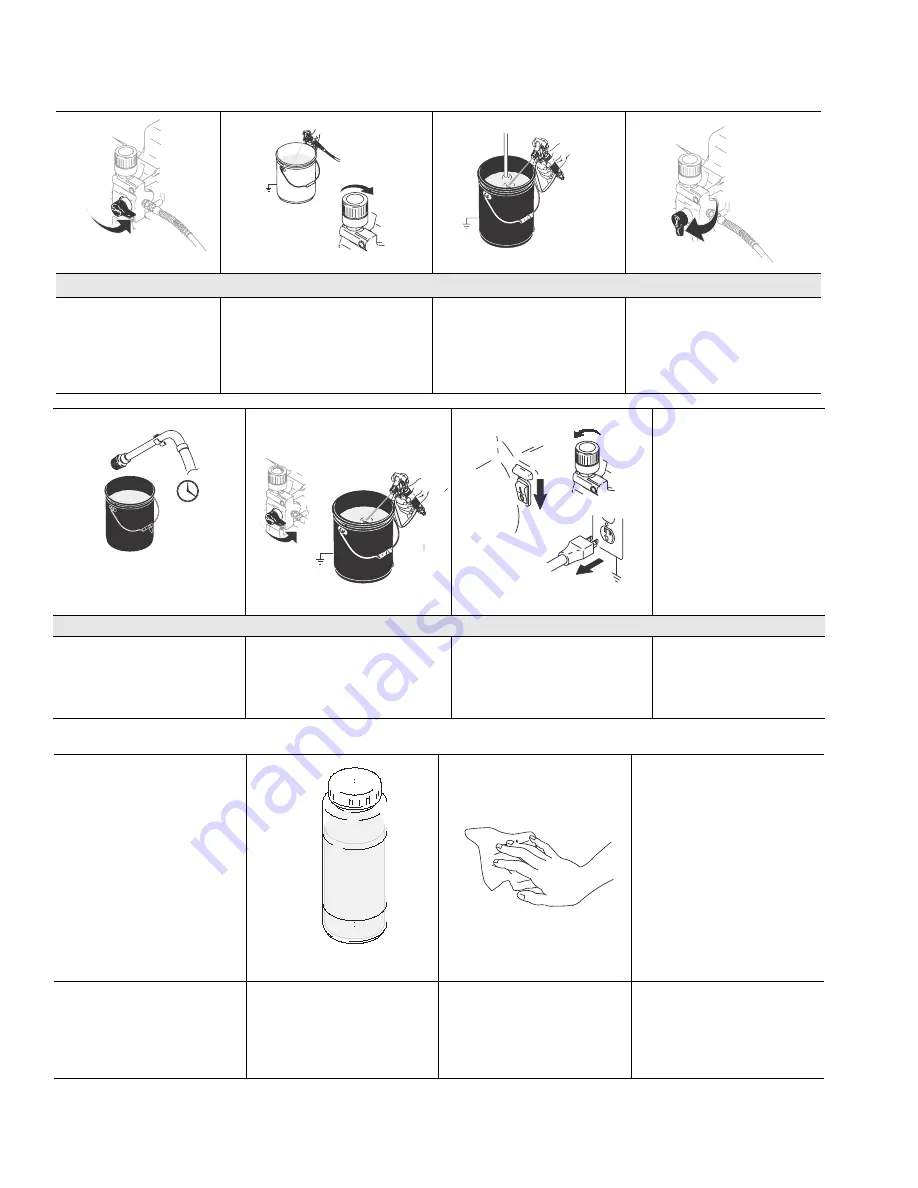
If you have a filter
installed on your
sprayer, remove filter.
Clean and inspect.
Install filter.
13
Remove filter from gun if
installed. Clean and
inspect. Install filter. See
gun manual 309639.
14
If flushing with water, flush
again with mineral spirits or
Pump Armor to leave a
protective coating to
prevent freezing or
corrosion.
15
Wipe sprayer, hose and gun
with a rag soaked in water
or mineral spirits.
TIA
TIA
Paint
1/4 Turn
Waste
TIA
Flushing
Fluid
ti5848a
Flush
TIA
/.
/&&
Pump Armor
ti2895a
ti2776a


