Displacement Pump
26
3A2247A
Displacement Pump
NOTE:
It is recommended that the check valve be
repaired at the same time as the pump. For check valve
repair, see manual 3A2338.
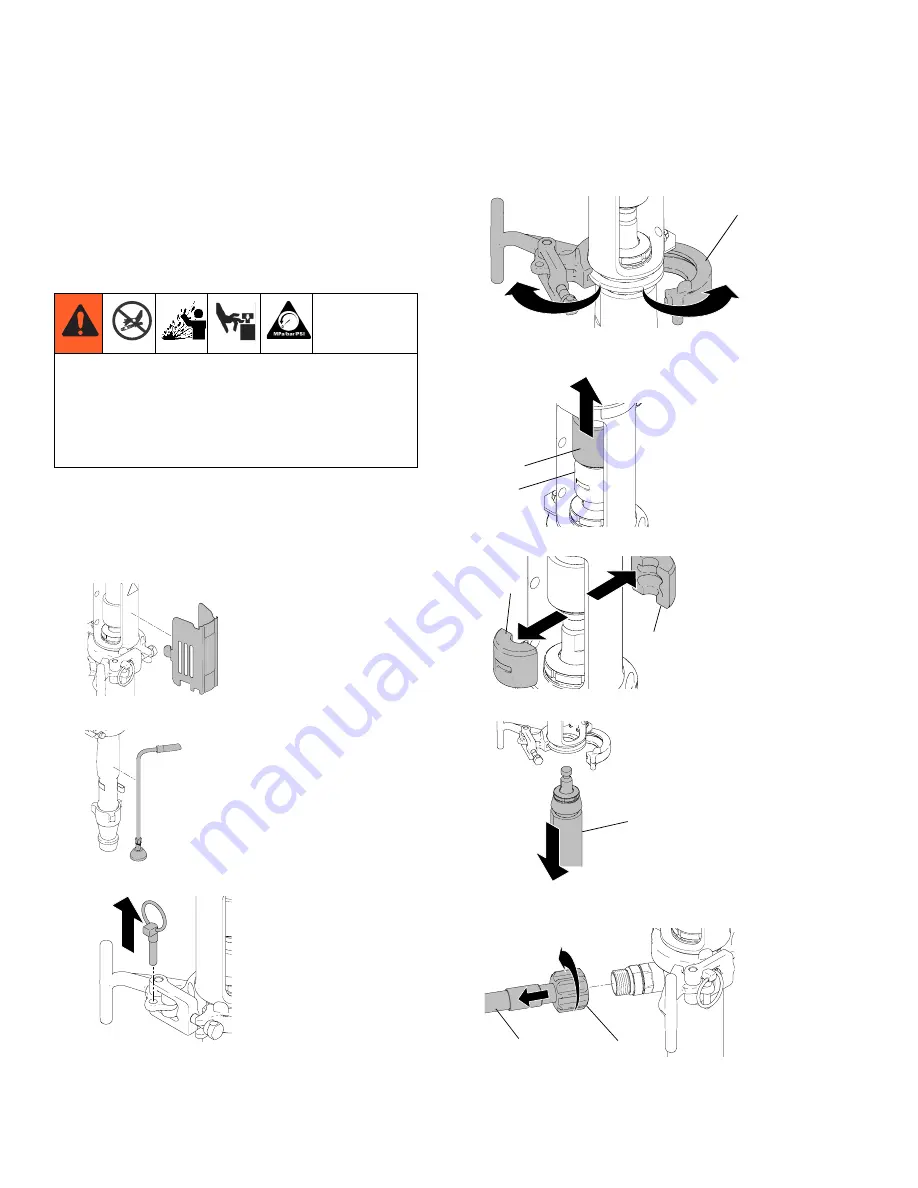
Removal
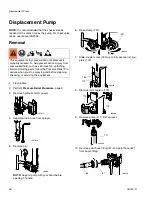
1.
Flush pump.
2.
Perform
Pressure Relief Procedure
, page 9.
3.
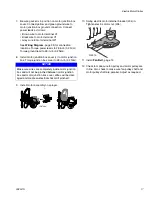
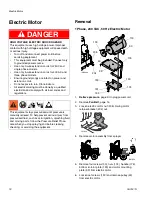
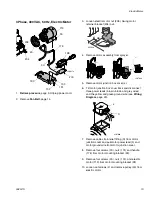
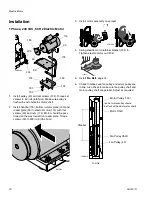
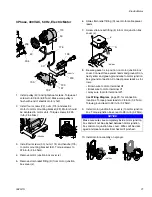
Remove hydraulic motor guard.
4.
Separate drain hose from sprayer.
5.
Remove pin.
NOTE:
Support pump with your hand before
opening T-handle.
6.
Open clamp (247).
7.
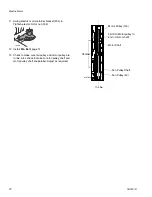
Slide coupler cover (180) up to fully expose rod cou-
plers (179).
8.
Remove rod couplers (179).
9.
Remove pump (111) from sprayer.
10. Remove paint hose fitting (67) and paint hose (63)
from pump fitting.
This equipment stays pressurized until pressure is
manually relieved. To help prevent serious injury from
pressurized fluid, such as skin injection, splashing
fluid and moving parts, follow the Pressure Relief Pro-
cedure when you stop spraying and before cleaning,
checking, or servicing the equipment.
ti18701a
ti18703a
ti8831b
ti8833b
247
180
179
ti8829b
ti8830b
179
179
ti8832b
111
ti9951b
67
63


