Operation
3A7467C
27
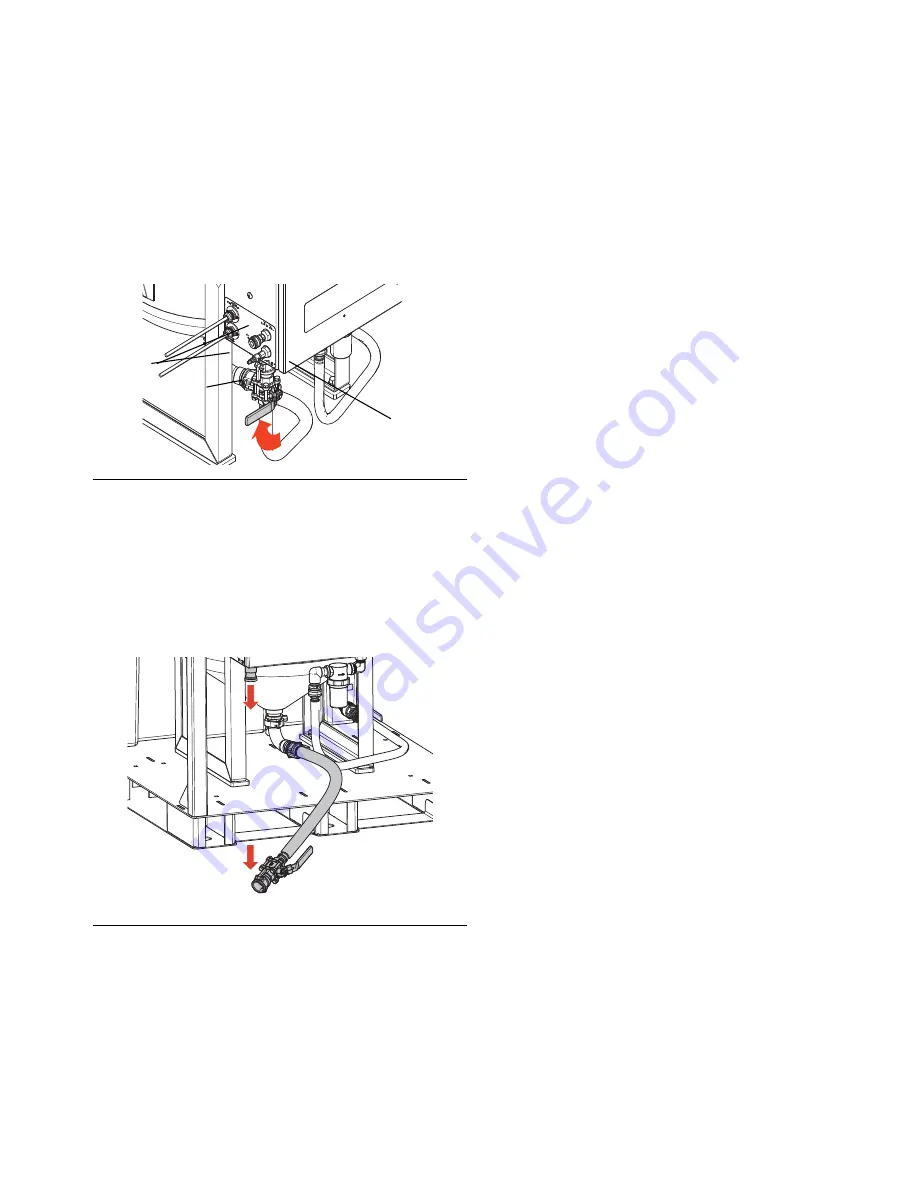
Drain the Pot
1. Before draining the pot (E), verify that the
(see page 18). Check the pot pressure gauge (L) to
verify that the pot is pressurized.
2. Close the abrasive ball valve (M).
3. Disconnect the blast control connections (ZA, ZB).
4. Disconnect the camlocks between the enclosure
and the abrasive ball valve (M).
a. Remove the coupler pins.
b. Pull the rings out and up to pull the two cams
away from the groove.
5. Place a bucket under the camlock coupler.
6. Turn the selector valve (W) to WASH to run water
through the camlock coupler and gasket.
7. Verify that the gasket is clean and fully installed.
8. Turn the selector valve (W) to BLAST to pump
abrasive out of the abrasive hose.
9. Place a bucket under the end of abrasive hose.
10. To flush abrasive material from the pot, slowly open
and close the abrasive ball valve (M). Repeat
several times.
11. Once no abrasive material flows from the hose,
close the abrasive ball valve (M)
12. Turn the selector valve (W) to OFF.
13. Open the abrasive ball valve (M) and drain the
water from the pot.
14. Shut the abrasive ball valve (M).
15. Connect the camlock between the enclosure (1) and
the abrasive ball valve (M).
F
IG
. 7: Close the Ball Valve
F
IG
. 8: Disconnect the Camlock
WLD
M
ZA
ZB
WLD
Summary of Contents for EcoQuip 2 EQ200t Elite
Page 9: ...Warnings 3A7467C 9...
Page 10: ...Component Identification 10 3A7467C Component Identification WL D WLL D 3 1 4 5 6 7 8 9 0...
Page 39: ...Repair 3A7467C 39...
Page 46: ...Parts 46 3A7467C EQ200T Parts WL F 1 Apply thread sealant to all non swivel pipe threads...
Page 48: ...Parts 48 3A7467C EQ400T Parts 1 Apply thread sealant to all non swivel pipe threads...


