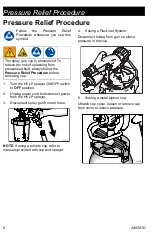
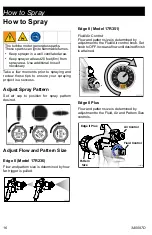
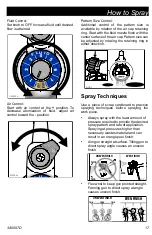
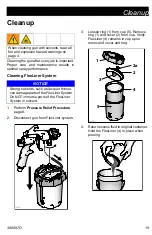


How to Spray
18
3A5097D
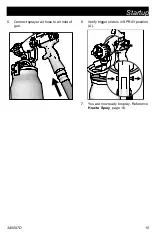
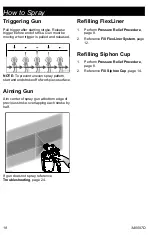
Triggering Gun
Pull trigger after starting stroke. Release
trigger before end of strike. Gun must be
moving when trigger is pulled and released.
NOTE:
To prevent uneven spray pattern,
start and end stroke off of work piece surface.
Aiming Gun
Aim center of spray gun at bottom edge of
previous stroke, overlapping each stroke by
half.
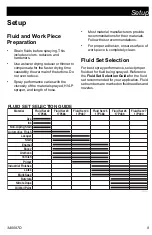
If gun does not spray, reference
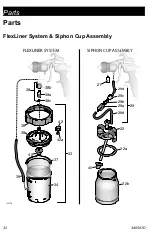
Refilling FlexLiner
1.
Perform
2.
Reference
Refilling Siphon Cup
1.
Perform
2.
Reference
ti30763a
ti30764a
Summary of Contents for Edge II 17R236
Page 34: ...Notes 34 3A5097D Notes ...


