Service
4
3A5053B
Service
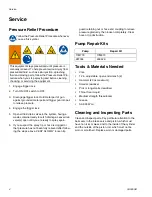
Pressure Relief Procedure
Follow the Pressure Relief Procedure whenever
you see this symbol.
1. Engage trigger lock.
2. Turn ON/OFF switch to OFF.
3. Disengage trigger lock. Hold metal part of gun
against grounded metal pail and trigger gun into pail
to relieve pressure.
4. Engage the trigger lock.
5. Open all fluid drain valves in the system, having a
waste container ready to catch drainage. Leave drain
valve(s) open until you are ready to spray again.
6. If you suspect the spray tip or hose is clogged or
that pressure has not been fully relieved after follow-
ing the steps above, VERY SLOWLY loosen tip
guard retaining nut or hose end coupling to relieve
pressure gradually, then loosen completely. Clear
hose or tip obstruction.
Pump Repair Kits
Tools & Materials Needed
•
Vise
•
12 in. adjustable, open-end wrench (2)
•
Hammer (20 oz maximum)
•
Small screwdriver
•
Pick or long small screwdriver
•
Throat Seal Liquid
•
Medium strength threadlocker
•
Grease
•
SAE 30W oil
Cleaning and Inspecting Parts
Clean and inspect parts. Pay particular attention to the
ball seats in the intake valve and piston, which must
have no nicks or wear, and to the inside of the cylinder
and the outside of the piston rod, which must not be
worn or scratched. Replace worn or damaged parts.
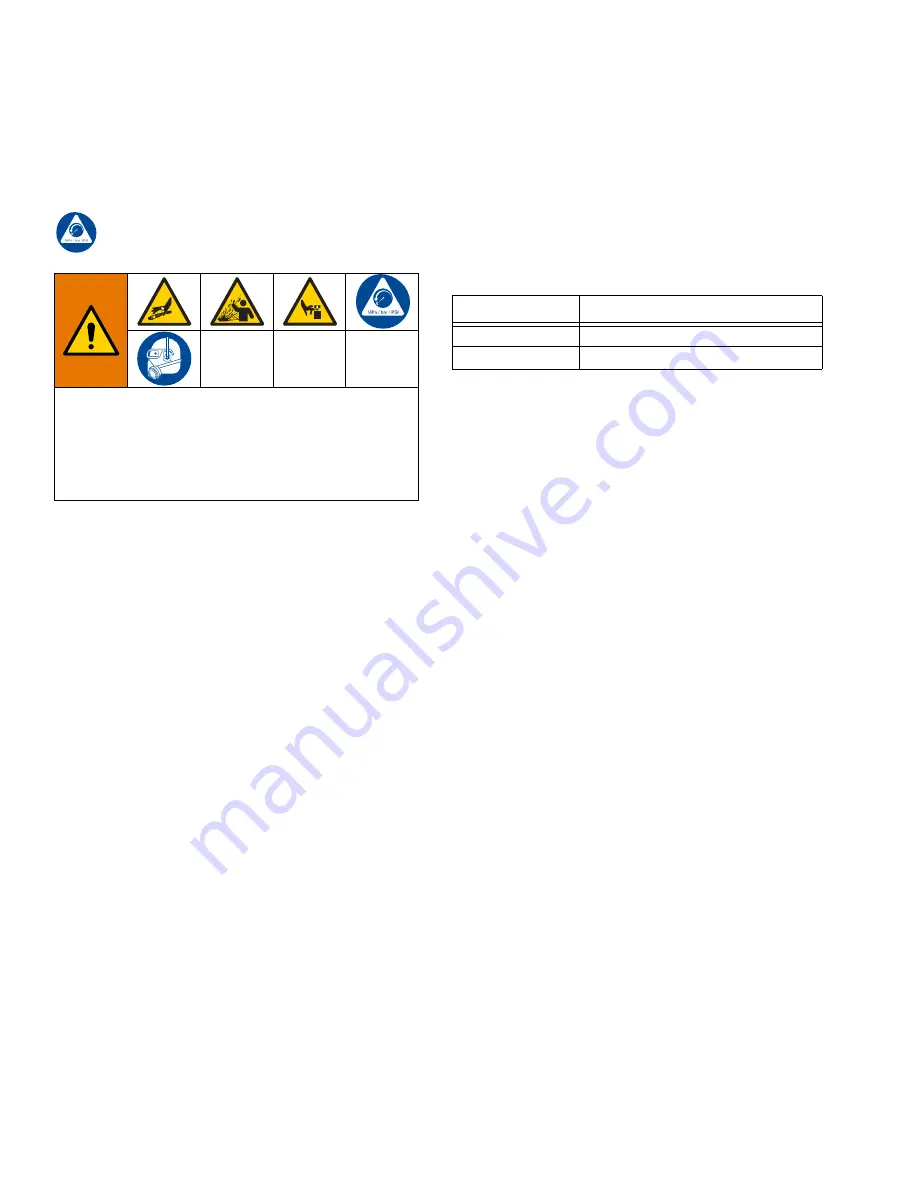
This equipment stays pressurized until pressure is
manually relieved. To help prevent serious injury from
pressurized fluid, such as skin injection, splashing
fluid and moving parts, follow the Pressure Relief Pro-
cedure when you stop spraying and before cleaning,
checking, or servicing the equipment.
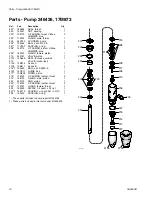
Pump
Repair Kit
17M779
17M873
287064
246426


