7.
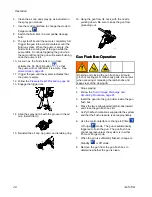
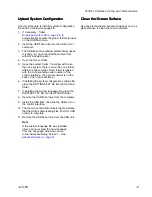
When approaching the end of painting, activate
the Do Not Fill button
. This saves paint by
preventing the pump from filling unnecessarily.
8.
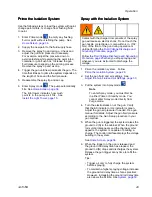
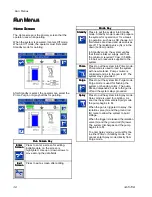
When finished painting, release the trigger,
engage the trigger lock, turn the electrostatics off
at the gun, and put the system in Standby mode
.
9.
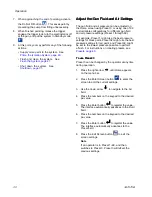
At this point, you may perform any of the following
actions:
• Supply more paint to the system. See
Prime the Isolation System, page 29
.
• Flush and clean the system. See
• Shut down the system.
See
.
Adjust
Adjust
Adjust the
the
the Gun
Gun
Gun Fluid
Fluid
Fluid and
and
and Air
Air
Air Settings
Settings
Settings
The gun fluid and air pressure can be adjusted on
the Home screen using Preset 0, or using one of 99
customizable configurations for different gun fluid
and air pressure settings (Preset 1 through 99).
For example, Preset 1 might use the best pressure
settings for black paint, Preset 02 might use the best
pressure settings for red paint, and Preset 99 might
be set to the lowest pressure possible to perform
a flush. For instructions on creating presets, see
To
To
To use
use
use Preset
Preset
Preset 0
0
0
Preset 0 can be changed by the operator at any time
during operation.
1.
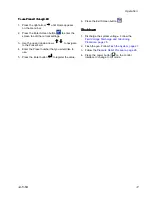
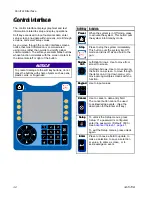
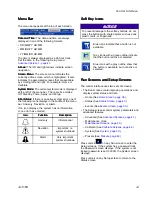
Press the right arrow
until Home appears
on the menu bar.
2.
Press the Enter Screen button
to enter the
screen to edit the current settings.
3.
Use the down arrow
to navigate to the Air
field.
4.
Press the numbers on the keypad to the desired
psi value.
5.
Press the Enter button
to register the value.
The interface automatically advances to the Fluid
field.
6.
Press the numbers on the keypad to the desired
psi value.
7.
Press the Enter button
to register the value.
The interface automatically advances to the
Preset field.
8.
Press the Exit Screen button
to exit the
screen settings.
Note
If an operator is in Preset 1–99, and then
switches to Preset 0, Preset 0 will reflect the
previous settings.
30
3A7370B

