Calibrate
Calibrate
Calibrate Screens
Screens
Screens
Calibrate
Calibrate
Calibrate 1:
1:
1: Calibrate
Calibrate
Calibrate Pump
Pump
Pump
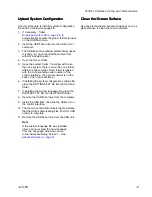
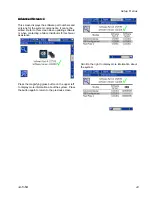
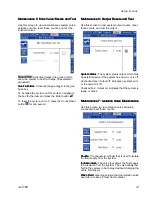
Use the Calibrate 1 screen to calibrate the linear
position sensor in the fluid pump. Calibration
determines the full and empty limits of the pump to
ensure accurate volume and performance. Calibrate
the pump after the pump is removed for service or
after new system software is loaded.
Before calibrating the pump, be sure that air and fluid
are being supplied to the system. Put the system into
Standby mode.
1.
Press the Fill button. This will allow fluid into the
system and begin to fill the pump. In the lower
right corner of the screen, the pump volume
indicator should increase and the corresponding
mV value should decrease.
2.
When the pump volume and mV values stop
changing, the pump is full. Press the Set
Full button. The stored mV value will also be
displayed next to the button. The system will
return to Standby mode.
3.
Press the Empty button. This will pressurize the
pump and send fluid to the spray gun. Pull the
gun trigger to dispense fluid. In the lower right
corner of the screen, the pump volume indicator
should decrease and the corresponding mV
value should increase.
4.
When fluid stops flowing out of the gun, release
the trigger. Press the Set Empty button. The
stored mV value will also be displayed next to the
button. The system will return to Standby mode.
Calibrate
Calibrate
Calibrate 2:
2:
2: Bleed
Bleed
Bleed Resistor
Resistor
Resistor
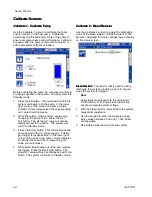
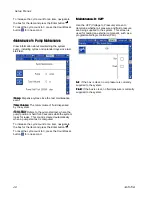
Use the Calibrate 2 screen to adjust the calibration
value of the bleed resistor. (Default value is 10000
Mohms.) Adjusting the value changes the kV display
on the Home screen.
Bleed
Bleed
Bleed Resistor:
Resistor:
Resistor: The resistor that is used to slowly
discharge the system, providing a path to ground
when the system is charged.
Note
All systems are shipped with the value set at
10,000 Mohm. With a new bleed resistor this
will show accurate system voltage.
1.
With the bleed resistor removed from the system,
measure its resistance.
2.
Use the keypad to enter the measured value.
Only values between 9,000 and 11,000 Mohm
are allowable.
3.
Reinstall the bleed resistor into the system.
44
3A7370B

