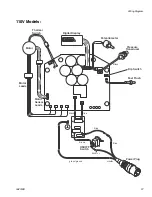
Motor Control Board
22
3A2333B
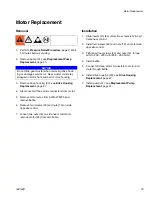
5. Make switch dip switch is moved to the left (toward
inside of board). See
Wiring Diagram
, page 36.
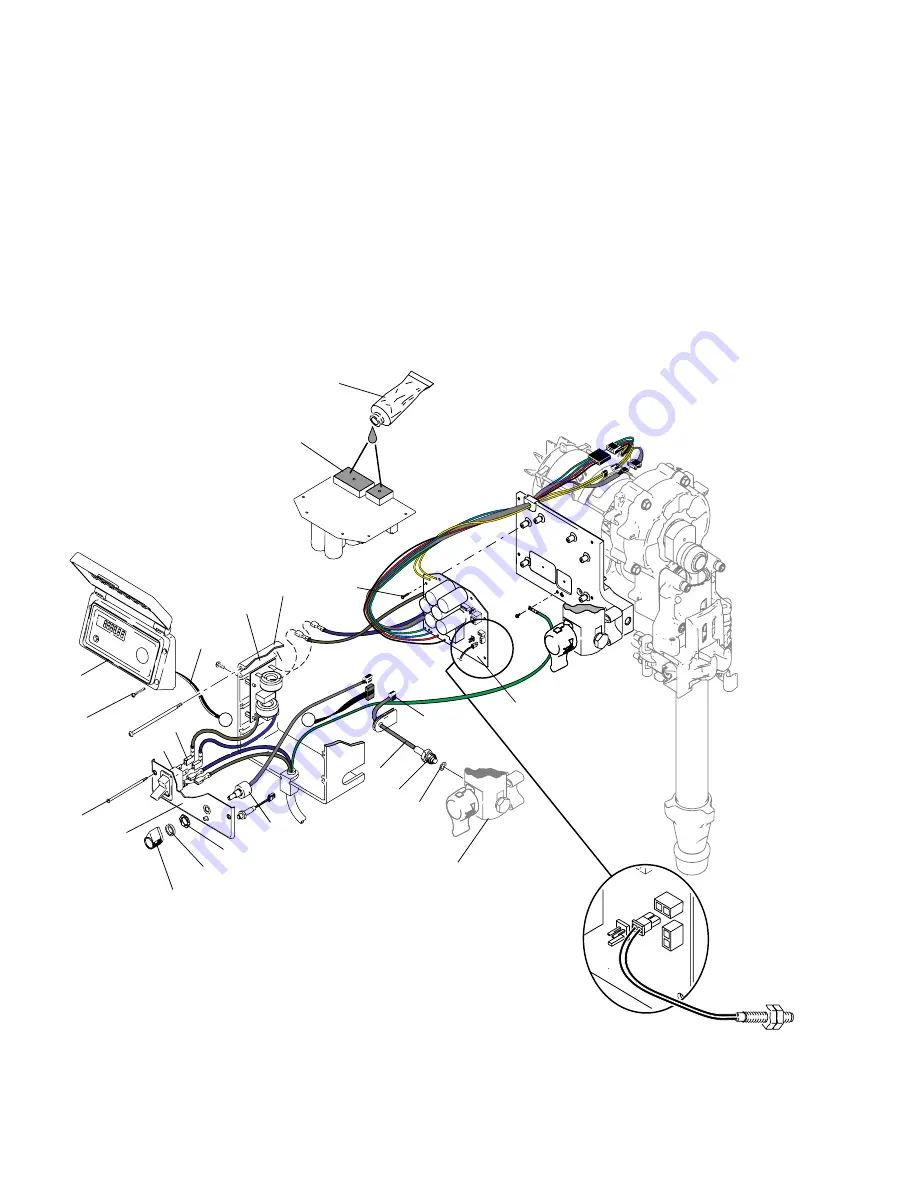
6. Connect motor connectors and install into baffle.
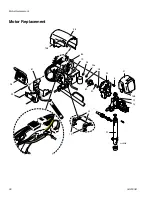
7. Connect transducer connector (E) to motor control
board.
8. Connect motor control board power connectors to
filter board (146).
9. Install control box (61) with top two screws (39).
10. Connect filter board power connectors and power
cord connectors (D) to ON/OFF switch (33).
11. Connect potentiometer connector to motor control
board.
12. Connect Fast Flush switch connector to motor con-
trol board.
13. Install control panel (68) with two screws (39).
14. Connect display connector (A) to motor control
board (52).
15. Install cover (96) with four screws (38)
16. Install motor shroud.
A
A
Fast Fl
u
sh
5
52
61
A
96
38
39
68
34
115
82
82
E
20
80
67
E
27
52
D
33
146
J
ti18442a
Summary of Contents for MARK V
Page 38: ...Notes 38 3A2333B Notes ...
Page 39: ...Notes 3A2333B 39 Notes ...


