308496 35
Service
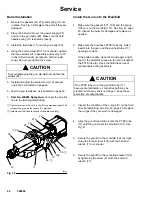
Tools Included with the Gun
Ball End Wrench
Multi-tool
Prepare the Gun for Service
NOTE:
Check all the possible remedies in Troubleshoot-
ing, pages 26 to 32, before disassembling the gun.
If the plastic parts of the gun must be held in a vise,
use padded vise jaws to avoid damaging parts.
Lightly lubricate o-rings and seals with petroleum
jelly. Do not over-lubricate.
Only use genuine Graco parts. Do not mix or use
parts from other PRO Gun models.
WARNING
FIRE, EXPLOSION, AND ELECTRIC
SHOCK HAZARD
To reduce the risk of a fire, explosion, or
electric shock:
Follow the Fluid Voltage Discharge
and Grounding Procedure on page
19 before flushing, checking, or serv-
icing the system and whenever you
are instructed to discharge the volt-
age.
Clean all the parts with a non-flammable fluid as
defined on the front cover of this manual.
Do not service this equipment unless you are
trained and qualified.
Do not come within 2 ft. (610 mm) of the gun
nozzle or gun-mounted fluid regulator during
gun operation or until after following the Fluid
Voltage Discharge and Grounding Proce-
dure.
WARNING
PRESSURIZED EQUIPMENT HAZARD
To reduce the risk of an injury, follow the
Pressure Relief Procedure on page 19
before checking or servicing the system
and whenever you are instructed to relieve the
pressure.
1.
Discharge the voltage as instructed on page 19.
2.
Flush the gun with a non-flammable cleaning fluid.
3.
Relieve the system pressure as instructed on page
19.
NOTE: The service area must be clean. Remove the
gun from the worksite as instructed in the following
steps.
4.
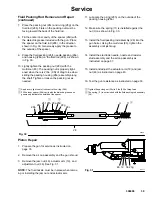
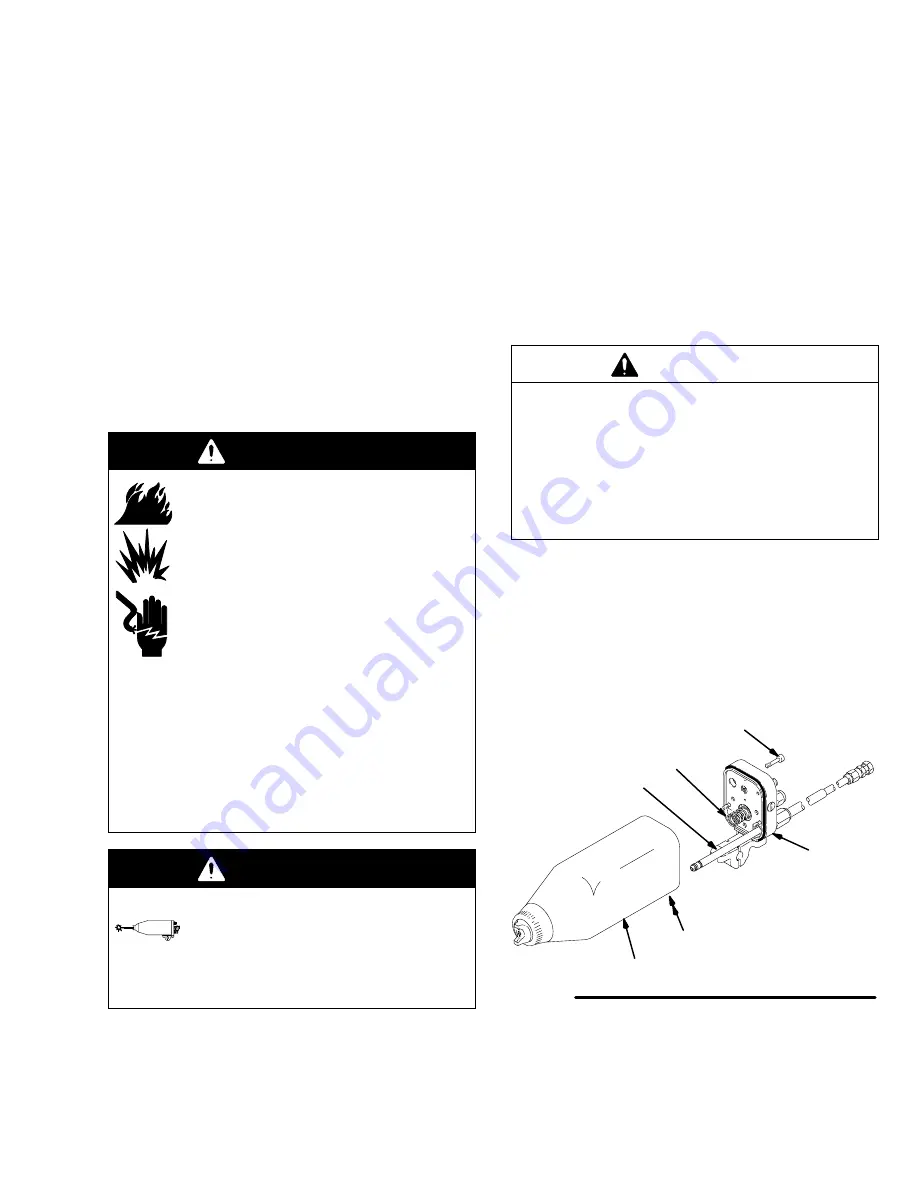
Loosen the bottom gun screw (21). See Fig. 25.
CAUTION
The piston return spring (105) is compressed
between the manifold (101) and gun body when they
are assembled. To avoid sudden movement of the
gun, loosen the bottom gun screw (21) before loos-
ening the three manifold bolts (106). This allows the
gun to move forward gradually as the manifold bolts
are loosened. Hold the gun firmly in hand while
loosening the manifold bolts.
5.
Holding the gun (B) firmly in hand, loosen the three
bolts (106) from the back of the manifold (101)
with the ball end wrench (77–not shown).
6.
Remove the gun (B) from the manifold (101), and
take it to the service area.
101
106
21
A
Fig. 25
105
B
04314
Summary of Contents for PRO 5500wb
Page 49: ...308496 49 Notes ...
Page 59: ...308496 59 Notes ...


