8 307-706
INSTALLATION
Connect the Fluid Line
(See Typical Installation)
1.
Before connecting the fluid line (N), blow it out
with air and flush it with solvent. Use solvent which is
compatible with the fluid to be sprayed.
2.
Install a fluid regulator (M) on the fluid line to con-
trol fluid pressure to the gun.
3.
Install a fluid filter (K) and drain valve (V) at the
pump outlet.
4.
Connect fluid line to 1/4–18.6(m) gun fluid
inlet (X).
WARNING
The
fluid drain valve (V) is required in your system to
assist in relieving fluid pressure in the displacement
pump, hose and gun; triggering the gun to relieve
pressure may not be sufficient. The drain valve
reduces the risk of property damage or serious bod-
ily injury, including splashing in the eyes or on skin.
Install a drain valve close to the pump’s fluid oulet.
OPERATION
WARNING
For your Safety, ALWAYS follow the Pressure
Relief Procedure on page 4 when shutting off the
system, when you stop spraying, and before
checking, servicing, installing, cleaning or chaning
any part in the system.
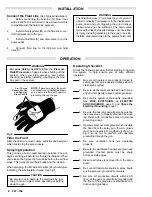
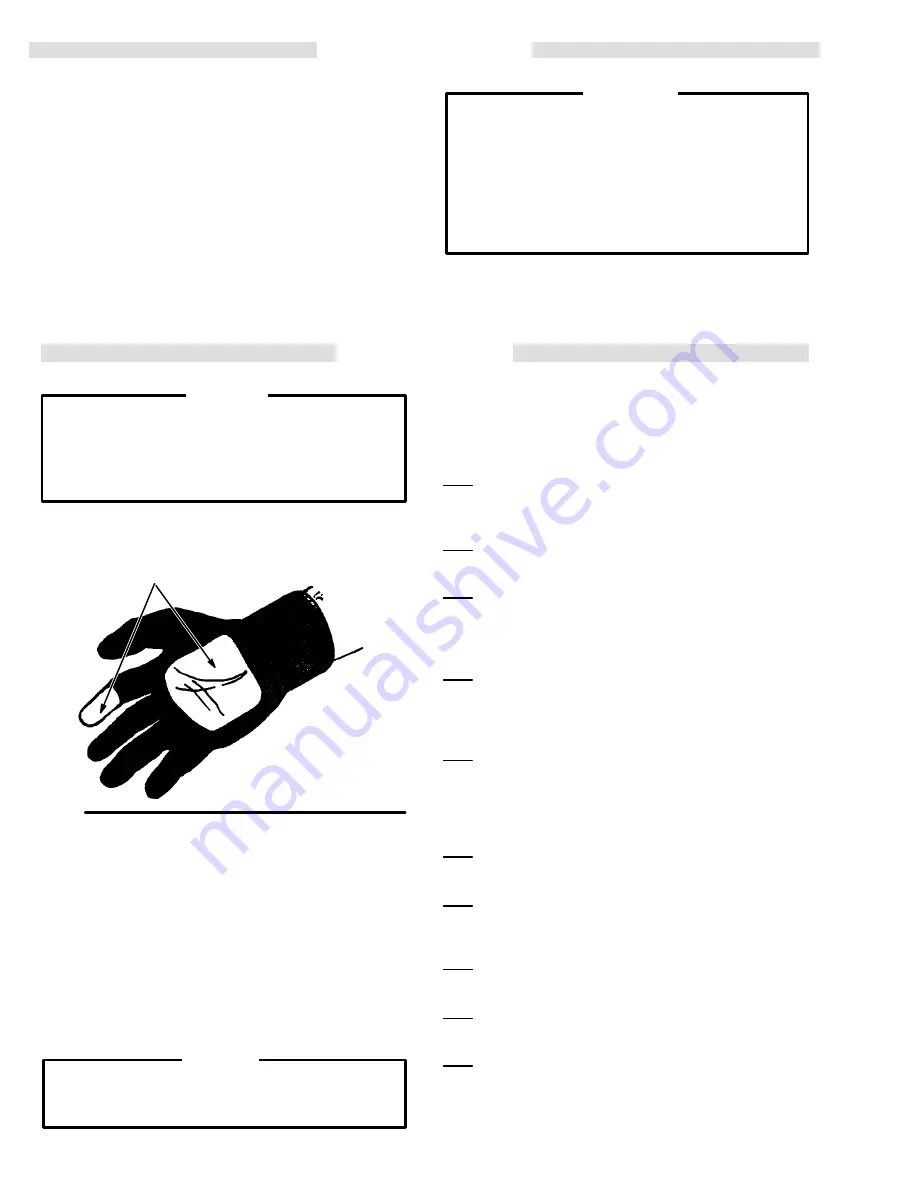
Fig 2
3 in. (76 mm)
Square Cut Out
and Finger of
Glove Cut Off
NOTE: If gloves are worn, they must
be conductive or modified as shown
so as not to interfere with operator
grounding through the gun.
Filter the Fluid
Filter the fluid to remove coarse particles and sediment
which could clog the spray nozzle.
Spraying Operation
This gun has a built-in lead and lag operation. The gun
begins emitting air before the fluid is discharged. When
you release the trigger, the fluid stops before the air flow
stops. This helps prevent fluid buildup on the air cap.
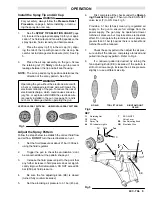
When spraying, the ES indicator lights (44) should glow,
indicating the electrostatic charge. See Fig 5.
CAUTION
Be careful not to damage the electrode by jam-
ming it into an object when operating or setting
down the gun.
Operating Checklist
Check the following list daily, before starting to operate
the system, to help ensure you of safe, efficient
operation.
1.
Be sure all operators are properly trained to
safely operate an air-assisted airless electro-
static spray system.
2.
Be sure all operators are trained how to prop-
erly and completely relieve system pressure.
3.
Be sure the system is thoroughly grounded.
See FIRE, EXPLOSION, or ELECTRIC
SHOCK HAZARD, page 5, and Check the
Electrical Grounding, page 7.
4.
Be sure the operator and all persons entering
the spray area are properly grounded by wear-
ing shoes with conductive soles or personal
grounding straps.
5.
Operator must not wear gloves which insulate
the hand from the spray gun. If worn, gloves
must be conductive or modified as shown in
Fig 2 so as not to interfere with operator
grounding through the gun.
6.
Be sure ventilation fans are operating
properly.
7.
Be sure the workpiece hangers are clean and
grounded. Contact points must be sharp
points or knife edges.
8.
Be sure all refuse is removed from the spray
booth.
9.
Be sure all flammable liquids in spray booth
are in approved, grounded containers.
10. Be sure all conductive objects within 20 ft
(6 m) of the gun are electrically grounded and
the floor of the spray area is electrically con-
ductive and grounded.
Summary of Contents for PRO AA4000
Page 2: ... ...


