Installation
309457G
17
Optional Fiber Optic Cable
Connection
An optional fiber optic fitting is shipped unassembled
with the gun. If an ES (kV) display module is used,
install the fitting in the FO port of the manifold. See F
IG
.
3., page 11, for a schematic of the fiber optic connec-
tions.
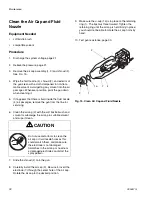
1.
Remove the plug (120) from the fiber optic port, and
install the fiber optic fitting (5, shipped loose with the
gun). See F
Fig. 9. Fiber Optic Fitting
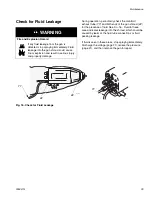
2.
Remove the nut (AA) from the fiber optic fitting (5)
and slide the nut over the end of the fiber optic cable
(BB). See F
3.
Push the cable (BB) into the fitting (5) until it bot-
toms out. Tighten the nut (AA) to secure the cable.
Fig. 10. Fiber Optic Cable
NOTE: Most of the fiber optic light transmission loss
occurs at the bulkhead splices. For the strongest light
signals, use a minimum number of bulkhead splices. A
maximum of two splices, with a total of 108 ft (33 m) of
cable, is recommended.
4.
See manual 308265 to install a Graco ES Display
Module.
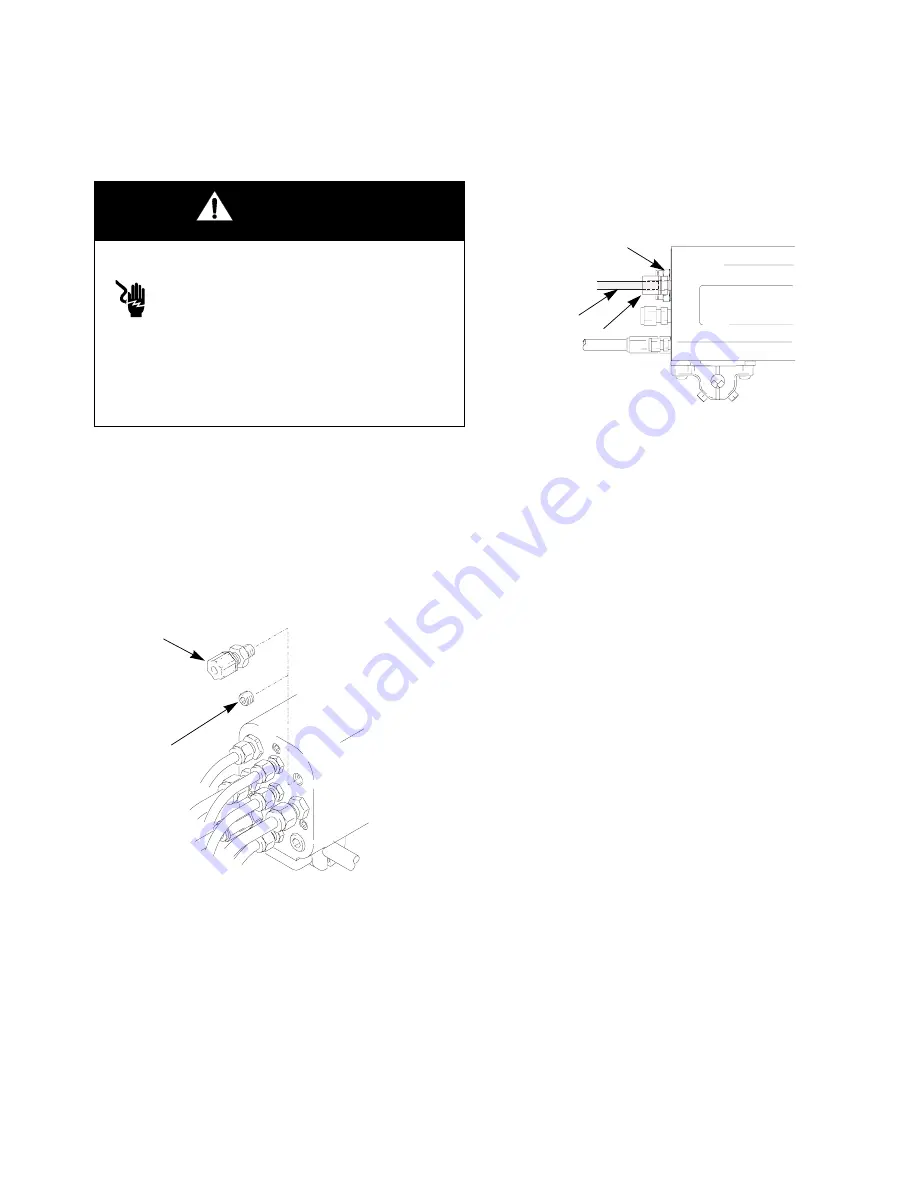
WARNING
Electric Shock Hazard
To reduce the risk of electric shock, do not
use the Graco ES Display Module readings
to determine if your system is discharged.
The display module will only display the
system voltage while the gun’s power supply is oper-
ating. Follow the Fluid Voltage Discharge and
Grounding Procedure on page 21 to ensure that the
system is discharged.
TI1794A
120
5
TI1795A
AA
5
BB
Summary of Contents for PRO Auto Xs
Page 51: ...Repair 309457G 51 ...


