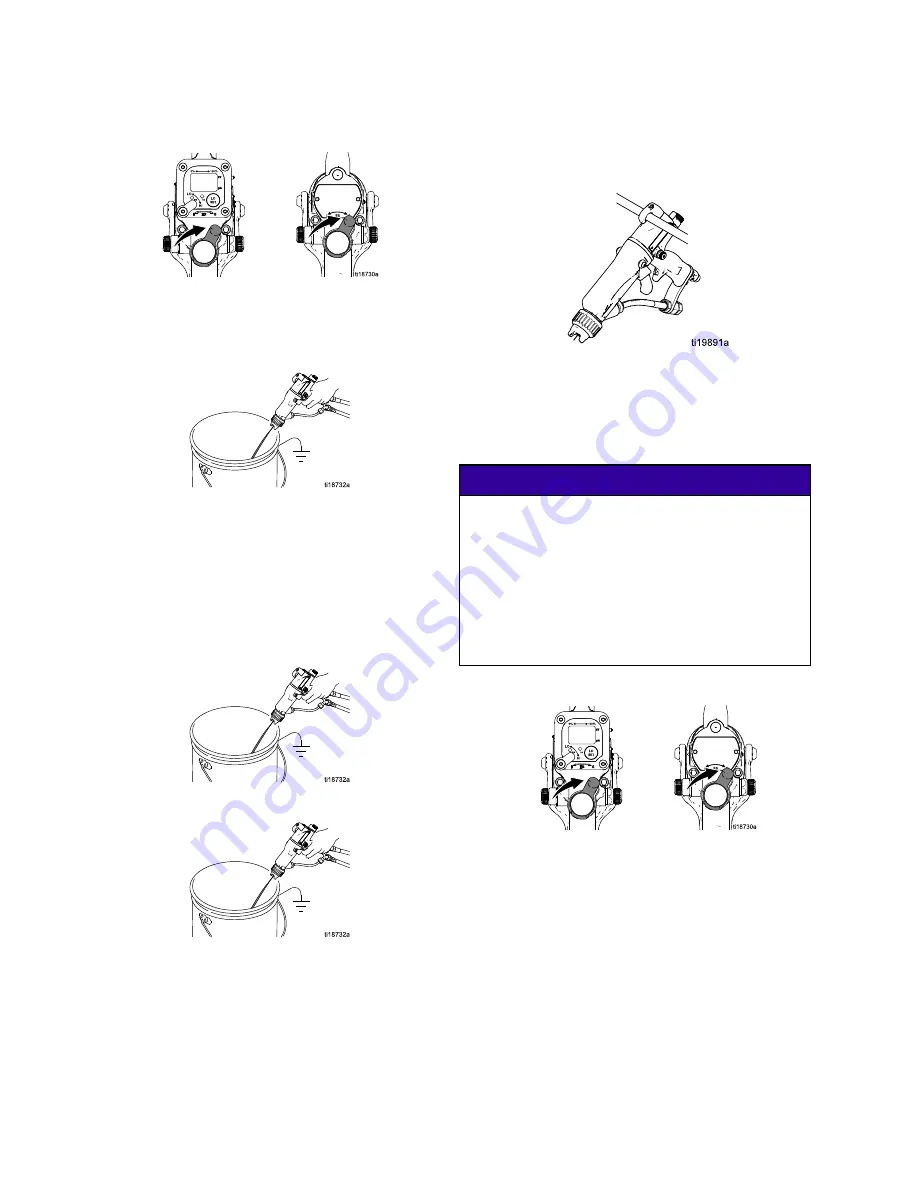
1.
Turn OFF (O) the ES On-Off switch. Wait 30
seconds for the voltage to bleed off.
2.
Discharge the system voltage. Follow the
Fluid Voltage Discharge and Grounding
Procedure, page 33
3.
Follow the
Pressure Relief Procedure, page 33
.
4.
Change the fluid source to solvent.
Note
For Model L60M19 Mold Release Gun,
remove the spray tip before flushing.
See
Air Cap, Spray Tip, and Nozzle
Replacement (Model L60M19), page 50
5.
Point the gun into a grounded metal pail. Flush
until clean solvent flows from the gun.
6.
Follow the
Pressure Relief Procedure, page 33
.
7.
Leave the flushing fluid in the system until you
are ready to spray again.
8.
Hang the gun from its hook, with the nozzle
pointing down.
9.
Before using the system electrostatically again,
make sure no flammable vapors are present.
Clean
Clean
Clean the
the
the Gun
Gun
Gun Daily
Daily
Daily
NOTICE
NOTICE
NOTICE
• Clean all parts with a compatible solvent.
Conductive solvents can cause the gun to
malfunction.
• Fluid in the air passages could cause the gun to
malfunction and could draw current and reduce
the electrostatic effect. Fluid in the power supply
cavity can reduce the turbine life. Whenever
possible, point the gun down when cleaning it.
Do not use any cleaning method which could
allow fluid into the gun air passages.
1.
Turn OFF (O) the ES On-Off switch.
2.
Flush the gun. See
3.
Follow the
Pressure Relief Procedure, page 33
.
36
3A7504A


