Repair
332144E
51
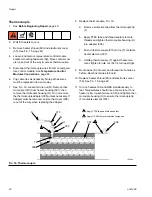
Overtemperature Switch
1.
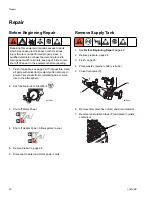
See Before Beginning Repair, page 40.
2. Wait for heaters to cool.
3.
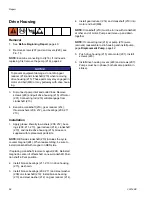
Remove heater shroud (90) and electronics cover
(55). See F
4.
Disconnect one leadwire from overtemperature
switch (308), F
IG
. 16. Test across switch with ohm-
meter. Resistance must be approximately 0 ohms.
5.
If switch fails test, remove wires and screws. Dis-
card failed switch. Apply thermal compound
110009, install new switch in same location on
housing (301), and secure with screws (311).
Reconnect wires.
NOTE: If wires need replacement, disconnect from
heater control module. See F
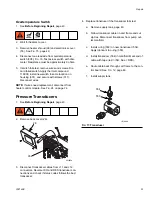
Pressure Transducers
1.
See Before Beginning Repair, page 40.
2.
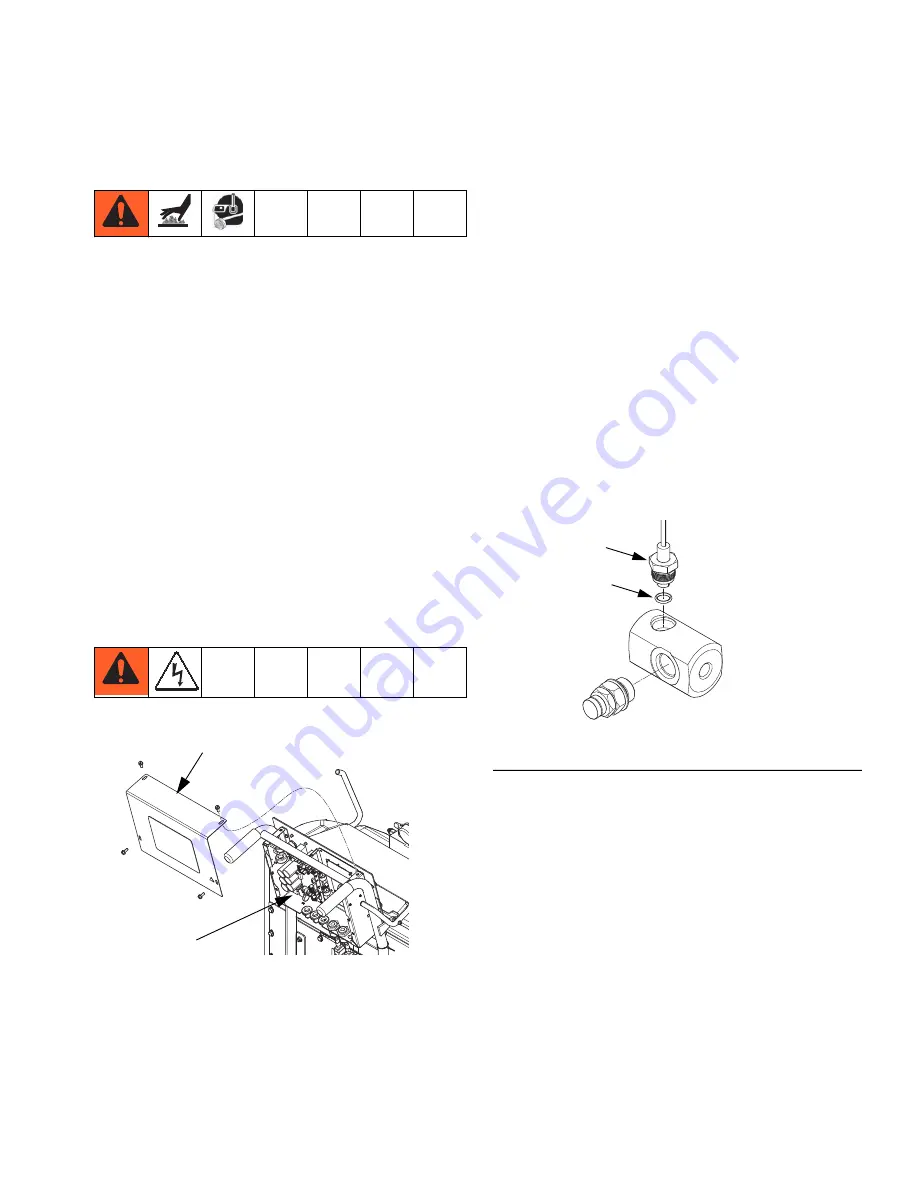
Remove back cover (26).
3.
Disconnect transducer cables from J11 and J12
connectors. Reverse ISO and RES transducer con-
nections and check if status codes follows the bad
transducer.
4.
Replace transducer if the transducer fails test.
a.
Remove supply tank, page 40.
b.
Follow transducer cable on cart frame and cut
zip ties. Disconnect transducer from pump out-
let manifold.
c.
Install o-ring (553) on new transducer (554).
Apply lubricant to o-ring (553).
d.
Install transducer (554) in manifold. Mark end of
cable with tape (red = ISO, blue = RES).
e.
Route cable back through cart frame to the con-
trol board. See F
f.
Install supply tank.
ti21923a
26
354
F
IG
. 17. Transducer
ti21846a
553
554


