Preparation
8
3A3265A
Preparation
Pressure Relief Procedure
Follow the Pressure Relief
Procedure whenever you see this
symbol.
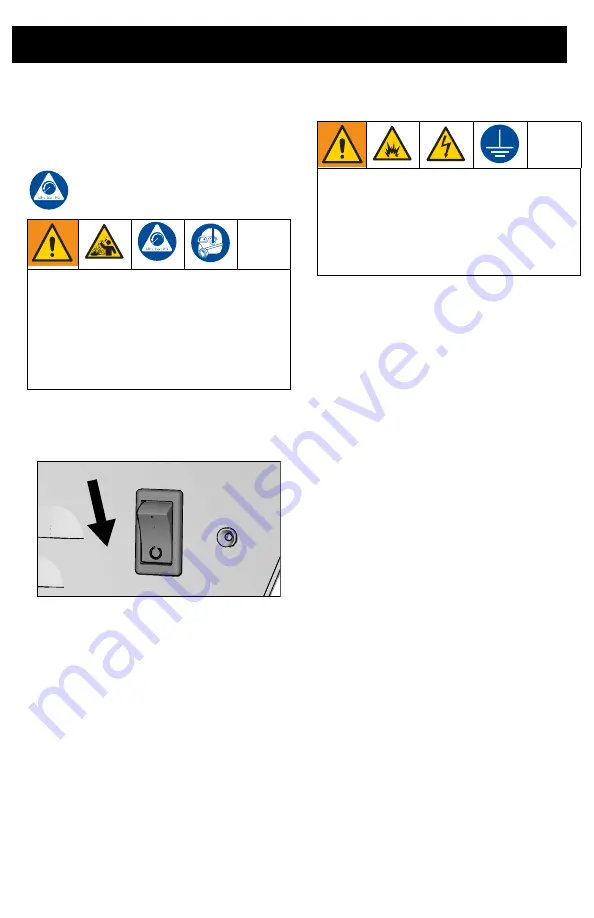
1.
Turn ON/OFF switch to the
OFF
position. Wait 7 seconds for power to
dissipate.
2.
Unplug sprayer.
3.
Turn fluid regulator all the way down.
4.
Aim gun into hopper or waste bucket and
trigger the gun until all air and material
pressure is relieved.
Grounding
This sprayer includes a ground wire with an
appropriate ground contact. The plug must
be plugged into an outlet that is properly
installed and grounded in accordance with all
local codes and ordinances.
Do not modify the plug provided; if it does not
fit the outlet, have the proper outlet installed
by a qualified electrician.
Power Switch
A selector switch on the sprayer allows you
to operate the sprayer on either a 10A/240V
15A120V or 16A/240V or 20A120V circuit.
120V Sprayers
Select 15A or 20A depending on your circuit
rating.
240V Sprayers
Select 10A or 16A depending on your circuit
rating.
Extension Cords
Use an extension cord with an undamaged
ground contact. If an extension cord is
necessary, use a 3-wire, 12 AWG (2.5 mm
2
)
minimum.
NOTE:
Lighter gauge or longer extension
cords may reduce sprayer performance.
Generator Requirements
7500 W (7.5 kW) minimum.
This equipment stays pressurized until
pressure is manually relieved. To help
prevent serious injury from pressurized
fluid or splashed fluid follow the
Pressure
Relief Procedure
whenever sprayer is
stopped and before sprayer is cleaned or
checked, and before equipment is
serviced.
ti27923a
The equipment must be grounded to
reduce the risk of static sparking and
electric shock. An electric or static spark
can cause fumes to ignite or explode. An
improper ground can cause electric shock.
A good ground provides an escape wire for
the electric current.


