


Start Up
10
3A7649A
Start Up
Battery Installation and
Removal
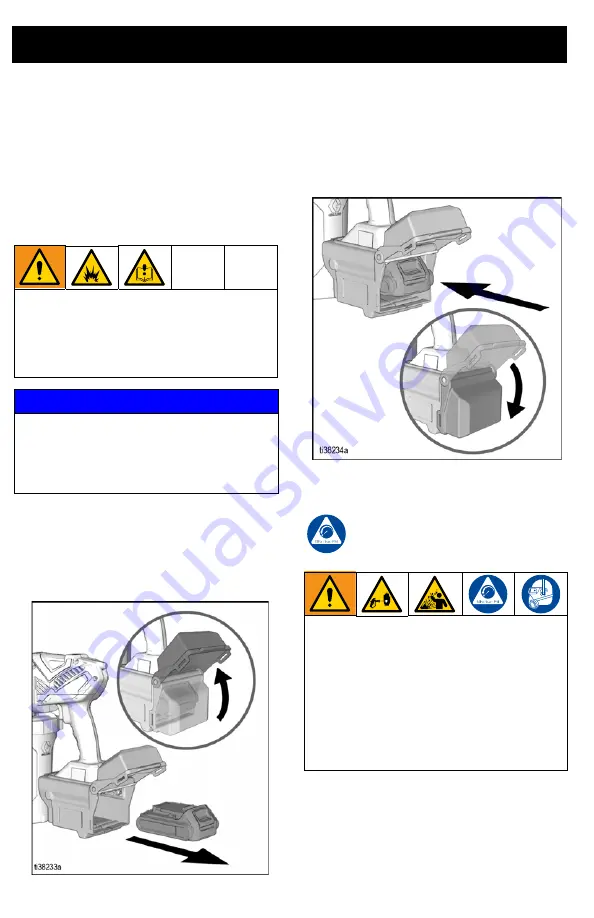
Always start with a fully charged Battery.
Do not splash or immerse Battery or
charger in water. See Battery and charger
information shipped with the sprayer.
Remove and install Battery into the sprayer
as follows:
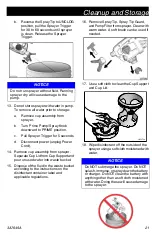
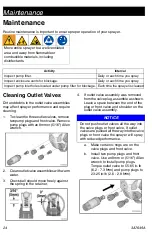
1.
Open the back of the Battery Shield by
unlatching the door and lifting upwards.
2.
Remove the used Battery, if in place.
3.
Install fully charged Battery into the
sprayer.
4.
Fully close and latch the door of the
Battery Shield.
Pressure Relief Procedure
Follow the Pressure Relief
Procedure whenever you see this
symbol.
1.
Remove Battery from the sprayer.
Replace and charge Battery only in a
well-ventilated area and away from
flammable or combustible materials,
including disinfectants. Do not operate
sprayer with the Battery Shield open.
NOTICE
The sprayer is equipped with a
non-removable Battery Shield to protect
the Battery during spraying of disinfectants.
Attempting to remove the Battery Shield will
result in damage to the sprayer and Battery.
This sprayer builds up an internal pressure
of
1000 psi (6.9 MPa, 68.9 bar)
during use.
To help prevent serious injury from
pressurized fluid, such as skin injection
and splashing fluid, follow the
Pressure
Relief Procedure
whenever you stop
spraying and before cleaning, checking,
servicing, or transporting equipment to
prevent serious injury.


