Operation
38
3A8108A
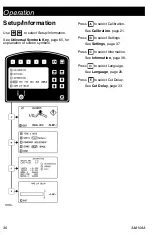
Information
Use
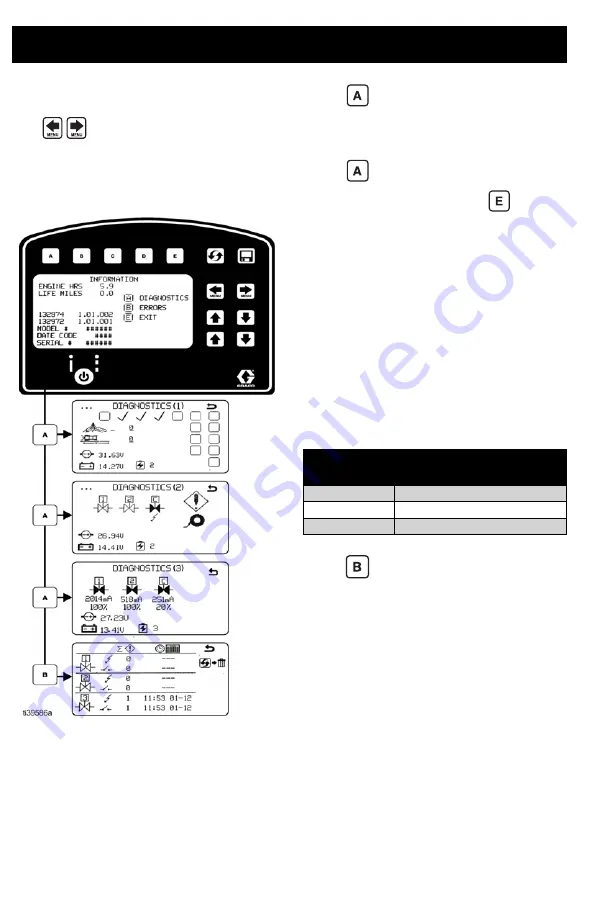
to select Setup/Information.
Press [C] to access information.
See
explanation of screen symbols.
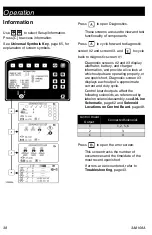
Press
to open Diagnostics.
These screens are used to view and test
functionality of components.
Press
to cycle forward to diagnostic
screen #2 and screen #3, and
to cycle
back to diagnostic screen #1
Diagnostic screens #2 and #3 display
alternator, battery, and charger
information, and provide a live look at
which outputs are operating properly, or
are open/short. Diagnostic screen #3
displays each output’s approximate
current and duty cycle.
Control board outputs affect the
following solenoids, as referenced by
label on solenoid assembly, see
Press
to open the error screen.
This screen tracks the number of
occurrences and the time/date of the
most recent open/short.
If errors. are encountered, refer to
Control Board
Output
Connected Solenoids
1
1, 2, 5, 6
2
3
C
4
Summary of Contents for TapeLazer HP Automatic
Page 15: ...Setup Startup 3A8108A 15 7 Using a 1 4 in Allen wrench tighten bolts ...
Page 25: ...Operation 3A8108A 25 TapeLazer LiveLook Display ...
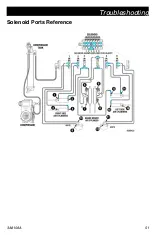
Page 51: ...Troubleshooting 3A8108A 51 Solenoid Ports Reference ...
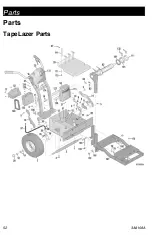
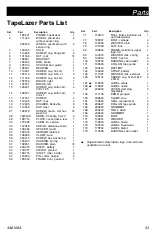
Page 52: ...Parts 52 3A8108A Parts TapeLazer Parts ...
Page 54: ...Parts 54 3A8108A Front End Parts ...
Page 56: ...Parts 56 3A8108A Carriage Applicator Parts ...
Page 58: ...Parts 58 3A8108A Display Unit Parts ...
Page 60: ...Parts 60 3A8108A Additional Parts ...
Page 62: ...Air Line Schematic 62 3A8108A Air Line Schematic ...
Page 64: ...Wiring Diagram 64 3A8108A Wiring Diagram ...
Page 65: ...Universal Symbols Key 3A8108A 65 Universal Symbols Key ...


