Troubleshooting
3A8108A
49
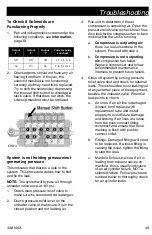
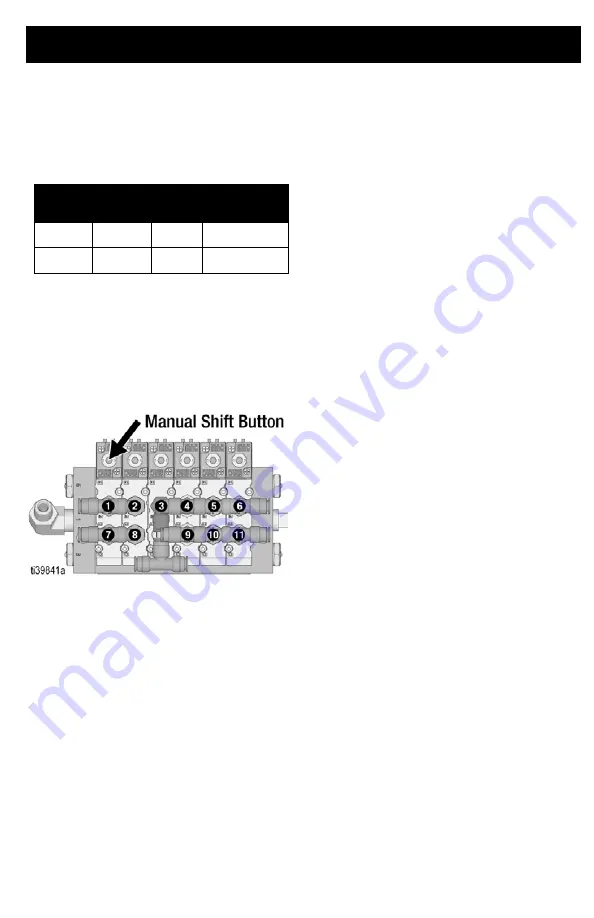
To Check if Solenoids are
Functioning Properly
1.
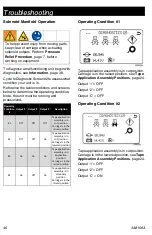
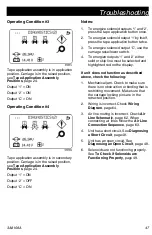
Run unit in diagnostics screen under the
following conditions, see
2.
Checked ports should not have any air
flowing from them. If they do, the
solenoid manifold is not functioning
correctly and may need to be replaced.
Try to shift the solenoid by depressing
the ‘manual shift button’ to dislodge a
stuck valve. If that does not work, the
solenoid manifold must be replaced.
System is not holding pressure/not
generating pressure
This indicates that there is a leak in the
system. This procedure details how to find
and fix the leak.
NOTE:
The system will bypass air through
unloader valve once at 145 psi.
1.
Check main pressure relief valve to
make sure it is closed and not leaking air.
2.
Check pressure relief lever on the
unloader valve to make sure it is in the
closed position and not leaking air.
3.
Run unit to determine if the air
compressor is outputting air. Open the
pressure relief valve to check for air flow.
Also look for the compressor fan to be in
motion while the unit is running.
a.
Compressor is outputting air:
there is a leak elsewhere in the
system. Proceed with step 4.
b.
Compressor is not outputting
air:
compressor has failed.
Replace compressor and follow
recommended maintenance
intervals to prevent future failure.
4.
Close off system by turning pressure
relief valve shut and check for external
leaks. There should be no air leaking out
of any external piece of the equipment,
besides the unloader valve. Potential
leak points to check:
a.
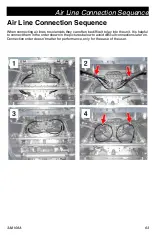
Air lines: If an air line is damaged
(kinked, torn) replace with
replacement tube and install
properly to avoid future damage
and kinking. If air lines are loose
from the push connect fitting,
reconnect and ensure that hose
marking is flush with push to
connect collet.
b.
Fittings: Damaged fittings will need
to be replaced. If a loose fitting is
causing the issue, tighten the fitting
to stop the leak.
c.
Manifold Exhaust valves: If air is
leaking from exhaust valves on
manifold, this is usually indicative
of an air cylinder failure, NOT a
solenoid failure. Follow procedure
outlined below to thoroughly check
for air cylinder leaks.
Output
‘1’
Output
‘2’
Output
‘C’
Ports to unplug
and check
Off
Off
Off
1, 2, 3, 4, 5, 6
On
On
On
7, 8, 9, 10, 11
Summary of Contents for TapeLazer HP Automatic
Page 15: ...Setup Startup 3A8108A 15 7 Using a 1 4 in Allen wrench tighten bolts ...
Page 25: ...Operation 3A8108A 25 TapeLazer LiveLook Display ...
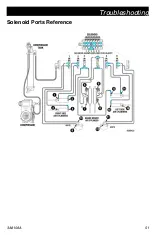
Page 51: ...Troubleshooting 3A8108A 51 Solenoid Ports Reference ...
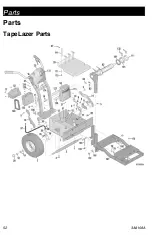
Page 52: ...Parts 52 3A8108A Parts TapeLazer Parts ...
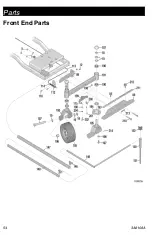
Page 54: ...Parts 54 3A8108A Front End Parts ...
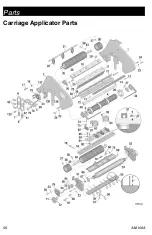
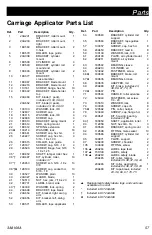
Page 56: ...Parts 56 3A8108A Carriage Applicator Parts ...
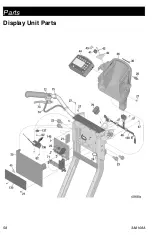
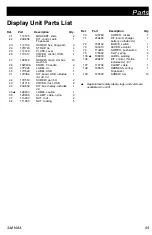
Page 58: ...Parts 58 3A8108A Display Unit Parts ...
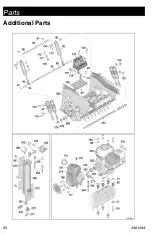
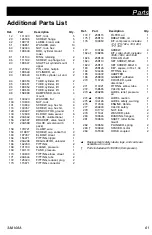
Page 60: ...Parts 60 3A8108A Additional Parts ...
Page 62: ...Air Line Schematic 62 3A8108A Air Line Schematic ...
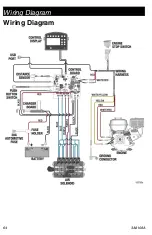
Page 64: ...Wiring Diagram 64 3A8108A Wiring Diagram ...
Page 65: ...Universal Symbols Key 3A8108A 65 Universal Symbols Key ...


