
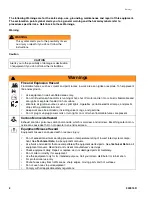

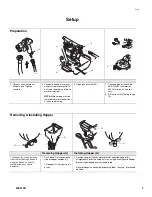
Setup
309915D
13
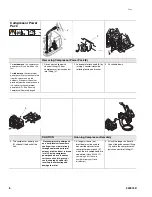
Fueling
Fuel Specifications
Refueling Procedure
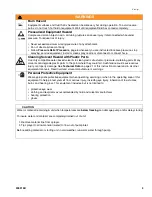
CAUTION
•
Use automotive gasoline with a
pump octane number of 86 or
higher. If engine knocks or pings,
use a higher octane fuel.
•
Unleaded fuel minimizes com-
bustion chamber deposits.
•
If using gasohol, it may contain
no more than 5% methanol, and
must have methanol cosolvents
and corrosion inhibitors.
NOTE: The HONDA engine
warranty does not cover damage
resulting from the use of gasoline
containing alcohol.
•
Do not use oil and gasoline mix-
tures or contaminated gasoline.
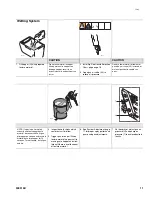
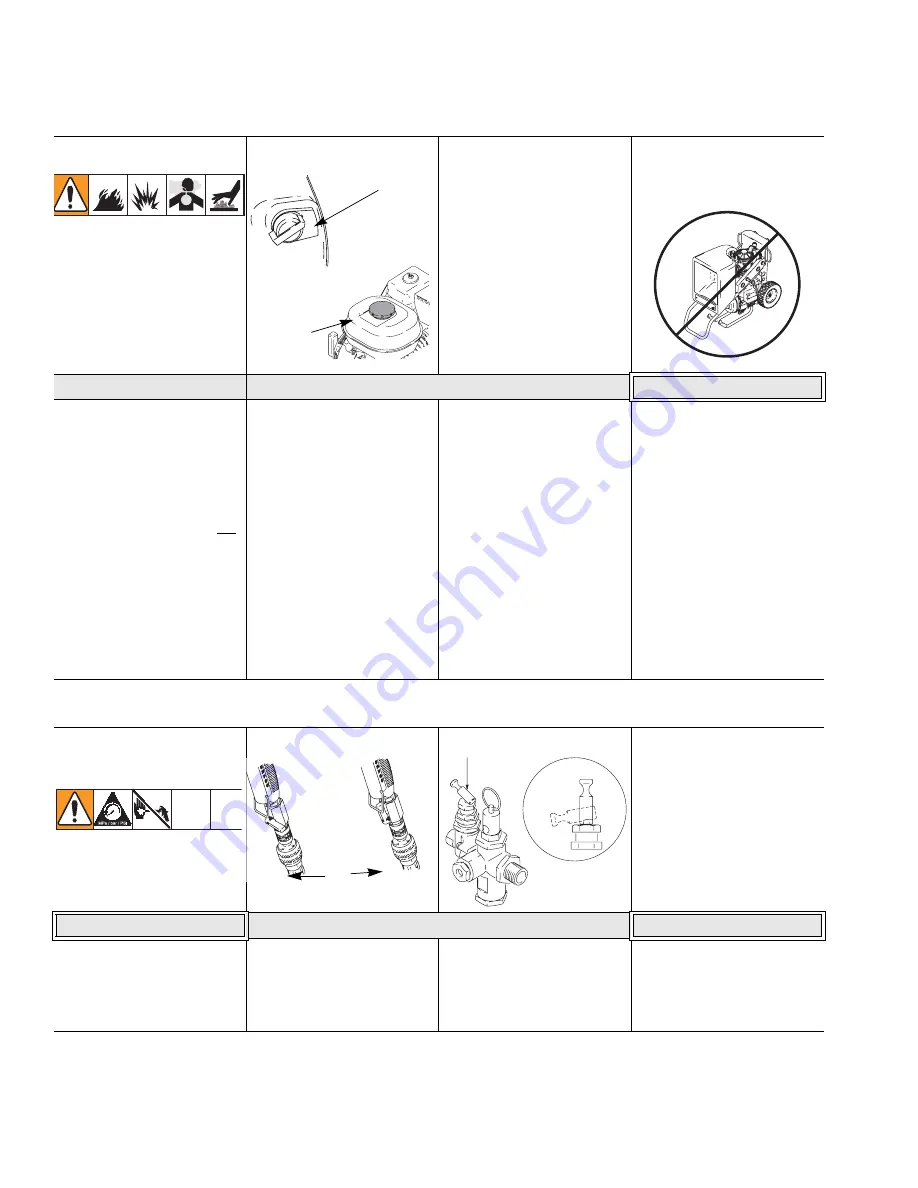
1 Shut OFF engine. Remove fuel
tank cover.
2 In a well ventilated area, add
unleaded automotive gasoline
to fuel tank. Leave 1/2 (13 mm)
at top of tank for gasoline
expansion.
NOTE: Tank capacity is 0.95
gallon (3.6 liter).
Do not smoke or allow flames
or sparks in area where engine
is refueled or where gasoline is
stored.
3 Tighten fuel cap firmly.
Fuel vapor or spilled fuel can
ignite. If any fuel is spilled,
make sure are is dry before
starting engine.
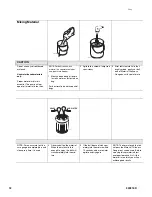
•
Close black fuel shutoff lever
whenever you are transporting
sprayer to prevent fuel from
flooding engine.
•
Keep sprayer upright and level
when operating and when trans-
porting. This prevents crankcase
oil from leaking into combustion
chamber, which makes start up
very difficult.
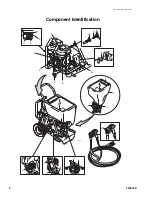
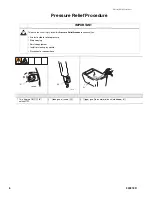
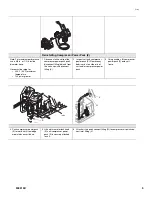
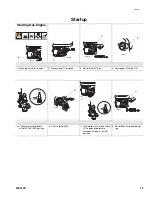
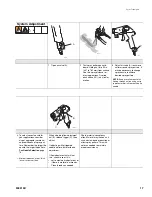
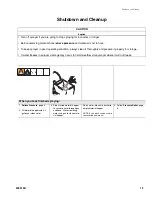
Operation
Characteristics
CAUTION
CAUTION
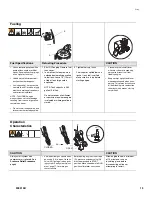
Always start system with
compressor air relieved. See
Pressure Relief Procedure
,
page 6.
•
Air bleeds from gun nozzle when
gun valve (23) is open. Close air
valve (23) to stop air when prim-
ing system. See System Adjust-
ment, page 17, for more gun
characteristics.
Before pulling engine starter rope
(R), pressure unloader valve (W)
must be moved up to START
position. Move valve down to RUN
position after motor has started.
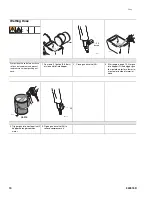
Allow engine to cool a minimum
of 10 minutes or use an
insulating glove, before
disconnecting air lines or
attempting to restart.
TI3037A
OFF
ON
ti3908a
E
A
ti3962a
7136A
CLOSED
OPEN
23
W
ti3909a
Start
Run


