Flush
Flush
Flush
NOTICE
NOTICE
NOTICE
Failure to flush prior to material curing in the
system will result in damage to system and may
require replacement of all system parts in contact
with the material.
NOTICE
NOTICE
NOTICE
If the zero cavity pressure relief valve has been
used to relieve pressure, the valve must be flushed
to prevent material hardening in zero cavity relief
valve. If that is not sufficient, remove, disassemble,
and clean the valve then reinstall.
• Flush if the materials in the system are about to
reach their cure time.
• Flush any time the flow rate starts to decrease as
this is a sign that material is starting to thicken and
cure.
• Always flush the system at least twice, draining
all material flushing agent between flushes then
replacing with clean material flushing agent.
• For some mortars, it is recommended to flush
every 3 - 5 kits. Others can run continuously
without flushing. See material manufacturer
recommendation.
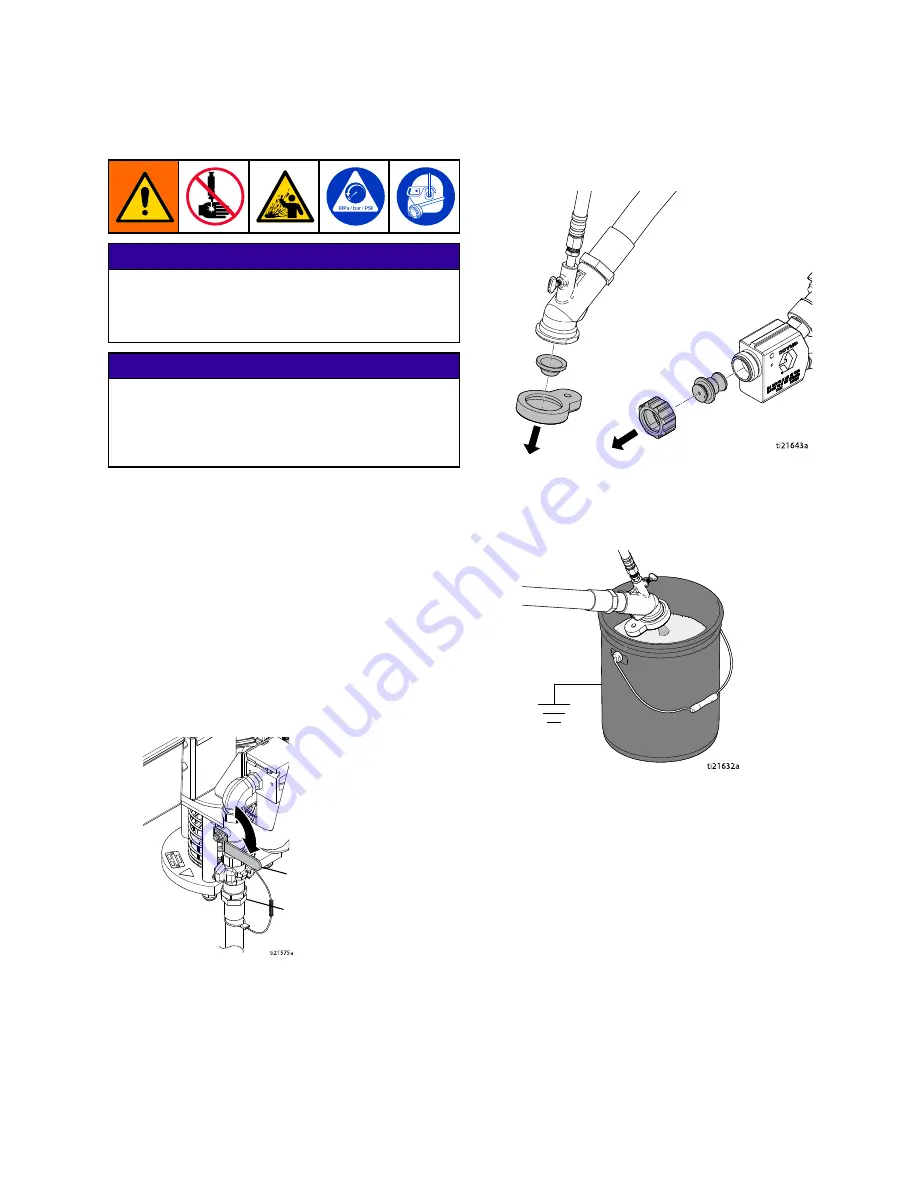
1.
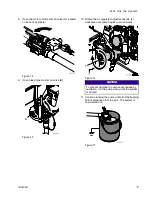
Close the bleed type master air valve (B).
B
A
ti21575a
Figure 31
2.
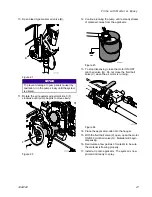
Remove applicator tip and retainer.
ti21643a
Figure 32
3.
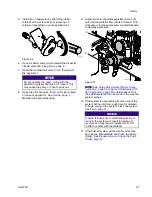
Place applicator outlet in a waste container. The
waste container must be large enough to hold
all dispensed material.
ti21632a
Figure 33
4.
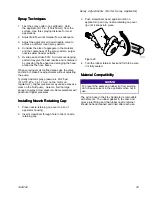
With air assist air flowing, open the material ball
valve (V) on the base of the applicator.
5.
Open the pilot ball valve (G) located on base of
applicator.
332612C
27


