Start Up
12
334179B
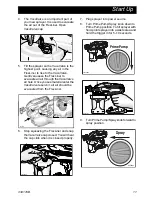
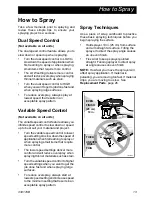
10. Make certain spray tip is in the spray
position.
11. You are now ready to spray.
NOTE:
For best results; to evacuate all
material from the FlexLiner when the material
is nearly gone, gently squeeze the bottom of
the FlexLiner to push the last of the material
up to the cup lid.
If sprayer does not spray, try one of
the steps below:
•
Make certain there is only one FlexLiner
in cup support. It is possible for two liners
to nest tightly together and appear as
only one.
•
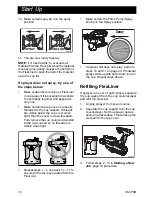
Make certain the cup cover is properly
threaded to the cup support. If threads
are visible below the cup cover when
tight, then the cover is cross-threaded.
Fully remove the cup cover and reinstall
to the cup support so no threads are
visible when tight.
•
Repeat steps 2 – 6 on pages 10 – 11 to
ensure all the air is evacuated from the
FlexLiner.
•
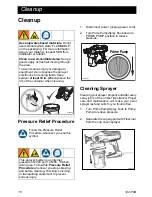
Make certain the Prime Pump/Spray
knob is in the Spray position.
•
If sprayer still does not spray, perform
steps 10 and 11 on page 23. If material
sprays while upside down there is air in
the cup. Repeat steps above.
Refilling FlexLiner
If sprayer runs out of paint simply separate
the cup support from the cup cover/sprayer
and refill the FlexLiner.
1.
Unplug sprayer from power source.
2.
Separate the cup support from the cup
cover/sprayer. Set the sprayer upside
down on a flat surface. This will keep the
wet paint in the cup cover.
3.
Follow steps 2 - 11 in
Starting a New
Job
, page 10 procedure.
ti23290a
SPRAY
UNCLOG
ti24454a
ti23288a
Spray
ti23369a


