


Setup
10
3A0705B
Materials
•
When spraying
water-based
materials, flush the
sprayer thoroughly with water.
•
When spraying
non-water-based
materials, flush
the sprayer thoroughly with mineral spirits or com-
patible, oil-based flushing fluid.
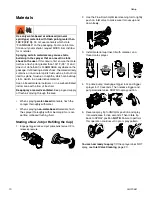
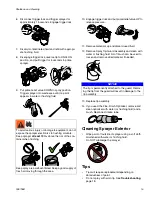
Starting a New Job (or Refilling the Cup)
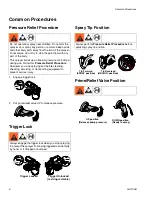
1.
Engage trigger lock and put prime/relief valve UP to
release pressure.
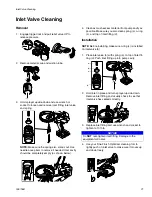
2.
Use the Fine-Finish Optimizer cleaning tool to lightly
push on inlet valve to make sure it moves up and
down freely.
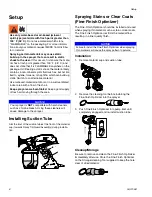
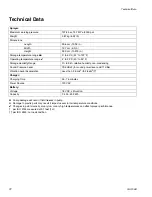
3.
Install material cup liner, fill with material, and
thread onto sprayer.
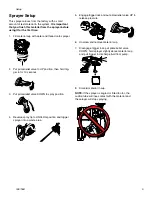
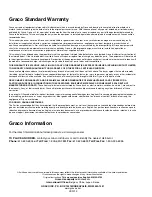
4.
To prime pump, disengage trigger lock and trigger
sprayer for 10 seconds. Then release trigger and
put prime/relief valve DOWN to spray position.
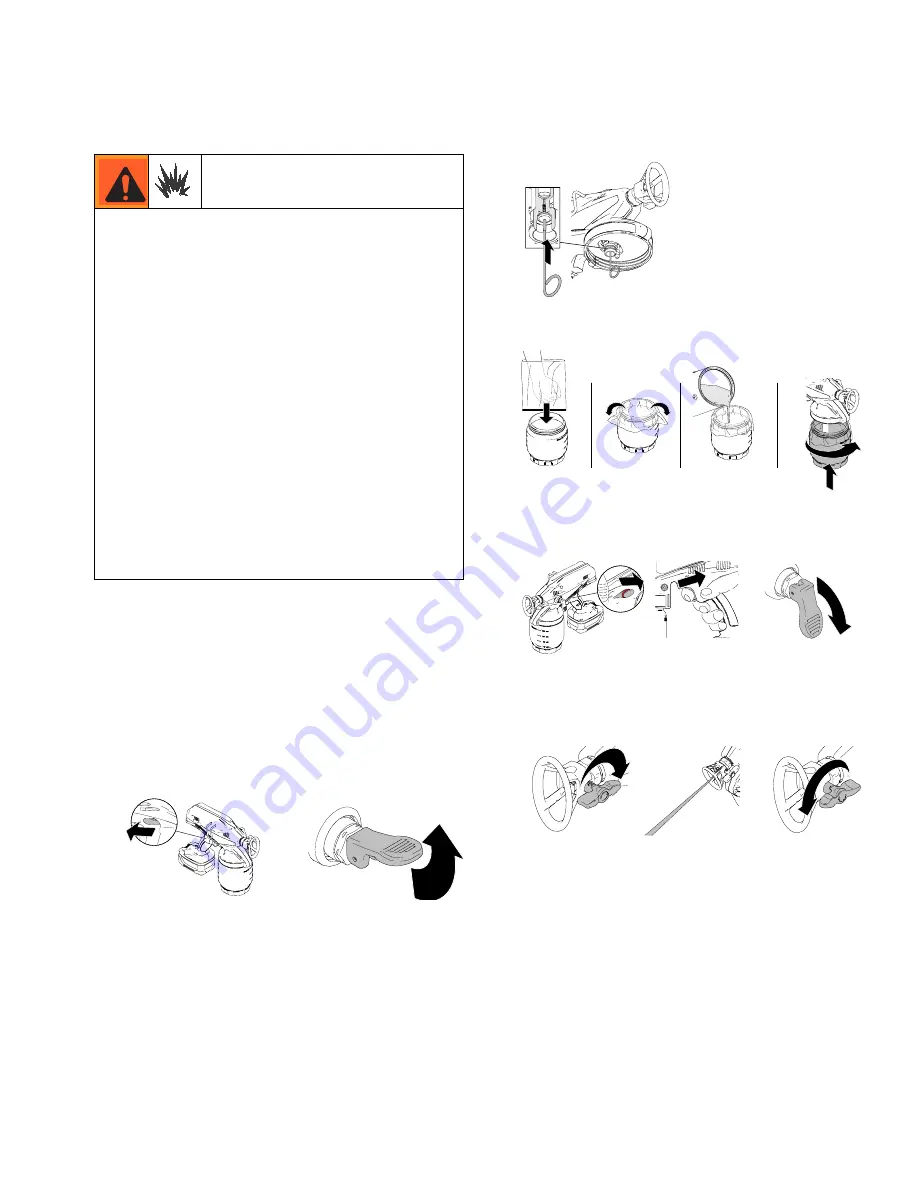
5.
Reverse spray tip to UNCLOG position and spray
into waste area for five seconds. Then rotate tip
back to SPRAY position.
NOTE:
Failure to perform
this operation could result in poor spray pattern.
You are now ready to spray!
(If the sprayer does NOT
spray, see
Inlet Valve Cleaning
, page 21).
Use only water-based or oil-based (mineral
spirit-type) materials with flash point greater than
100° F (38° C).
Do not use materials which state
“FLAMMABLE” on the packaging. For more informa-
tion about your material, request MSDS from distribu-
tor or retailer.
Spraying certain materials may cause static
build-up in the sprayer that can result in static
shock to the user.
If this occurs, first ensure the mate-
rial has a flash point greater than 100° F (38° C) and
does not state that it is FLAMMABLE anywhere on the
package. If still feeling a static shock, the material likely
contains a non-mineral spirits fluid such as, but not lim-
ited to, xylene, toluene, or naphtha, which can build up
static. Switch to an alternative material.
Use oil-based material outdoors or in a well-ventilated
indoor area with a flow of fresh air.
Keep spray area well-ventilated.
Keep a good supply
of fresh air moving through the area.
ti14999a
ti14994a
ti15474a
ti15418a
ti15425a
ti14995a
ti14991a
ti14985a
ti15491a
Summary of Contents for TrueCoat Plus
Page 23: ...Notes 3A0705B 23 Notes ...


