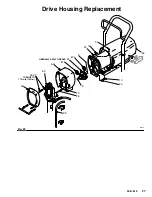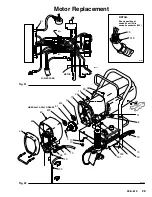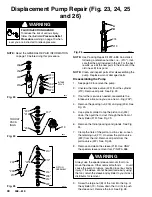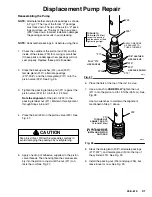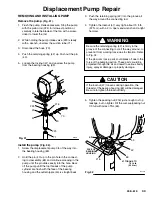
Drive Housing Replacement (Fig. 20)
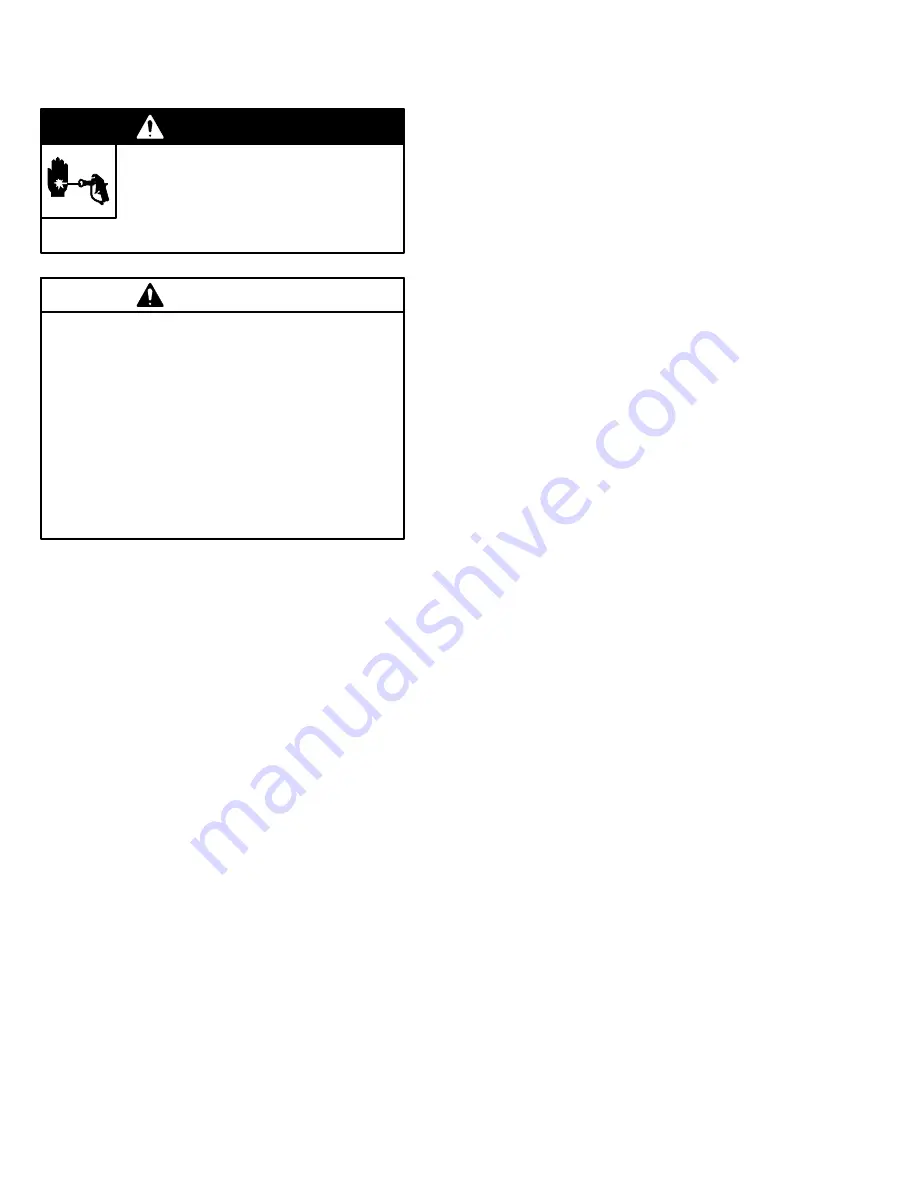
WARNING
FLUID INJECTION HAZARD
To reduce the risk of serious injury,
follow the illustrated
Pressure Relief
Procedure
warning on page 13 when-
ever you are instructed to relieve pressure.
DO NOT drop the gear cluster (51) when removing
the drive housing (67). The gear cluster may stay en-
gaged in the motor front end bell or the drive housing.
DO NOT lose the thrust balls (9) located at each end
of the gear cluster (51) or drop them between gears.
The balls, which are heavily covered with grease,
usually stay in the shaft recesses, but could be dis-
lodged. If caught between gears and not removed,
the balls will seriously damage the drive housing. If
the balls are not in place, the bearings will wear pre-
maturely.
CAUTION
NOTE:
Read the GENERAL REP AIR INFORMATION
on page 19 before doing this procedure.
1. Relieve pressure.
2. Remove the front cover (49) and the motor shield
(59). Unclip the drain hose (36) from the pump.
3. Remove the four bearing housing screws (25) and
lockwashers (23).
4. Lightly tap the lower rear of the bearing housing
(69) with a plastic mallet to loosen it from the drive
housing (67). Pull the assembled bearing housing
and connecting rod straight off the drive housing.
5. Remove the two drive housing screws (26) and
lockwashers (20).
6. Remove the two lower screws (13) and lockwash-
ers (20) and then the two upper screws (16) and
lockwashers (20) from the front of the motor (73).
7. Tap the drive housing (67) with a plastic mallet to
loosen it from the front of the motor (73), and then
pull the drive housing straight off.
8. Liberally apply bearing grease to the gear cluster
(51). The gear area should have approximately 4
total ounces of grease. Grease is supplied with
the drive housing replacement kit. Be sure the
thrust balls (9) are in place.
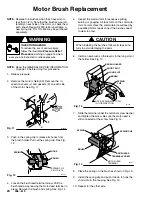
9. Place the bronze-colored washer (67b) THEN the
silver-colored washer (67a) on the shaft protruding
from the big gear in the drive housing (67).
10. Align the gears and push the new drive housing
straight onto the front of the motor and locating
pins.
11. Continue reassembling the sprayer.


