Operation
3A2799D
7
Operation
Pressure Relief Procedure
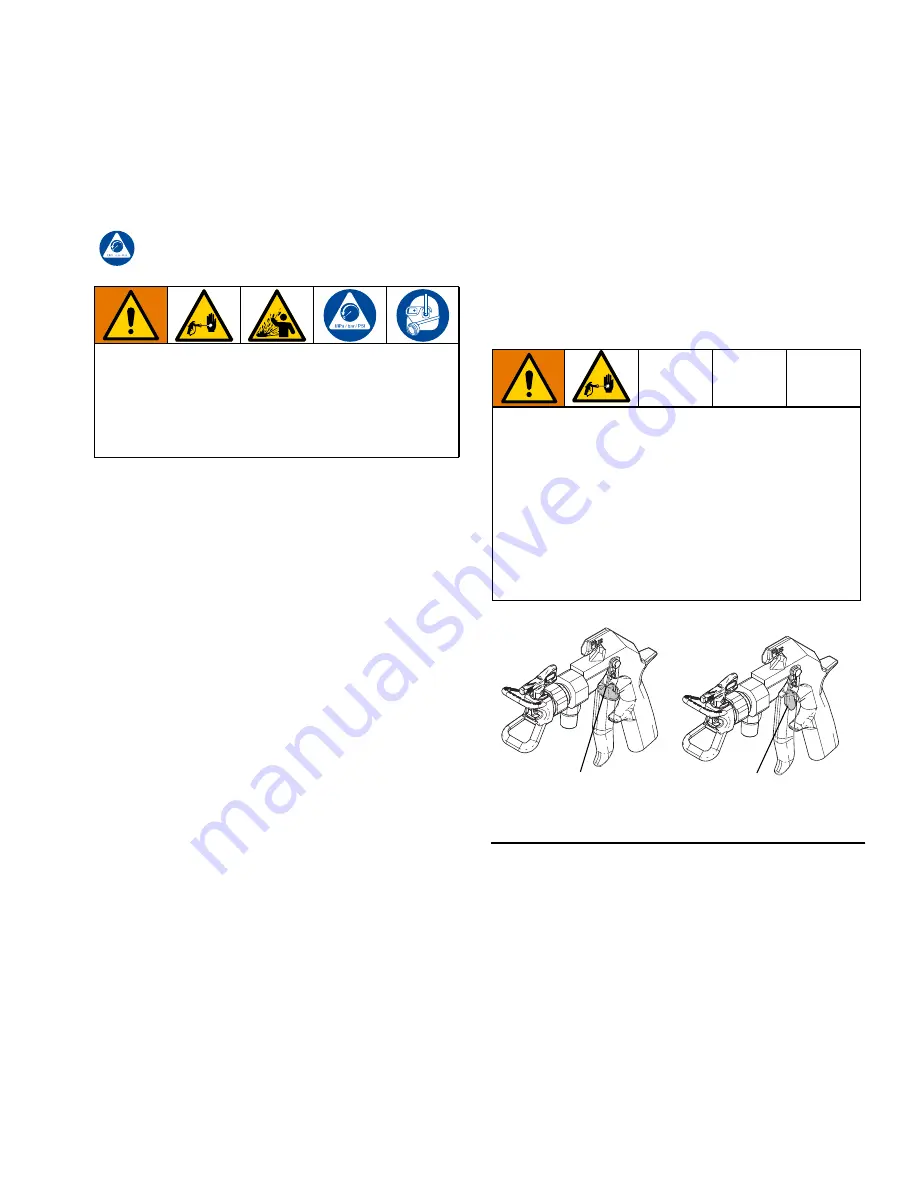
Follow the Pressure Relief Procedure whenever
you see this symbol.
1. Engage the gun trigger lock.
2. Shut off power to the pump.
3. Disengage the gun trigger lock.
4. Hold a metal part of the gun firmly to a grounded
metal pail. Trigger the gun to relieve pressure.
5. Engage the gun trigger lock.
6. Open the system drain valve, having a container
ready to catch the drainage. Observe the pressure
gauge. The gauge reads 0 psi/bar when fully
drained. Close the system drain valve.
7. If you suspect that the spray tip or hose is
completely clogged or that pressure has not been
fully relieved after following the previous steps, very
slowly loosen the tip guard retaining nut or hose end
coupling to relieve pressure gradually. Clean the tip
or hose obstruction.
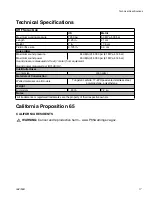
Gun Trigger Lock
To prevent injury when the gun is not in use, always
engage the gun’s trigger lock if unit is being shut down
or left unattended. A wallet-sized medical alert card
with important injection treatment information is
included with the gun. Additional cards are available at
no charge. Provide a card to all operators.
Trigger Locked
Trigger unlocked
ti19265a
(no spray)
(spray)
1. To engage the gun trigger lock, rotate the lock so it
is perpendicular to the gun body. See F
2. To disengage the gun trigger lock, push the lock out
and rotate it so it is parallel with the gun body. See
F
This equipment stays pressurized until pressure is
manually relieved. To help prevent serious injury from
pressurized fluid, such as skin injection, and
splashing fluid, follow the Pressure Relief Procedure
when you stop spraying and before cleaning,
checking, or servicing the equipment.
The trigger lock must move freely, and easily snap
into the locked position. If the trigger lock is damaged
or movement is restricted, replace with new trigger kit
immediately.
F
IG
. 1: Trigger Lock Positions


