GF, Graham-Field, y Lumex son marcas registradas de GF Health Products, Inc.
El embalaje, garantías, productos y
specificaciones son sujetos a cambiar sin aviso. GF Health Products, Inc. no es responsable por errores tipográficos.
© GF Health Products, Inc. • 2935 Northeast Parkway • Atlanta, GA 30360 • tel 800-347-5678 • fax 800-721-0601 • www.grahamfield.com
2
700176C-INS-LAB-RevA08
700176C-INS-LAB-RevA08
1
Nota: Ajuste la altura del andador antes de operación.
Ajuste de altura del andador
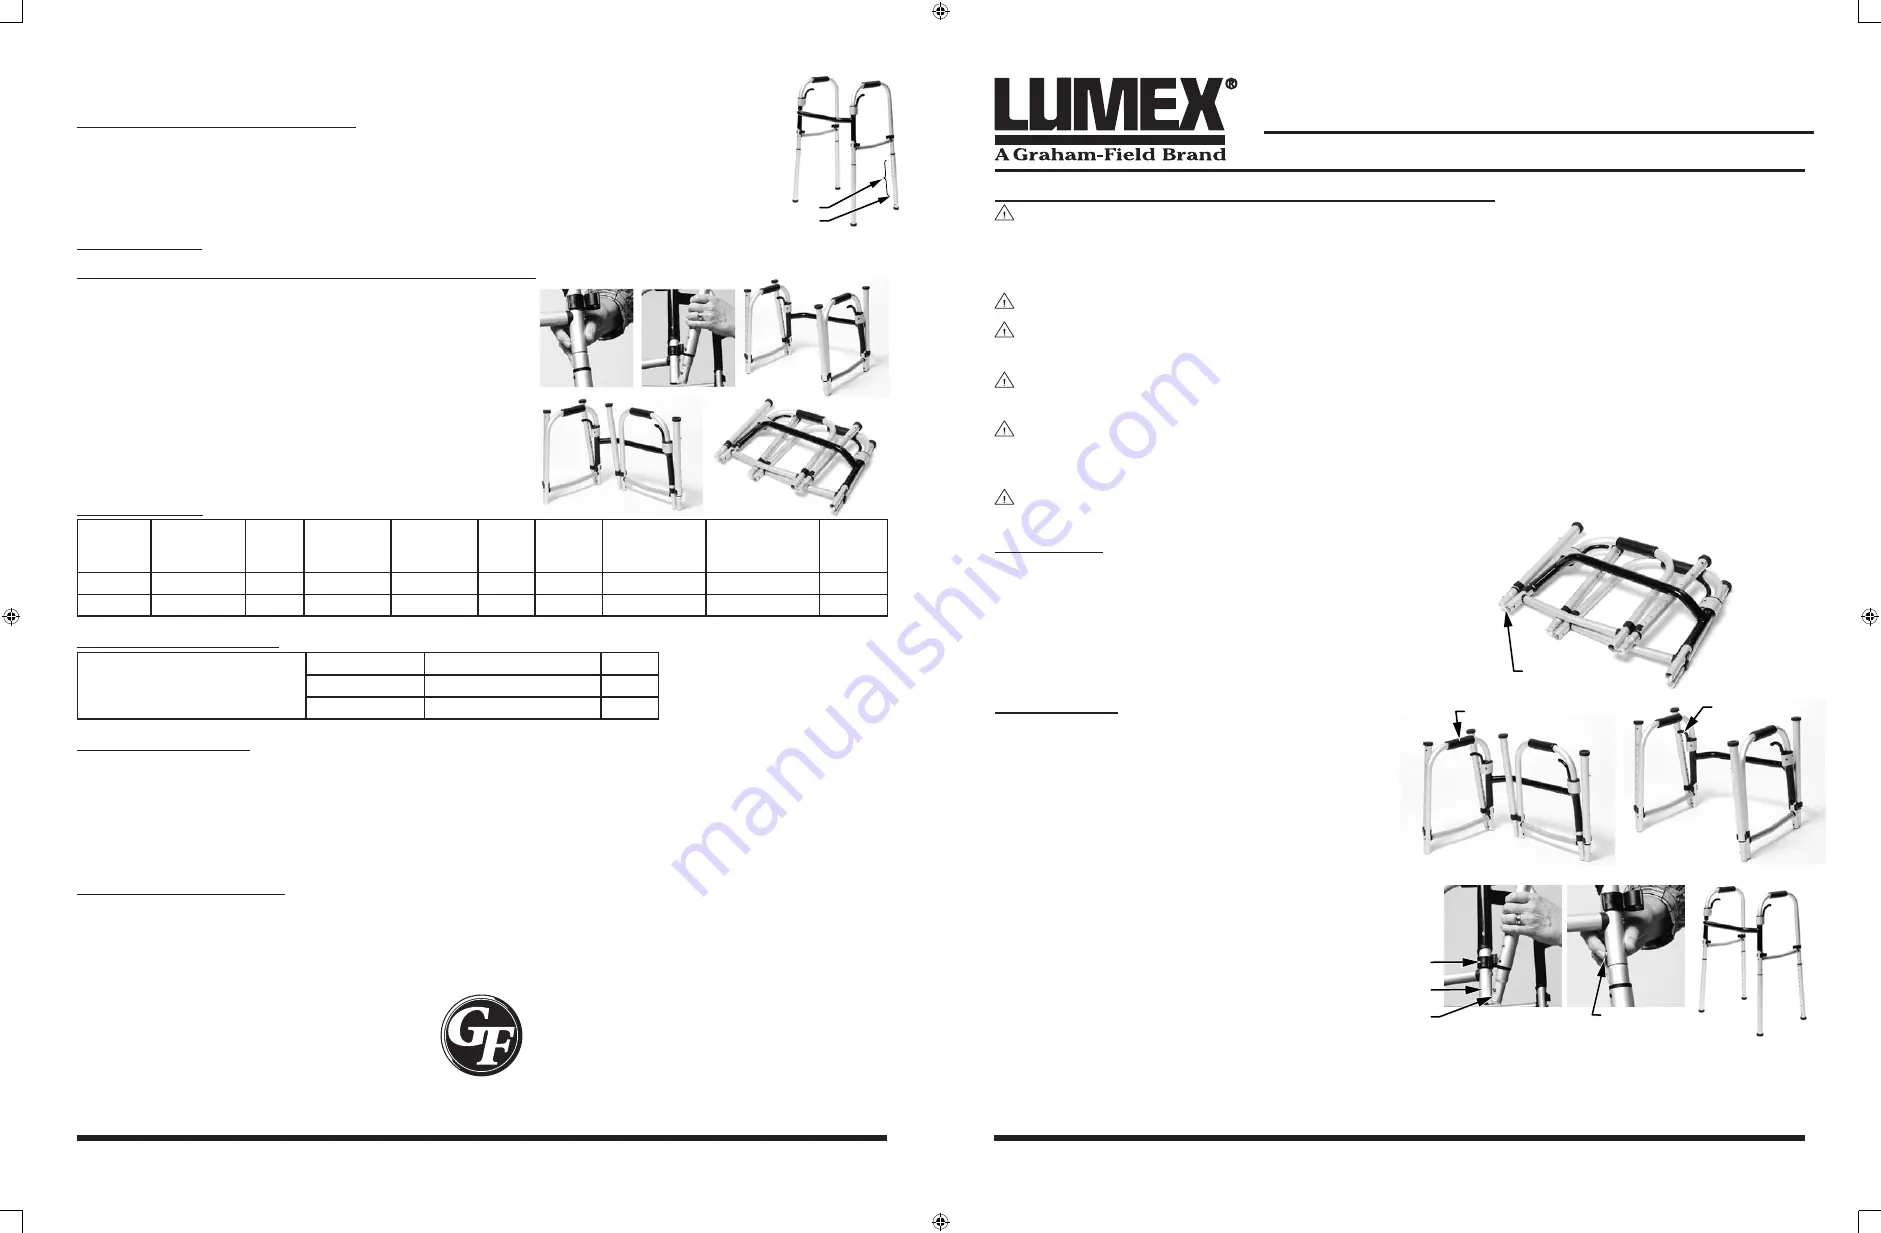
Cada pata del andador tiene varias posiciones de ajuste de altura. La foto a la derecha enseña
la localización de los huecos y de los botones. Para ajustar la altura de la pata, oprima el botón
de ajuste de altura y mueva la pata a la altura deseada. Asegurese que las cuatro patas estén a la
misma altura y que los botones estén visibles a través de los huecos de ajuste.
OperAción
pliegue Andador para almacenaje y transporte
1. Desconecte patas: Oprima botón de ajuste y hale la pata
hasta que esta esté fuera del marco (cordón elástico impe-
dirá que la pata se separe del marco), rote pata hacia arriba
y conéctela al clip para mantenerla junto al marco. Repita
para las otras tres patas.
2. Apriete la palanca de liberación. Agarre el mango más cer-
cano y hale hacia el centro del andador. Repita con el otro
mango. Para abrir el andador, siga las instrucciones de la
página anterior.
Dimensiones
Ancho
entre
mangos
Ancho
entre patas
traseras
Ancho
total
Profundidad
del frente
hasta atrás
Profundidad
plegada
Altura
mínima
Altura
máxima
Altura de
usuario
aproximada
Capacidad de
peso máxima
Peso de
producto
16.65"
19.7"
22.8"
16.5"
3.75"
32"
41"
5'4" - 6'8"
300 lb
6 lb
423mm
502mm
580mm
420mm
95mm
812mm
1,040mm
163mm - 203mm
136kg
2.75kg
piezas de reemplazo
Contacte a su distribuidor de
productos Graham-Field para
ordenar piezas de reemplazo.
Número de Ítem
Descripción
Unidad
700176C-C
Clip reemplazo del andador
1 C/U
700176C-T
Punta reemplazo del andador
1 par
MAnteniMientO
Limpie semanalmente el andador con un paño húmedo. Para Limpiar: según sea necesario limpie andador con un
paño limpio y una solución de agua y jabón. No utilice solventes orgánicos como acetona que puedan dañar los
mangos. Nunca utilice limpiadores abrasivos en cualquier parte del andador. Verifique semanalmente todo las piezas
del andador para asegurarse que estén conectadas adecuadamente. Reemplace las puntas del andador. Para garantizar
el mejor servicio, siempre utilice piezas de reemplazo Graham-Field, disponible en su distribuidor Graham-Field.
GArAntíA LiMitADA
GF Health Products, Inc. ofrece una Garantía Limitada de Vida por mano de obra y materiales en el Andador Ple-
gable Onyx. Esta garantía excluye daño accidental, mantenimiento o operación impropia y de desgaste que surjan
por operación normal. Durante el periodo de garantía, ítems defectuosos serán reemplazados o reparados en nuestra
discreción sin cargos.
700176C: FoldAwAy onyx wAlker
ASSeMBly And operATIon InSTrUCTIonS
pleASe SAVe THeSe InSTrUCTIonS For FUTUre USe
huecos
botones
SAfety GuiDeLineS - pLeASe reAD BefOre uSe
WARNING: Important: Read and understand these instructions before assembling or using the Fold-
Away Onyx Walker. Ensure that the FoldAway Onyx Walker is assembled as described in the follow-
ing paragraphs before use. If the FoldAway Onyx Walker is not properly assembled, personal injury
and/or property damage could result.
WARNING: Do not use this product without proper instruction from a healthcare professional.
WARNING: GF Health Products, Inc. assumes no responsibility for any damage or injury caused by
improper assembly or use of this product.
WARNING: If components are damaged or missing, contact your Graham-Field distributor immedi-
ately. DO NOT use substitute parts.
WARNING: Before using the FoldAway Onyx Walker, ensure that the release mechanisms are locked
in the open position, release levers are lowered, all legs are locked in place in walker frame, and
that all leg-frame assembly and leg height adjustment buttons protrude through holes.
WARNING: Always use caution when using this product on wet or slippery surfaces.
ASSeMBLy
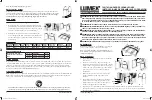
Remove walker from box. The walker is packed in col-
lapsed position, as shown at right.
Note: Walker legs are assembled with elastic shock cord
(bungee cord), so that the legs will not detach from the
frame when the walker is collapsed.
Open walker
1. Grasp one handgrip and pull away from center of
walker.
2. Repeat with other handgrip. Push handgrips away
from each other until the release mechanisms lock
into place (you will hear a click to confirm that the
release mechanisms are locked into position) and
the release levers are lowered.
3. Engage legs: Remove each walker leg from the
built-in clip on walker frame; keep clip on walker
frame.
4. Insert leg tubing into walker frame, press the
push button, and secure leg in walker frame. Re-
peat with all legs until walker is in full assembled
position.
5. Ensure that release mechanisms are locked in the open position, release levers are lowered, all legs are locked in
place in walker frame, and that all four leg buttons protrude through frame holes.
elastic shock cord
1
handgrip
release lever
2
button
clip
leg
frame
3
4
5
700176C-INS-LAB-RevA08-book.indd1 1
2/20/08 10:24:47 AM


