EN
16
If you find the freezer door difficult
to open just after you have closed it,
don’t worry. This is due to the pressure
difference which will equalize and allow
the door to open normally after a few
minutes.
You will hear a vacuum sound just after
closing the door. This is quite normal.
Making ice cubes
Fill the ice-cube tray 3/4 full with water
and place it in the freezer.
As soon as the water has turned into
ice, you can take out the ice cubes.
Never use sharp objects such as
knives or forks to remove the ice cubes.
There is a risk of injury!
Instead let the ice cubes slightly thaw
or place the bottom of the tray in hot
water for a short moment.
Defrosting the appliance
Excessive build-up of ice will affect the
freezing performance of your device.
It is therefore recommended that you
defrost your appliance at least twice
a year, or whenever the ice build-up
exceeds 7 mm.
Defrost your device when there is only
little or no food in it.
Take out the deep-frozen food. Wrap
the deep-frozen food in several layers
of paper, or a blanket, and keep it in a
cold place.
Unplug the appliance or switch off the
circuit breaker to start the defrosting
process.
Take out the accessories (like shelf,
drawer etc.) from the appliance and
use a suitable container to collect the
thawing water.
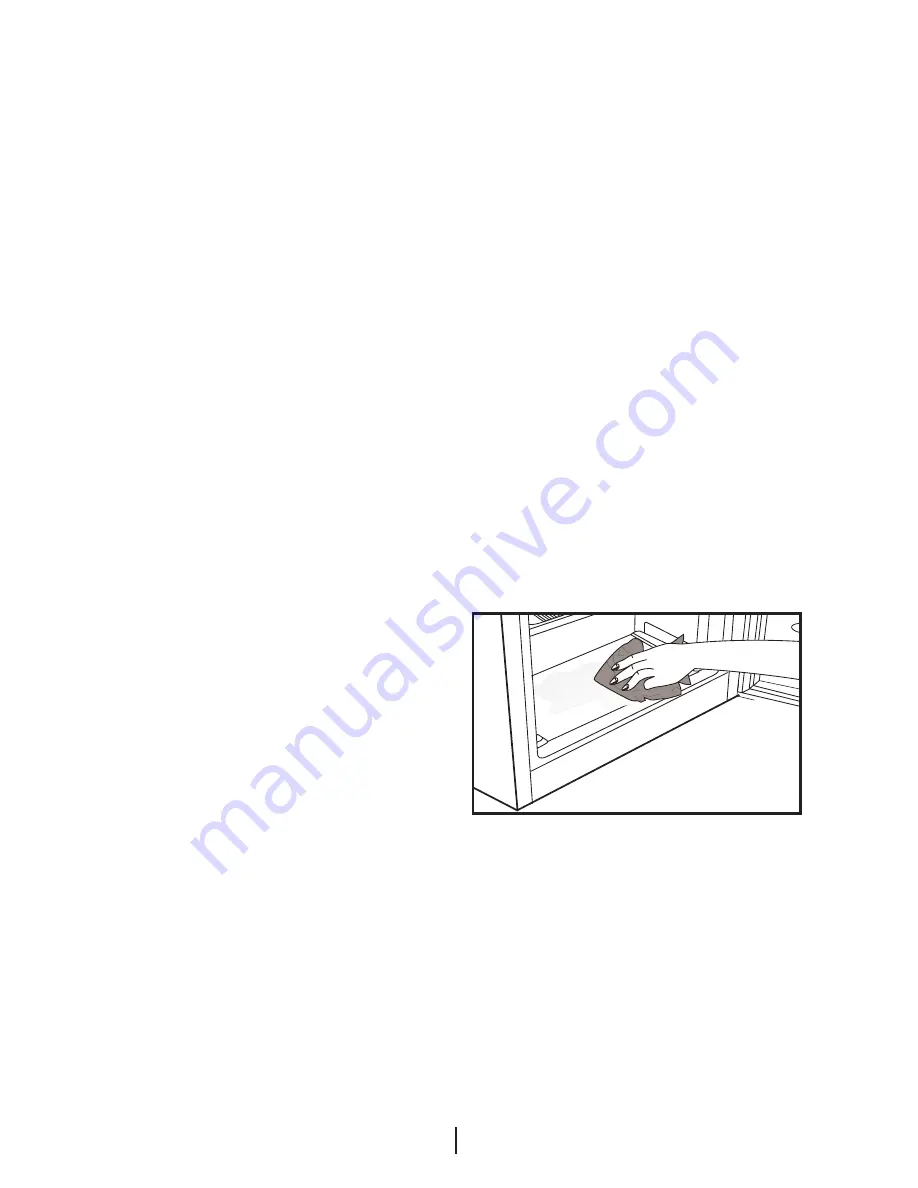
Use a sponge or a soft cloth to
remove thawing water if necessary in
the freezing compartment and frozen
food compartment
Keep the door open during defrosting.
For quicker defrosting place containers
with warm water inside the appliance.
Never
use
electrical
devices,
defrosting sprays or pointed or sharp-
edged object such as knives or forks to
remove the ice.
Reconnect the appliance to the mains.
Place the frozen food in the freezer.
After the defrosting is done, clean the
inside.
Summary of Contents for KF 32135-60
Page 12: ...DA 11 1 55 mm 595 mm 820 mm 2 3 4 S dan vender du fryserd ren...
Page 13: ...DA 12 S dan vender du fryserd ren a 8 7 4 5 9 6 2 3 1...
Page 14: ...DA 13 1 60 9 14 60 5 16 10 2 3 4 8 7 7 12 12 11 11 6 6 15 13 17 S dan vender du fryserd ren...
Page 34: ...NO 12 1 55 mm 595 mm 820 mm 2 3 4 a a c b b d e b b...
Page 35: ...NO 13 Omhengsling av d rene G frem i nummerrekkef lge a 8 7 4 5 9 6 2 3 1...
Page 36: ...NO 14 1 60 9 14 60 5 16 10 2 3 4 8 7 7 12 12 11 11 6 6 15 13 17...
Page 56: ...SV 12 1 55 mm 595 mm 820 mm 2 3 4 a a c b b d e b b...
Page 57: ...SV 13 Byte av d rrar G tillv ga i nummerordning a 8 7 4 5 9 6 2 3 1...
Page 58: ...SV 14 1 60 9 14 60 5 16 10 2 3 4 8 7 7 12 12 11 11 6 6 15 13 17...
Page 78: ...FI 12 1 55 mm 595 mm 820 mm 2 3 4 a a c b b d e b b...
Page 79: ...FI 13 Ovien uudelleen sijoitus Etene numeroj rjestyksess a 8 7 4 5 9 6 2 3 1...
Page 80: ...FI 14 1 60 9 14 60 5 16 10 2 3 4 8 7 7 12 12 11 11 6 6 15 13 17...
Page 99: ...EN 11 1 55 mm 595 mm 820 mm 2 3 4...
Page 100: ...EN 12 How to reverse the door Door in the freezer compartment a 8 7 4 5 9 6 2 3 1...
Page 101: ...EN 13 1 60 9 14 60 5 16 10 2 3 4 8 7 7 12 12 11 11 6 6 15 13 17...
Page 121: ...NL 12 1 55 mm 595 mm 820 mm 2 3 4...
Page 122: ...NL 13 Hoe de deuren om te zetten Deur in het diepvriesgedeelte a 8 7 4 5 9 6 2 3 1...
Page 123: ...NL 14 1 60 9 14 60 5 16 10 2 3 4 8 7 7 12 12 11 11 6 6 15 13 17...


