background image


Page 3 of 6 


OPERATIONS

The GCRK Remote Control has two (2) operating modes: Manual and Timer.  

(15 min. -180 min. in 15 minutes 

 increments). The max setting time is 180 min. 


The transmitter will operate the remote receiver from 1 foot to 30 feet. The distance is reduced when batteries 

are low or when the receiver is inside a metal enclosure. 


Initial startup: 

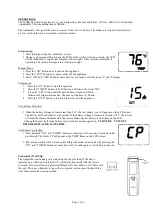
1. After initial power up the transmitter is reset.  

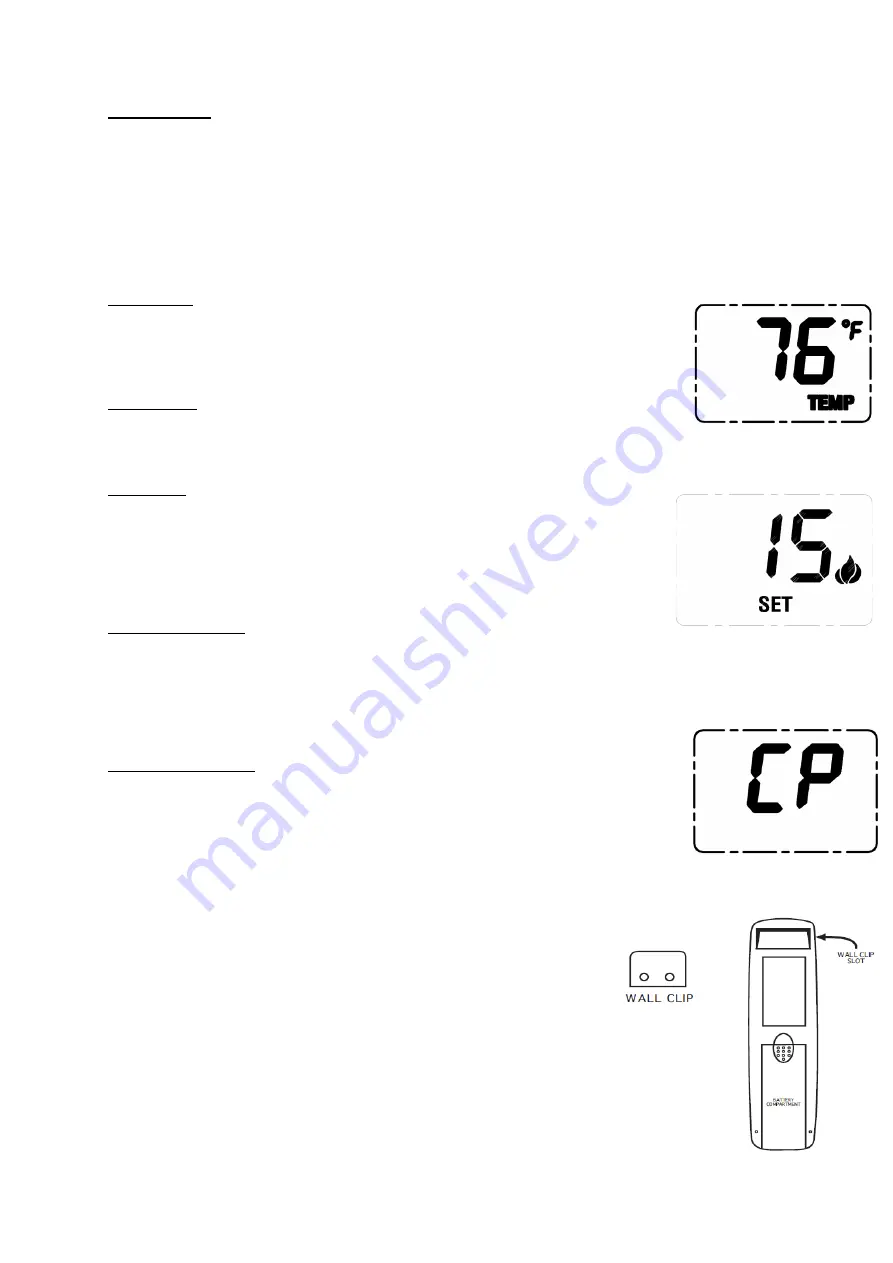
2. During system reset, all features of the LCD will be visible. After one second, the LCD 

will be initialized. A typical reset display is shown right. After reset the transmitter is 

operating. The real room temperature is shown as right.  


Manual Mode: 

1.


Press the” ON” button once to turn on the appliance.  

2.


Press the” OFF” button once again to turn off the appliance. 

3.


Press” ON” and” OFF” button at same time for 1 second to select between °C and °F display.  


Timer mode: 

1.


Press the ”ON” button to start the appliance     

2.


Press the “TIMER”


button. The LCD screen will show the word ‘SET’.    

3.


 Press the “SET” button until the desired time is reached (15min-

180min.in15minute increments). The max setting time is 180 min. 

4.


Press the  

OFF

” 

button to turn OFF the timer, and the appliance 


Low-battery detection:  


1.


When the battery voltage of remote less than 2.2V, the low battery icon will appear on the LCD screen. 

The battery will be checked every3 minute. If the battery voltage of remote is less than 1.8V, the remote 

will send the flame off command to the receiver and only low battery icon display on the LCD,  

Change the battery before the battery is too weak for normal operation.  

TURN THE    UNIT OFF 

BEFORE REPLACING BATTERIES


Child-proof   protection:  

1.


Press and hold ”ON” and ”TIMER” button at same time for 5 seconds to activate child-

proof mode. The letters CP will appear in the TEMP frame on the LCD screen.  


2. The remote control will not work until child-proof mode is deactivated by pressing the  

”ON” and” TIMER” buttons at same time for 5 seconds again to exit child-proof mode. 


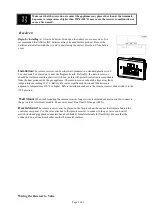
Transmitter Wall Clip


The transmitter can be hung on a wall using the clip provided. If the clip is 

installed on a solid wood wall, drill 1/8” pilot holes and install with the screws 

provided. If it is installed on a plaster/wallboard wall, first drill two 1/4” holes into 

the wall. Then use a hammer to tap in the two plastic wall anchors flush with the 

wall; then install the screws provided. 


Summary of Contents for GCRK

Page 1: ...sitive temperature monitoring components in the transmitter it is necessary to allow the transmitter to stabilize to room temperature before accurate room temperature are displayed If the transmitter is activated from a severe cold condition allow 15 minutes for accurate temperature reading to appear on the LCD WARNING Important Safety Information Read this manual thoroughly prior to installing pr...

Page 2: ...ansmitter privacy DIP Switches are preset at the factory Setting the 4 bits DIP Switches on transmitter to select a security code 2 Put the receiver slide switch to RS location Using a small screwdriver or end of a paper clip gently press and hold the LEARN button on the receiver to accept the transmitter security code upon initial use when you release the LEARN button the receiver will emit an au...

Page 3: ...setting time is 180 min 4 Press the OFF button to turn OFF the timer and the appliance Low battery detection 1 When the battery voltage of remote less than 2 2V the low battery icon will appear on the LCD screen The battery will be checked every3 minute If the battery voltage of remote is less than 1 8V the remote will send the flame off command to the receiver and only low battery icon display on...

Page 4: ...otect its electronic components from the heat produced by the gas appliance The remote receiver should be kept away from temperatures exceeding 130º F Battery life is also significantly shortened if batteries are exposed to temperatures 130ºF or higher Before installation make sure the remote receiver slide switch is in the OFF position Wall Mount When wall mounting the remote receiver longer wire...

Page 5: ...oth turning the system off and rendering the receiver inoperable Testing Your New Remote System 1 Light your gas appliance following the appliance lighting instructions that come with the appliance Confirm that the pilot light is on it must be in operation for the remote control to operate the main gas valve Appliance control knob must be in the ON position Appliance ON OFF switch must be in ON po...

Page 6: ...ransmitter does not match receiver 1 Make sure the transmitter is matched to the receiver 2 Transmitter measures temperature exceeding 99 degrees and shows HI on LCD display 2 Move transmitter to a cooler place and wait until temperature drops below 99 degrees 3 Distance between the transmitter and receiver is more than 30 feet 3 Make sure the operating distance is less than 30 feet Receiver canno...

Reviews: