Page 4 of 6
WA
R
NI
NG
Make sure that the wires do not contact the appliances any place other than at the terminals.
Exposure to temperatures higher than
250℉(105℃)
may cause the receiver to malfunction or
cause a fire hazard.
Receiver:
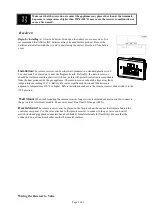
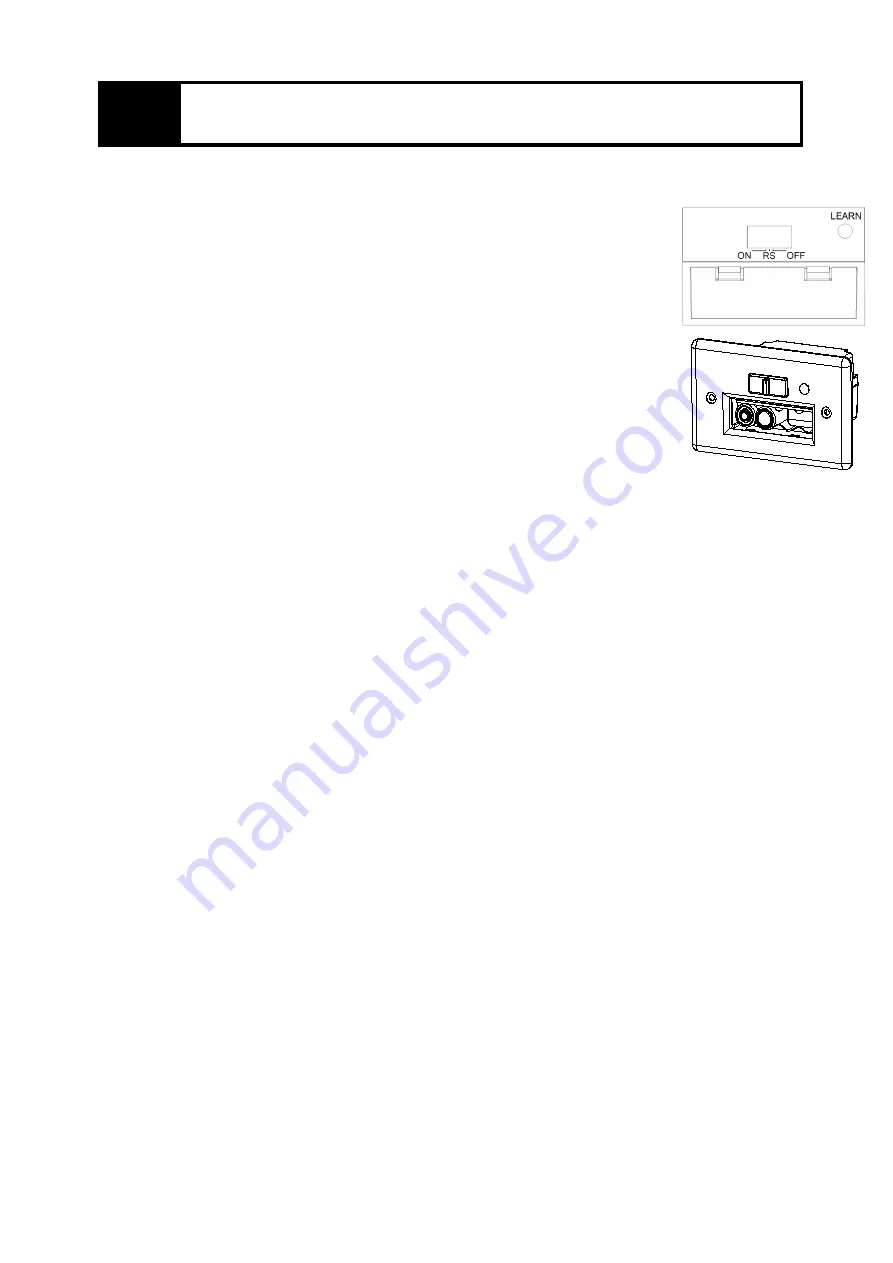
Begin by installing
(4) AA-size batteries. Slide open the battery cover on receiver. It is
recommended that ALKALINE batteries always be used for this product. Be sure the
batteries are installed with the (+) and (-) ends facing the correct direction. Close battery
cover
Installation
The remote receiver can be either wall-mounted in a standard plastic switch
box (not metal) or placed on or near the fireplace hearth. Preferably, the remote receiver
should be wall-mounted in a plastic switch box, as this will protect its electronic components
from the heat produced by the gas appliance. The remote receiver should be kept away from
temperatures exceeding 130
º
F. Battery life is also significantly shortened if batteries are
exposed to temperatures 130
º
F or higher. Before installation make sure the remote receiver slide switch is in the
OFF position.
Wall Mount
When wall mounting the remote receiver, longer wires (not included) are required to connect to
the gas valve or electronic module. These wires must: Be at least 18 Gauge (AWG)
Hearth Mount
The remote receiver may be placed on the fireplace hearth or under the fireplace behind the
control access panel. Use the wires attached to the remote receiver to connect to the gas valve or an on/off
switch (included piggyback connectors have both male & female terminals for flexibility). Be sure that the
connectors do not touch each other or other bare metal surfaces.
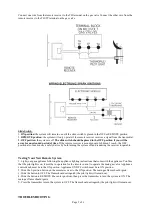
Wiring the Receiver to Valve


