9.
Position and level the unit.
10.
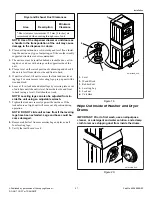
Wipe out inside of washer and dryer drums.
11.
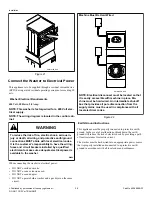
Connect the washer and dryer to electrical power.
12.
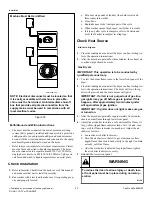
Recheck steps.
13.
Start and run the dryer in a heat setting to verify dryer is heat-
ing.
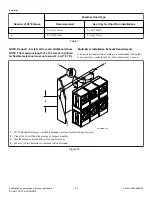
Position Unit Near Installation Area
Move unit so that it is within 1.2 meters [4 feet] of the desired
area of installation.
CAUTION
Washer and dryer are not designed to be operated as
separated, side-by-side units.
W187
NOTE: For best performance and to minimize vibration
or movement, install washer on a solid, sturdy and lev-
el floor. Some floors may need to be reinforced, espe-
cially on a second floor or over a basement. Do not in-
stall the washer on carpeting, soft tile or other weakly
supported structures.
Remove Shipping Materials
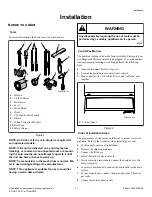
1.
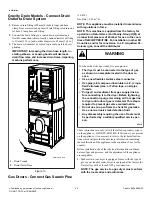
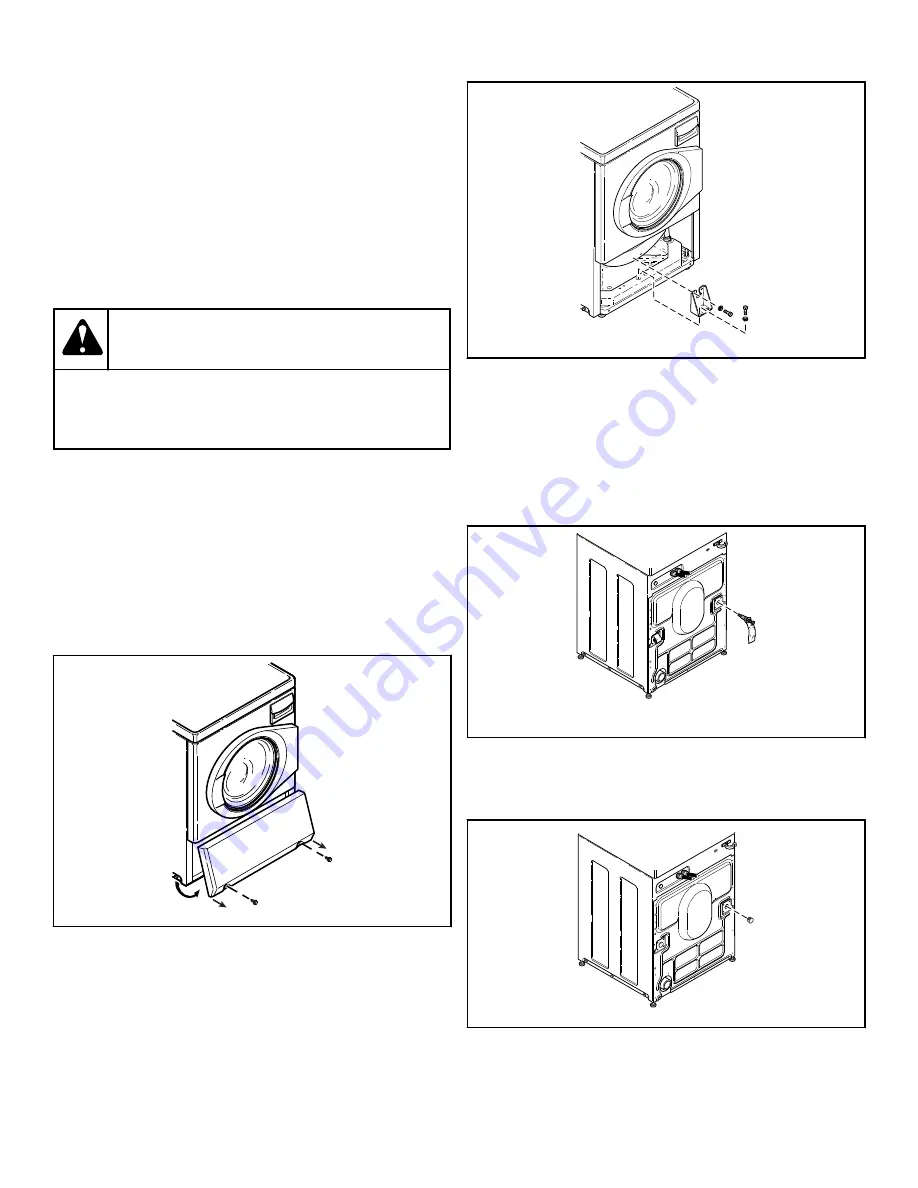
Remove two screws at bottom of front access panel. Rotate
bottom of panel out and remove panel.
FLW2378N_SVG
Figure 3
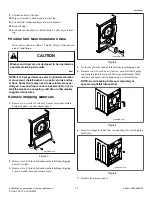
2.
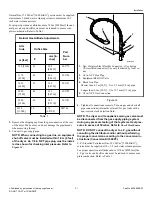
Remove two 9/16 inch bolts and washers holding shipping
brace to weight.
3.
Remove two 9/16 inch bolts and washers holding shipping
brace to washer base and remove brace.
FLW2296N_SVG1
Figure 4
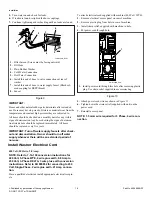
4.
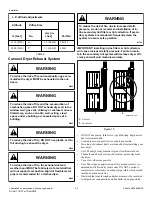
Go to rear of washer and pull label from rear shipping bolts.
5.
Remove two 9/16 inch bolts. Unscrew each bolt while apply-
ing forward pressure just until bolt stops unthreading. Work
each bolt and spacer out by hand using a circular motion.
NOTE: Avoid backing bolts out completely or
spacers might fall into cabinet.
FLW2297N_SVG1
Figure 5
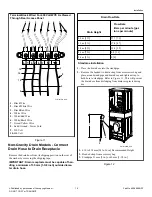
6.
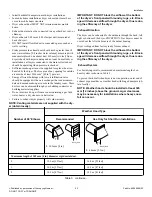
Insert two plugs included in accessories bag into rear shipping
bolt holes.
FLW2358N_SVG
Figure 6
7.
Replace front access panel.
Installation
©
Published by permission of the copyright owner -
DO NOT COPY or TRANSMIT
15
Part No. 805898ENR1

