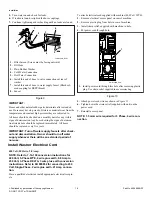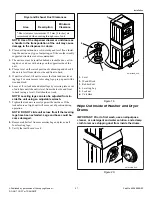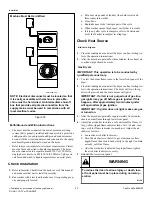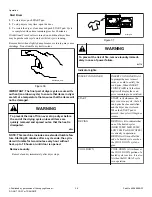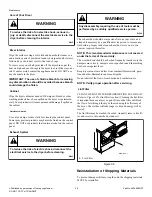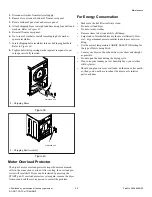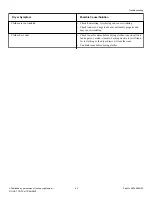
Machine Must Be Hard Wired
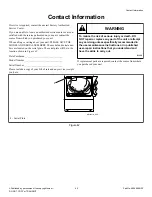
SWD1034N_SVG
NOTE: Electrical disconnect must be located so that
it is easily accessible with machine in place. Ma-
chine must be hard wired. An intermediate shut-off
box that provides all pole disconnection from the
supply mains must be used in compliance with all
local electrical codes.
Figure 23
Earth/Ground and Wiring Instructions
• The dryer must be connected to a metal, permanent wiring
system that is properly installed and connected to a protective
earth/ground; or an equipment-earth/ground conductor must
be run with the circuit conductors and connected to the equip-
ment-earth/ground terminal or lead on the dryer.
• Refer to dryer serial plate for electrical requirements. Circuit
must be fused and wired to handle requirements. The dryer
must be connected to a separate branch 230 Volt, 50 Hertz,
single-phase circuit or a 400/230 Volt, 50 Hertz, 3-phase cir-
cuit fused and wired to handle requirements on serial plate.
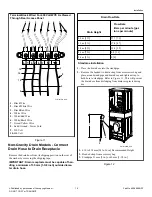
Check Installation
1.
Refer to Installer Checklist on the back cover of this manual
and make sure that unit is installed correctly.
2.
Run washer with a test load to make sure it is operating prop-
erly and properly leveled.
a. Put about six pounds of laundry (four bath towels and
three jeans) into washer.
b. Close door.
c. Rapid advance to the final spin part of the cycle.
d. When washer spins at high speed, verify that it is stable.
e. If it is not, after cycle is complete, refer to Position and
Level the Washer to readjust leveling legs.
Check Heat Source
Electric Dryers
1.
Close the loading door and start the dryer in a heat setting (re-
fer to the operation instructions).
2.
After the dryer has operated for three minutes, the exhaust air
or exhaust pipe should be warm.
Gas Dryers
IMPORTANT: This operation is to be conducted by
qualified personnel only.
1.
To view the burner flame, remove the lower front panel of the
dryer.
2.
Close the loading door and start the dryer in a heat setting (re-
fer to the operation instructions). The dryer will start, the ig-
niter will glow red and the main burner will ignite.
IMPORTANT: If all air is not purged out of gas line,
gas igniter may go off before gas is ignited. If this
happens, after approximately two minutes igniter
will again attempt gas ignition.
IMPORTANT: If igniter does not light, make sure gas
is turned on.
3.
After the dryer has operated for approximately five minutes,
observe burner flame through lower front panel.
4.
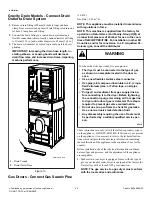
Adjust the air shutter to obtain a soft, uniform blue flame. (A
lazy, yellow-tipped flame indicates lack of air. A harsh, roar-
ing, very blue flame indicates too much air.) Adjust the air
shutter as follows:
a. Loosen the air shutter lockscrew.
b. Turn the air shutter to the left to get a luminous yellow-
tipped flame, then turn it back slowly to the right to obtain
a steady, soft blue flame.
c. After the air shutter is adjusted for proper flame, tighten
the air shutter lockscrew securely.
5.
Reinstall the lower front panel.
WARNING
To reduce the risk of serious injury or death, low-
er front panel must be in place during normal op-
eration.
W158
Installation
©
Published by permission of the copyright owner -
DO NOT COPY or TRANSMIT
30
Part No. 805898ENR1


