1.
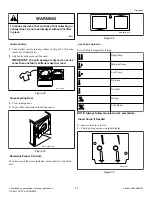
Disconnect washer from electrical supply.
2.
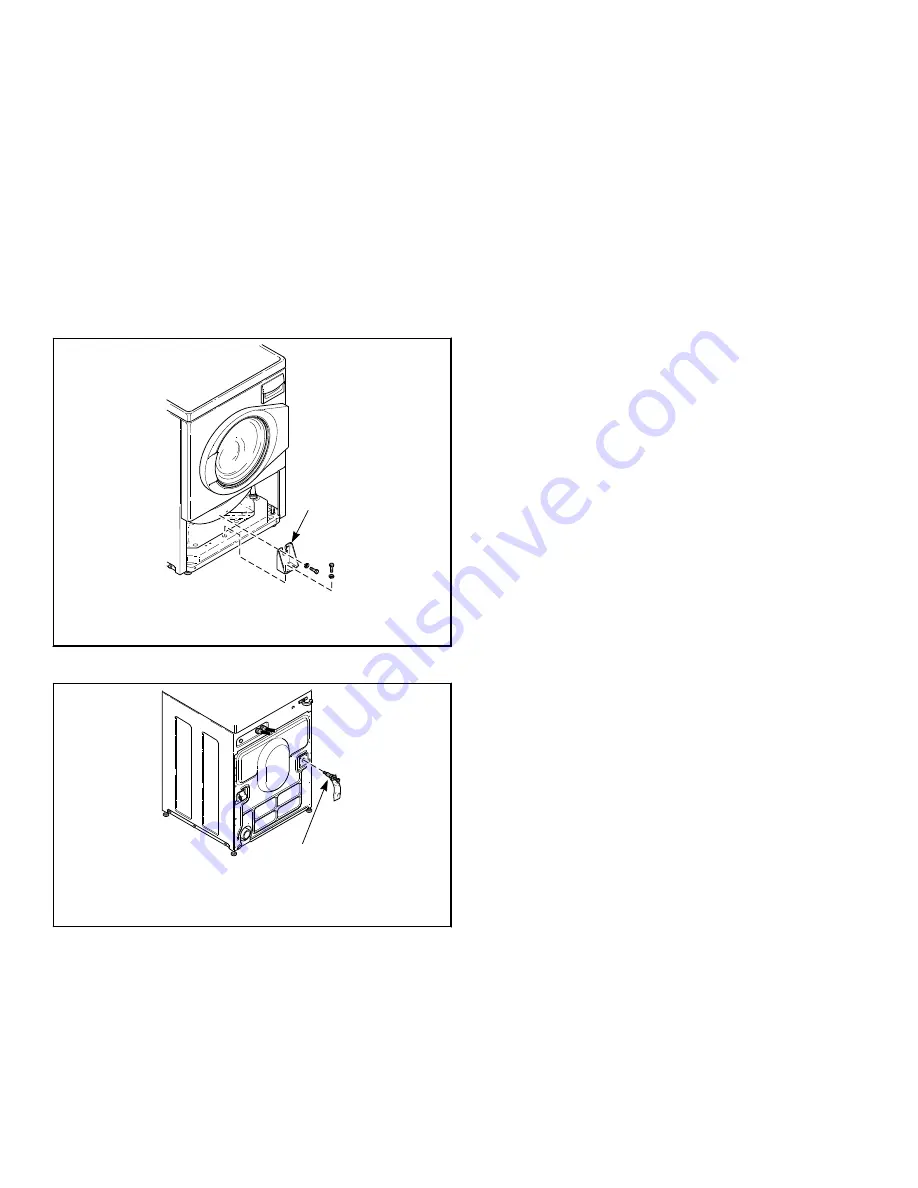
Remove two screws at bottom of front access panel.
3.
Rotate bottom of panel out and remove panel.
4.
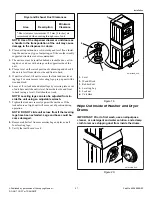
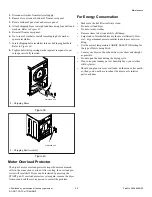
Attach shipping brace to weight and base using four bolts and
washers. Refer to
5.
Reinstall front access panel.
6.
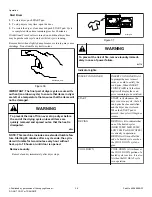
Go to rear of washer to install rear shipping bolt, washer,
spacer assemblies.
7.
Insert shipping bolt assemblies into each shipping bolt hole.
Refer to
.
8.
Tighten bolt while pressing washer against rear panel to en-
sure spacer is fully inserted.
FLW2296N_SVG
1
1.
Shipping Brace
Figure 39
FLW2297N_SVG
1
1.
Shipping Bolt Assembly
Figure 40
Motor Overload Protector
The dryer’s motor overload protector stops the motor automati-
cally in the event of an overload. After cooling, the overload pro-
tector will reset itself. Dryer can be restarted by pressing the
START pad. If overload protector cycles again, remove the dryer
from use and call the service person to correct the problem.
For Energy Conservation
• Make sure the lint filter is always clean.
• Do not overload dryer.
• Do not overdry clothes.
• Remove items to be ironed while still damp.
• Large loads of similar fabrics dry the most efficiently. How-
ever, dry permanent press in smaller loads to prevent wrin-
kling.
• Use the correct temperature FABRIC SELECTOR setting for
the type of fabric being dried.
• Locate your dryer so the exhaust duct is as short and straight
as possible.
• Do not open the door during the drying cycle.
• Plan to do your laundry on low humidity days; your clothes
will dry faster.
• Should you plan to dry several loads, do them one after anoth-
er, then you do not have to reheat the dryer unit’s interior
parts each time.
Maintenance
©
Published by permission of the copyright owner -
DO NOT COPY or TRANSMIT
39
Part No. 805898ENR1


