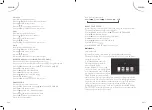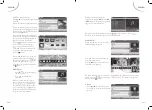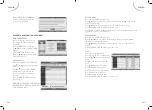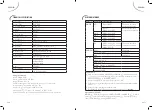
GB-8
GB-7
ENGLISH
ENGLISH
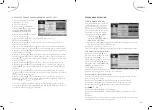
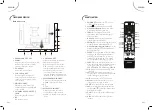
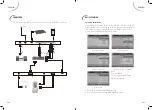
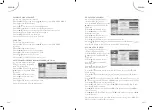
1.
EARPHONE OUTPUT
2.
SCART
Connect them to the scart video and
Audio output terminal of DVD.
(used in component source.)
3.
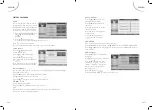
PC AUDIO
Port for VGA audio input.
4.
VGA IN SOCKET
Connect the VGA output of
your computer to the VGA input
connector of this appliance using
a VGA cable.
5.
HDMI SOCKET
HDMI in socket-Connect to
external equipment with HDMI
output socket.
6.
COAXIAL AUDIO OUTPUT
JACK
Port for digital audio output.
7.
RF
RF antenna socket
8.
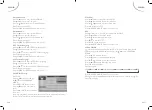
USB IN SOCKET
Connect the mobile hard disk or
drive to this socket.
Note:
output current for the
USB port is up to 500mA. Some
external hard drives may require
an external power source to be
connected to them to operate
correctly. External memory devices
should be in FAT or FAT32 format.
9.
MINI YPBPR IN SOCKET
Connect applicable equipment with
YPBPR output to this socket.
10.
CI
CI slot
11.
MINI AV IN SOCKET
Connect the video out sockets
of your video or other external
appliance to the AV input socket of
the set.
Back connectors
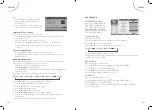
TELEVISION OVERVIEW
1
3
2
4
5
6
7
8
9
10
11
6 7
8 9
13 14
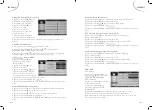
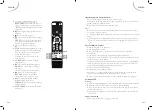
1.
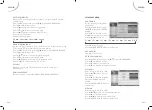
POWER ( ):
Switches the TV on from
standby or back to standby.
2.
Mute ( ):
Switches the sound on or
3.
0-9 Number Buttons:
Press 0-9 to select
a channel, or input the password.
4.
INFO:
Press to display the channel
information; this information disappears
after 10 seconds.
5.
RECALL:
Press to return to previously-
viewed channel (only for TV)
6.
PMODE:
Press to cycle through the picture
modes: Dynamic, standard Mild, User
7.
EPG (Electronic Program Guide):
Press to
display the (Digital TV Time table) mode.
Press again to exit.
8.
SLEEP:
Press repeatedly to set a time delay
(10, 20, 30, 60, 90, 120, 180, 240 minutes
and
after which the TV switches to
standby. To cancel sleep time, press Sleep
button repeatedly until sleep
appears.
9.
INPUT:
Press to display the input source
menu, then using Direction buttons to select
input signal source, such as DTV, ATV,
SCART, YPBPR, PC, HDMI, AV, MEDIA.
10.
I/II:
Selects the sound output in TV mode.
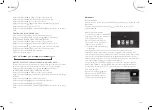
11. , , , ,: Press Direction buttons to
navigate the on-screen menus and adjust the
system settings to your preference.
12.
OK:
Press to enter or
an entry.
13.
Menu:
Press to enter into the on-screen
setup menu, press again to return.
14.
EXIT:
Press this button to exit the menu.
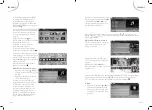
15.
FAV:
Press to display the favorite channel
list. Press or to select the channel then
press Enter to
16.
VOL+/-:
Press to adjust the volume output
levels.
17.
PR+/-:
Switches to the next or previous
channel.
REMOTE CONTROL
Summary of Contents for LSV16A5
Page 1: ...LSV16A5...

