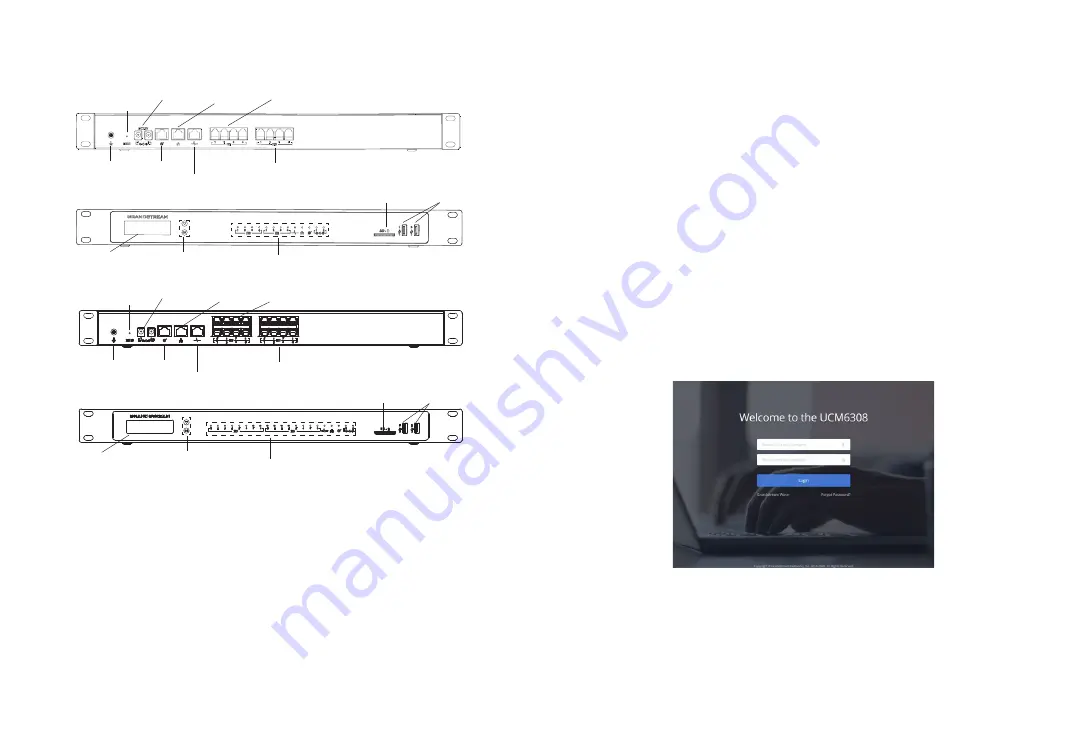
background image

~3~

~4~

CONNECTING THE UCM6304/6308/6308A:

1. 

Connect  one  end  of  an  RJ-45  Ethernet  cable  into  the  WAN  port  of  the 

UCM6304/6308/6308A.

2. 

Connect the other end of the Ethernet cable into the uplink port of an Ethernet 

switch/hub.

3. 

Connect the 12V DC power adapter into the DC 12V power jack 1 on the back 

of the UCM6304/6308/6308A. Insert the main plug of the power adapter into a 

surge-protected power outlet. (Connect the second power adapter into the DC 

12V power jack 2 for failover purpose in case the first one is down).

4. 

Wait for the UCM6304/6308/6308A to boot up. The front LCD display will show 

the UCM’s hardware information when the boot process is completed.

5. 

Once the UCM6304/6308/6308A is successfully connected to the network via 

WAN port, the Network LED indicator will be lit green, and an IP address will 

be shown on the LCD display.

6. 

(Optional) Connect PSTN lines from the wall jack to the FXO ports, connect 

analog devices (phone and fax) to the FXS ports.

DC 12V (x2)

WAN port

LAN port

Reset

Heartbeat port

FXS ports

FXO ports

Ground

SD Card slot

USB ports

1. 

Press “OK” key to start browsing menu options.

2. 

Press “Down” to browser different menu options. Press “OK” to select an entry.

3. 

In the menu option, select “Back” to go back to previous menu.

4. 

The LCD will return to default display after being idle in menu for longer than 

30 seconds.

CONFIGURING THE UCM6304/6308/6308A 

VIA WEB GUI:

1. 

Connect the computer to the same network as the UCM6304/6308/6308A.

2. 

Ensure  the  UCM6304/6308/6308A  is  properly  powered  on  then  press  the 

“Home“ button to displays the IP address and other information on the LCD 

screen.

3. 

Open a web browser on the computer and enter the displayed IP address into 

the search bar in the following format: http(s)://ipaddress:portnumber

4. 

Enter  admin’s  username  and  password  to  access  the  configuration  menu. 

(The factory default username is “admin” while the default random password 

can be found on the sticker at the back of the unit).

Note:

 The number of FXS/FXO ports depends on UCM6304/6308/6308A model.

5. 

For more detailed information on how to configure SIP extensions, PSTN con

-

nections, SIP trunks, and other system settings via the web UI, please down

-

load  the  UCM6304/6308/6308A  user  manual  here:  http://www.grandstream.

com/support/

Refer to online documents and FAQ for more detailed information:  

http://www.grandstream.com/our-products

This product is covered by one or more of the U.S. patents (and any foreign patent counter

-

parts thereto) identified at www.cmspatents.com.

UCM6304 Front view

UCM6304 Rear view

LED indicators

LCD

Navigation keys

USING THE UCM6304/6308/6308A LCD MENU:

DC 12V (x2)

WAN port

LAN port

Reset

Heartbeat port

FXS ports

FXO ports

Ground

SD Card slot USB ports

UCM6308/6308A Front view

UCM6308/6308A Rear view

LED indicators

LCD

Navigation keys

Summary of Contents for UCM6304

Page 1: ...line Ave 3rd Floor Boston MA 02215 USA Voice 617 566 9300 Fax 617 249 1987 www grandstream com For Certification Warranty and RMA information please visit www grandstream com UCM6304 6308 6308A IP PBX Appliance Quick Installation Guide ...

Page 2: ...Content English 1 简体中文 5 Español 9 Français 13 Deutsch 17 Italiano 21 Русскй 25 Português 29 Polski 33 ...

Page 3: ...emble or modify the device Do not use a third party power adapter Do not expose this device to temperatures outside the range of 32 113ºF 0 45ºC for operating or 14 140ºF 10 60ºC for storage Do not expose this device to environment outside of the following hu midity range 10 90 RH non condensing Do not power cycle the device during system boot up or firmware upgrade You may corrupt firmware images...

Page 4: ...fter being idle in menu for longer than 30 seconds CONFIGURING THE UCM6304 6308 6308A VIA WEB GUI 1 Connect the computer to the same network as the UCM6304 6308 6308A 2 Ensure the UCM6304 6308 6308A is properly powered on then press the Home button to displays the IP address and other information on the LCD screen 3 Open a web browser on the computer and enter the displayed IP address into the sea...

Page 5: ...败的事件提 出诉讼 ZH 设备包装清单 产品概览 1 请不要拆卸或修改该设备 2 请不要使用第三方的电源适配器 3 请不要在超出0至45摄氏度的环境下使用该设备 请不要在超出 10至60摄氏度 的环境下存储该设备 4 请不要将设备暴露在超出相对湿度10 90 范围外的环境下 5 请不要在设备启动未完成的时候或设备的软件升级过程中断开电源 如上所述 的操作会导致设备本身的程序损坏 进而造成设备无法启动 UCM6304 网线 1根 电源适配器 2个 注意事项 UCM6304 6308 6308A是一款功能丰富 兼具创新的IP PBX设备 它采用先进 的硬件平台 运用强健的系统资源 为用户提供了集语音 视频 数据 传真和 监控设备需求的统一解决方案 UCM6304 6308 6308A融合了工业界领先的功 能 安装部署方便 运行稳定可靠 性价比高 是中小型企业理想的选择 快速安装手册 1本 GN...

Page 6: ...键选择菜单选项 3 按选择菜单中的 Back 选项返回上一级菜单 4 在菜单中 若空闲状态停留30秒后 LCD将会回到默认显示 通过网络界面配置UCM6304 6308 6308A 1 将电脑与UCM6304 6308 6308A连接至同一网络 2 UCM6304 6308 6308A正常启动并成功连接网络后 在LCD上确认 UCM6304 6308 6308A的IP地址 3 将UCM6304 6308 6308A的IP地址以下列格式输入在电脑的网络浏览器 上 http s IP地址 端口 4 输入管理员用户名和密码登入管理界面 管理员用户名的缺省值为 admin 缺 省密码为随机值 写于UCM6304 6308 6308A机体的贴纸上 5 登录后 用户可以在网络界面下配置SIP账号 PSTN连接 SIP中继 系统设 定等 欲获取更多详细信息 请在如下链接下载UCM6304 6308 63...

Page 7: ...ORMACIÓN GENERAL No abrir desarmar o intentar modificar este equipo No use adaptadores de corriente distintos al suministrado No exponga este dispositivo a temperaturas fuera del rango de 0 C a 45 C en funcionamiento y 10 C a 60 C en almacenadas No exponga este dispositivo ambientes fuera del siguiente rango de humedad 10 90 RH Sin condensación Por favor NO apague el UCM6304 6308 6308A durante el ...

Page 8: ...En la opción del menú seleccione Volver para regresar al menú anterior 4 La pantalla LCD volverá a la pantalla por defecto de inicio después de estar inactiva durante más de 30 segundos CONFIGURACION DEL UCM6304 6308 6308A ATRAVEZ DE LA IN TERFAZ WEB DE USUARIO 1 Conecte un ordenador a la misma red que el UCM6304 6308 6308A 2 Asegúrese de que el UCM6304 6308 6308A está correctamente encendido y mu...

Page 9: ...e pas exposer cet appareil à des températures hors de la plage de 0 C à 45 C en opération ou 10 C à 60 C en stockage Ne pas exposer cet appareil à un environnement avec humidité hors de la plage de 10 90 RH sans condensation Veuillez ne pas éteindre le UCM6304 6308 6308A pendant le démarrage du sys tème ou la mise à jour du firmware Cela risque de rompre l image du firmware et en con séquence rend...

Page 10: ...Appuyez sur OK pour sélectionner une entrée 3 Dans le menu sélectionnez Retour pour revenir au menu précédent 4 L écran LCD revient à l affichage par défaut après avoir été inactif dans le menu pendant plus de 30 secondes CONFIGURATION DE L UCM6304 6308 6308A VIA L INTERFACE WEB 1 Connectez l ordinateur au même réseau que le UCM6304 6308 6308A 2 S assurer que l UCM6304 6308 6308A est bien sous ten...

Page 11: ...etzteile von anderen Herstellern Das Gerät darf nicht bei Temperaturen jenseits von 0 C bis 45 C betrieben oder gelagert werden von 10 C bis 60 C Die Luftfeuchtigkeit muss innerhalb des folgenden Bereichs liegen 10 90 rel Luftfeuchtigkeit nichtkondensierend Schalten Sie das UCM6304 6308 6308A beim Systemstart oder bei der Firm ware Aktualisier ung NICHT aus und wieder ein Andernfalls können Firmwa...

Page 12: ...nen Eintrag auszuwählen 3 Wählen Sie in der Menüoption Zurück um zum vorherigen Menü zu wech seln 4 Bei mehr als 30 Sekunden ohne Aktivität wird auf dem LCD wieder die Standar danzeige angezeigt KONFIGURIEREN DES UCM6304 6308 6308A ÜBER DIE WEB GUI 1 Schließen Sie den Computer an dasselbe Netzwerk an wie das UCM6304 6308 6308A 2 Vergewissern Sie sich dass das UCM6304 6308 6308A eingeschaltet ist u...

Page 13: ...ance per IP PBX pensata per le piccole e medie imprese Supportata da un avanzata piattaforma hard ware con solide risorse di sistema l appliance UCM6304 6308 6308A offre una soluzione UC Unified Communication all avanguardia e al tamente versatile per le esigenze di applicazioni voce video fax dati e di videosorveglianza convergenti Con funzionalità e prestazioni all avanguardia nel settore UCM630...

Page 14: ...rere le diverse opzioni del menu Premere OK per selezionare una voce 3 Nell opzione di menu selezionare Indietro per tornare al menu precedente 4 Il display LCD tornerà alla visualizzazione predefinita dopo un periodo di intiv ità nel menu di più di 30 secondi CONFIGURAZIONE DI UCM6304 6308 6308A TRA MITE INTERFACCIA UTENTE GRAFICA WEB 1 Collegare il computer alla stessa rete di UCM6304 6308 6308A...

Page 15: ...304 6308 6308A инновационная IP АТС для предприятий малого и среднего бизнеса UCM6304 6308 6308A основана на усовершенствованной аппаратной платформе с надежными системными ресурсами и представляет собой многофункциональное высокотехнологичноерешениедляунифицированныхкоммуникаций отвечающее потребностям клиентов в конвергенции голосовых видео и факсимильных данных а также видеонаблюдения UCM6304 6...

Page 16: ...мите OK чтобы выбрать запись 3 В меню выберите пункт Back Назад чтобы вернуться к предыдущему меню 4 При бездействии в меню более 30 секунд ЖК дисплей вернется в состояние по умолчанию НАСТРОЙКА UCM6304 6308 6308A ЧЕРЕЗ ВЕБ ИНТЕРФЕЙС 1 Подключите компьютер к той же сети в которой находится UCM6304 6308 6308A 2 Убедитесь что UCM6304 6308 6308A правильно включен а на ЖК дисплее отображается его IP а...

Page 17: ...Corrente PRECAUÇÕES O UCM6304 6308 6308A é um inovador dispositivo PABX IP pro jetado para pequenas e médias empresas Potenciado por uma plata forma avançada de hardware com poderosos recursos de sistema o UCM6304 6308 6308A oferece grande versatilidade em soluções de co municações unificadas UC para as necessidades de aplicação e con vergência de voz dados fax e videovigilância Ao incorporar os r...

Page 18: ...08 6308A 2 Conecte a outra ponta de cabo de rede em uma porta habilitada de um switch hub 3 Conecte o adaptador de alimentação 12V DC na tomada de DC 12V 1 na parte de trás do UCM6304 6308 6308A Insira a ficha principal da fonte de alimentação em uma tomada de corrente protegida contra sobretensão Co necte o segundo adaptador de energia na tomada de corrente DC 12V 2 para fins de transferência no ...

Page 19: ...t 2x zasilacz 12 V ŚRODKI OSTROŻNOŚCI UCM6304 6308 6308A to innowacyjne urządzenie IP PBX przeznaczone dla małych i średnich przedsiębiorstw Zasilane zaawansowaną platformą sprzętową z różnymi zasobami systemowymi urządzenie UCM6304 6308 6308A oferuje wszechstronne i nowoczesne rozwiązanie komunikacji zunifikowanej Odpowi ada ono na potrzeby zintegrowanego zastosowania w zakresie głosu wideo danyc...

Page 20: ... UCM6304 6308 6308A 2 Drugi koniec kabla Ethernet podłączyć do portu uplink przełącznika koncentra tora Ethernet 3 Podłącz zasilacz prądu stałego 12 V do gniazda zasilania prądem stałym 12 V nr 1 w tylnej części urządzenia UCM6304 6308 6308A Włóż główną wtyczkę zasilacza do zabezpieczonego przed przepięciami gniazda zasilającego Podłącz drugi zasilacz do gniazda zasilania prądem stałym 12 V nr 2 w...

Reviews: