13
4. Installation
4.1 Auger Unit
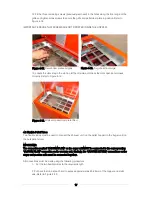
1. To fit the auger unit to the Grant bulk pellet store, use the following procedure:
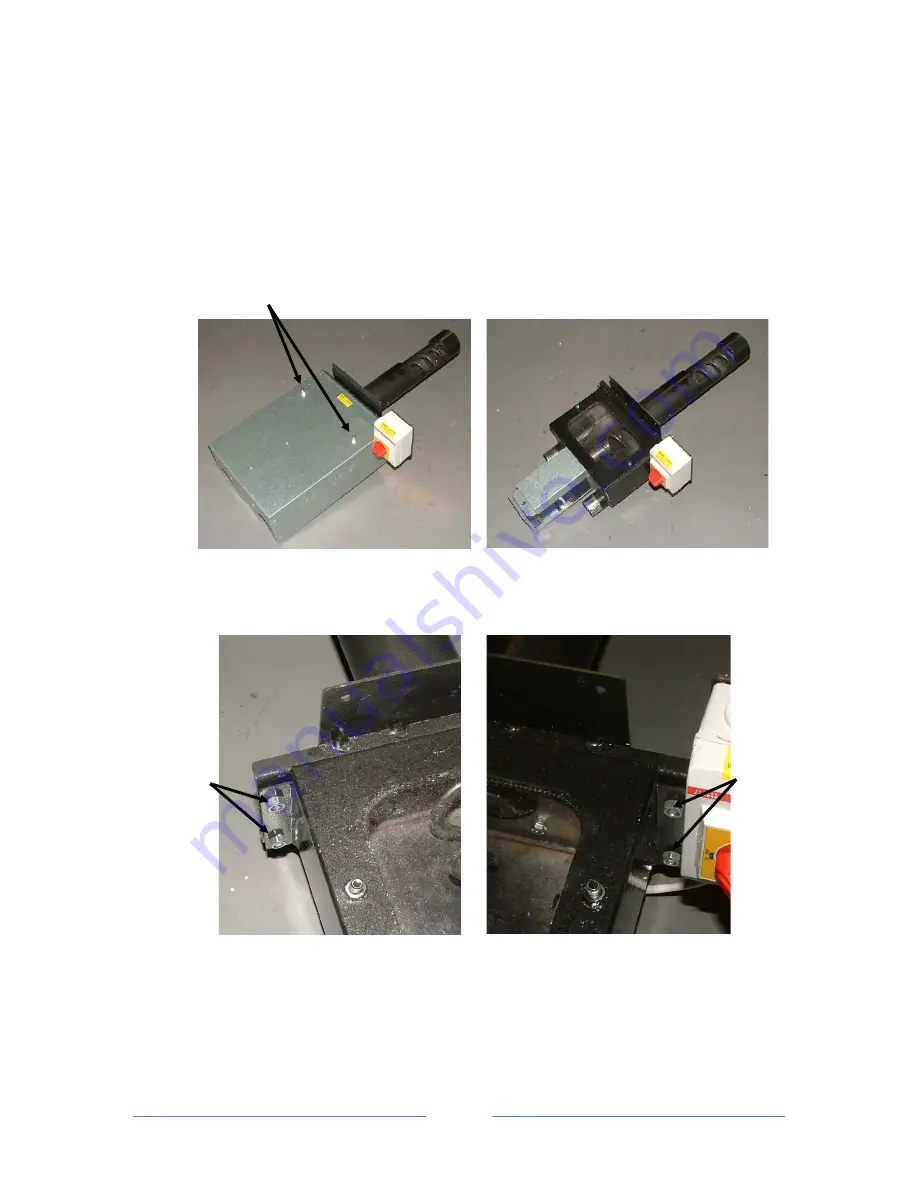
Unscrew and remove the two domed nuts and remove the galvanised steel cover from the auger
unit. Refer to Figure 4-1.
2. Unscrew and remove the four nuts holding the mounting flange to the auger unit and remove
the flange over the auger. Refer to Figures 4-3 and 4-4. Leave the circular neoprene gasket in
place on the auger.
IMPORTANT: Take care not to strain the cable between the isolator (on the mounting flange) and the
auger motor (in auger unit).
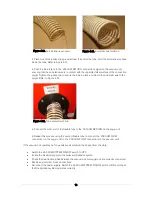
3. On the bottom section of the bulk pellet store, unscrew and remove the eight M8 screws
around the auger sleeve opening. Remove and discard the flange and auger sleeve but keep the
screws. Refer to Figure 4-5. Ensure that the factory-fitted neoprene gasket is still in place around
the opening and not damaged. Refer to Figure 4-6. The SpiraVac auger unit can be fitted to this
opening as described in paragraph 5 below.
Figure 4-3. Auger unit flange fixings - left
Figure 4-2. Auger unit with cover removed
Figure 4-4. Auger unit flange fixings - right
Figure 4-1A. Auger unit with cover fitted
Fixing
bolts
Domed nuts
Fixing
bolts
Summary of Contents for WPVKIT10
Page 12: ...12 Figure 3 6 SpiraVac operation flow diagram ...
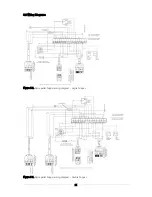
Page 22: ...22 Figure 5 4 Vacuum unit wiring diagram ...
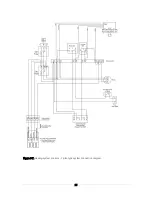
Page 24: ...24 Figure 5 6 Heating system controls S plan type system connection diagram ...
Page 25: ...25 Figure 5 7 Heating system controls Y plan type system connection diagram ...


