15
4.2 Vacuum Unit
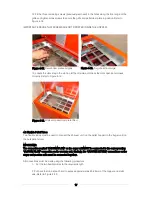
To fit the vacuum unit to the Grant Spira pellet hopper, use the following procedure:
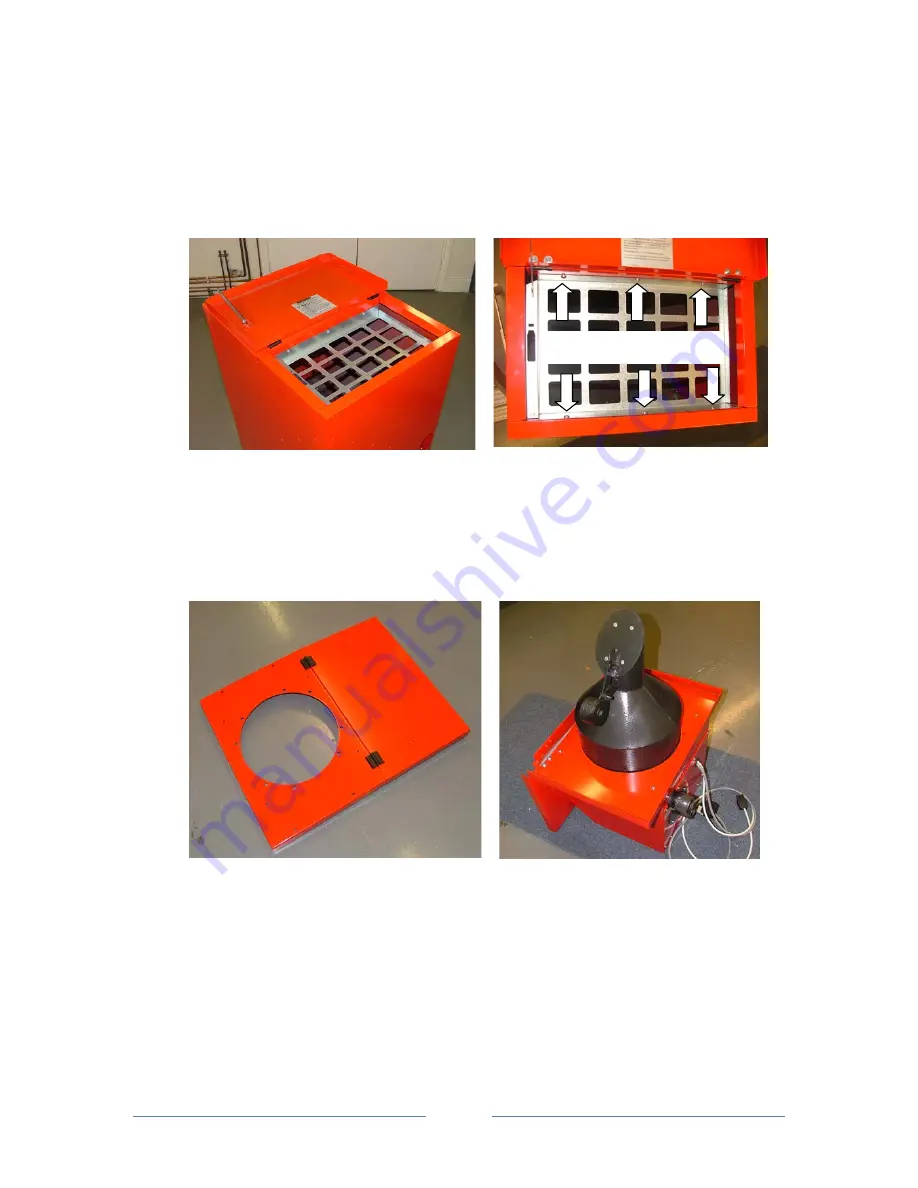
1. Open the hinged door on top of the pellet hopper. Disengage the door stay from the slot (on
left hand side) and lay the door flat on the rear top section.
Refer to Figure 4-9.
2. Unscrew and remove the six screws along the front and back edges of the grill and remove
the grille from the front of the hopper. Refer to Figure 4-10.
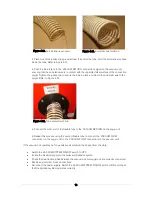
3. Close the door. Unscrew and remove the four screws holding the top rear panel to the hopper.
Remove the complete top panel assembly (including hinged door) from the hopper.
4. Unscrew and remove the four nuts holding the square cover panel in place on the rear top
panel of the hopper. Remove the cover panel from the hopper. Refer to Figure 4-11.
5. Carefully place the vacuum unit, top down, on something to protect the paint finish.
Remove
the four fixing screws from the vacuum unit. Invert the top panel and place it over the cyclone of
the vacuum unit. Position the top panel so that the vacuum unit faces in the required direction –
forwards or to the left or right. Refer to Figure 4-12.
6. Fix the panel to the underside of the vacuum unit using the four screws supplied with the
vacuum unit – screwing through the panel into the threaded inserts in the base of the vacuum
unit.
Figure 4-10. Hopper grille fixings
Figure 4-11. Hopper top panel
Figure 4-12. Panel and vacuum unit
Figure 4-9. Hopper door opened flat
Remove these screws
Summary of Contents for WPVKIT10
Page 12: ...12 Figure 3 6 SpiraVac operation flow diagram ...
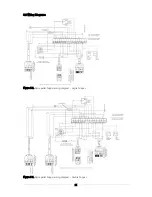
Page 22: ...22 Figure 5 4 Vacuum unit wiring diagram ...
Page 24: ...24 Figure 5 6 Heating system controls S plan type system connection diagram ...
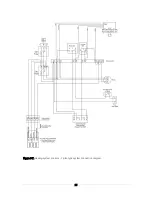
Page 25: ...25 Figure 5 7 Heating system controls Y plan type system connection diagram ...


