3-12
CHAPTER 3. CRAFT ROBO CONTROLLER
CH 2. CONNECTION AND PREPARATION
CH 4. CUTTING DATA SAVED ON SD CARD
CH 2. CONNECTION AND PREPARATION
CH 4. CUTTING DATA SAVED ON SD CARD
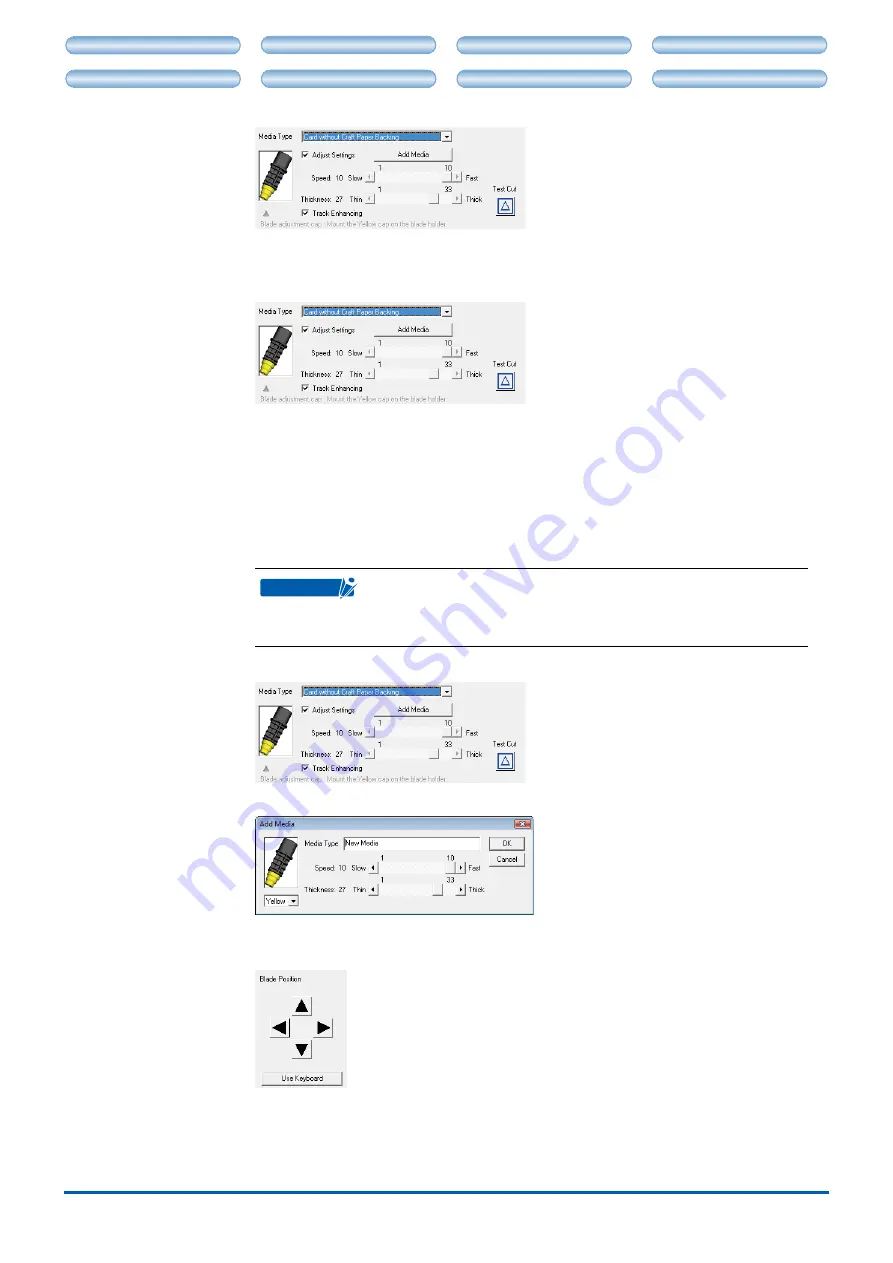
Keep this function on during normal use. If you need to shorten the cutting time, this
function may be turned off provided you have verified that cutting is performed normally.
Test Cut
.........................
Perform test cutting to check the cutting quality.
Use the [Blade Position] buttons to move the blade to the position at which test
cutting is to be performed, and then click the [Test Cut] button. A 1cm x 1 cm test
pattern will be cut. The tool conditions are appropriate when the results of test
cutting indicate that the media is cut cleanly with faint traces of the blade on the
backing material (liner or carrier sheet). If cutting has not been performed correctly,
such as when the backing material itself is cut or uncut areas of film remain,
change the blade adjustment cap to one of a different color. Alternatively, change
the "Media Type" parameter or change the "Thickness" setting.
CHECKPOINT
The quality of the cutting results will vary, depending on the type of
media to be cut and on other factors.
If you plan to cut media that you have never used before, always be
sure to perform test cutting first.
•
•
Add Media
.....................
Click the "Add Media" button to open the "Add Media" window.
A custom media type can be created by entering its settings and name.
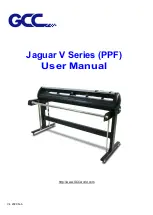
Blade Position
.............. Use these buttons to move the position of the blade or the pen (ballpoint pen)
mounted in the Craft ROBO.
When the left-hand or right-hand buttons are pressed, the blade or the pen
(ballpoint pen) is moved to the left or right. When the up or down buttons are
pressed, the media is moved. Clicking the [Use Keyboard] button allows the arrow
keys on the keyboard to be used in the same way as the [Blade Position] buttons.


