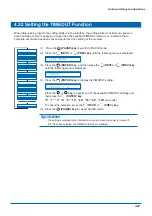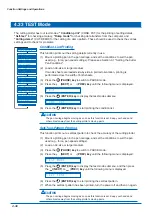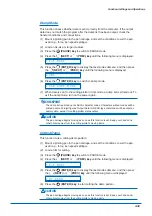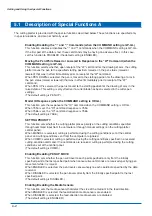
5-4
Setting and Using the Special Functions
5.2
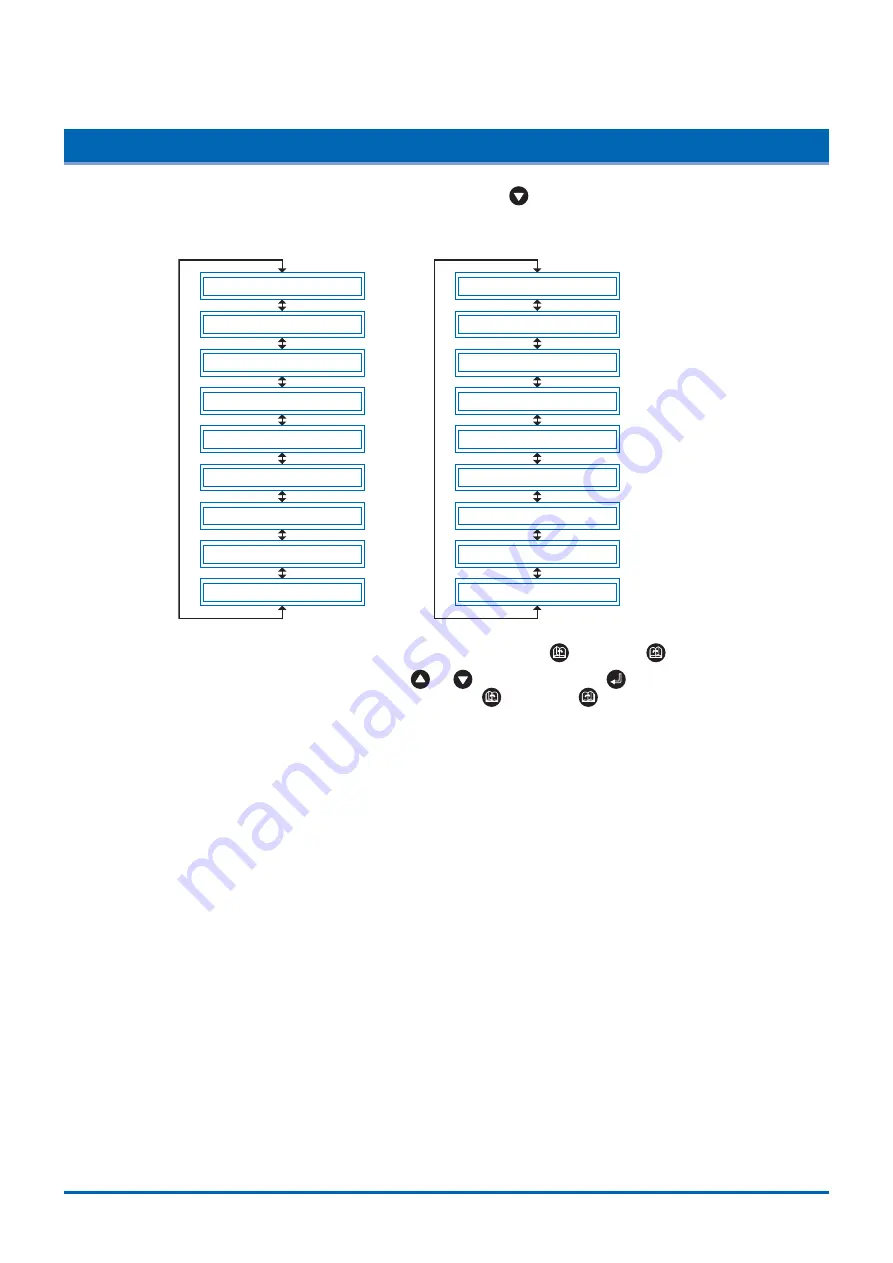
Setting Special Functions A
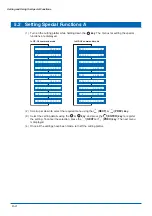
(1) Turn on the cutting plotter while holding down the
key
. The menus for setting the special
functions are displayed.
“ : ” , “ : ” E N A B L E D
“ W ” P E N U P
P R I O R I T Y C O M D
U P M O D E D I S A B L E D
M E D I A E N A B L E D
H O M E E N A B L E D
P A R A L L E L I / F 1
B . W . S . D I S A B L E D
C R O S S C U T F O R C E 2 0
M O D E L 7 5 8 6
P R I O R I T Y C O M D
U P M O D E D I S A B L E D
M E D I A E N A B L E D
H O M E E N A B L E D
P A R A L L E L I / F 1
C I R C L E D E F A U L T
B . W . S . D I S A B L E D
C R O S S C U T F O R C E 2 0
In GP-GL command mode
In HP-GL command mode
(2) Scroll up or down to select the required menu using the
(NEXT)
or
(PREV.) key
.
(3) Select the setting details using the
or
key
, and press the
(ENTER) key
to register
the setting. To cancel the selection, press the
(NEXT)
or
(PREV.) key
. The next menu
is displayed.
(4) Once all the settings have been made, turn off the cutting plotter.

