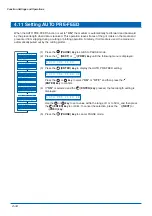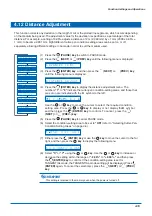
3-10
Basic Settings and Operations
3.7
Test Cutting
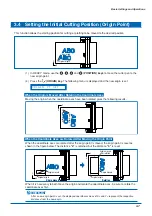
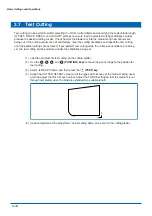
Test cutting can be performed after selecting the TOOL (cutter blade) and specifying the cutter-blade length,
OFFSET, FORCE, SPEED, and QUALITY settings to ensure that the selected cutting conditions actually
produce the desired cutting results. Check how far the blade cuts into the medium and how corners are
being cut; if the cutting results are not satisfactory, reset the cutting conditions and repeat the test cutting
until the optimal settings are achieved. If you perform test cutting while the cutter-pen conditions are being
set, the test cutting will be performed under the conditions being set.
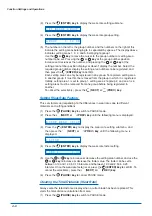
(1) Load the medium for test cutting on the cutting plotter.
(2) Use the
,
,
, and
(POSITION) keys
to move the pen carriage to the position for
test cutting.
(3) Switch to READY mode, and then press the
(TEST) key
.
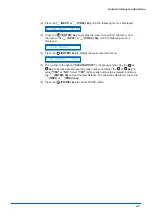
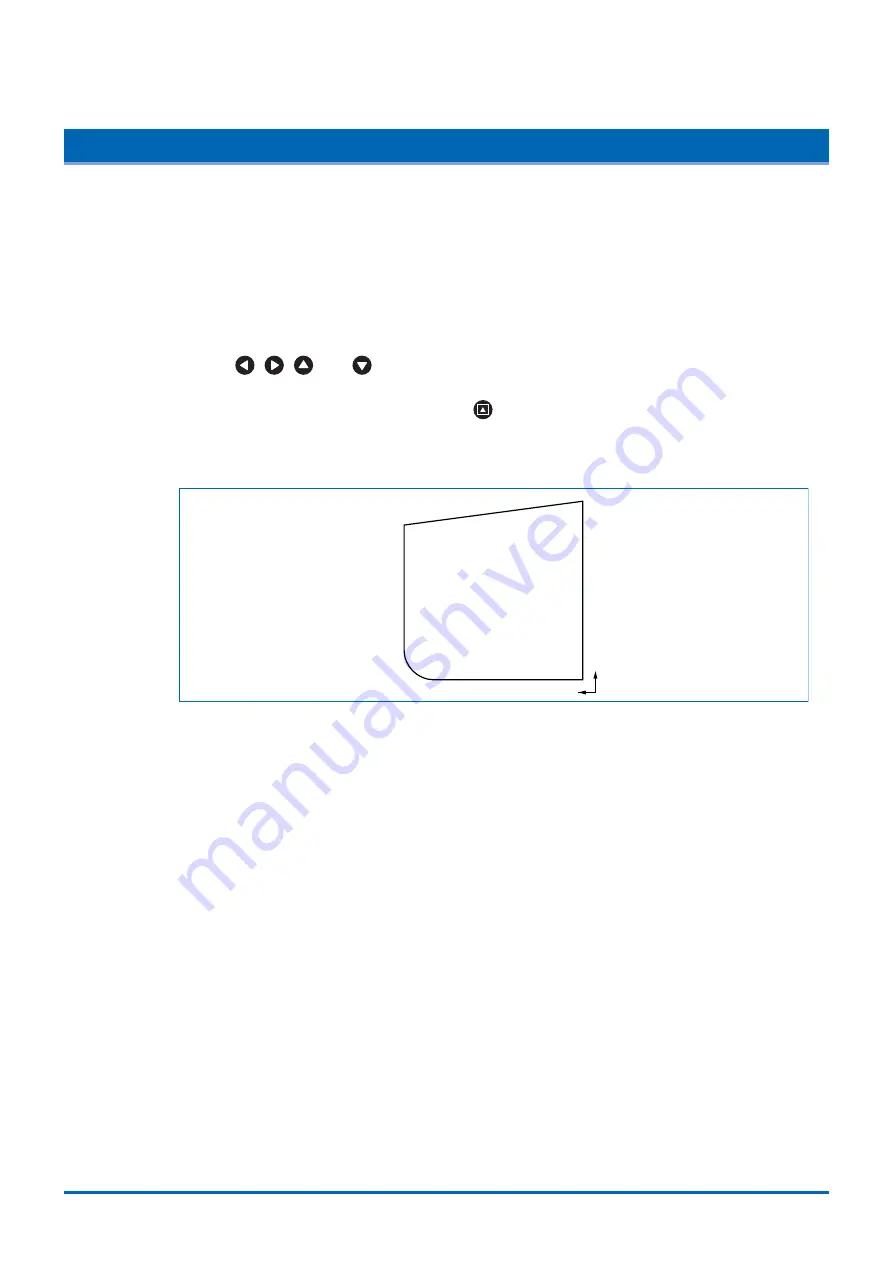
(4) Adjust the CUTTER OFFSET value to suit the type and thickness of the medium being used,
and fine-adjust the finish of each corner. Adjust the FORCE setting so that the medium is cut
through completely when the blade is extended to a suitable length.
X
Y
(5) Upon completion of fine adjustment, actual cutting data can be sent to the cutting plotter.

