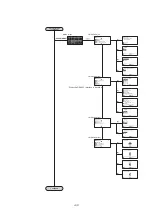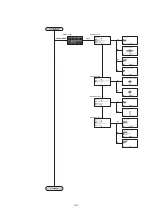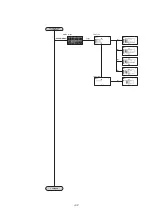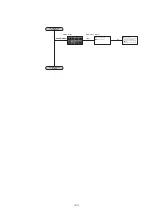
13-22
6
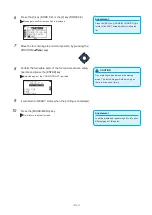
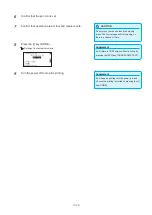
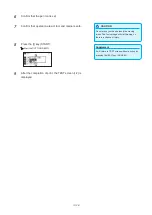
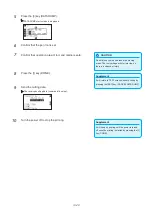
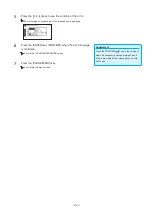
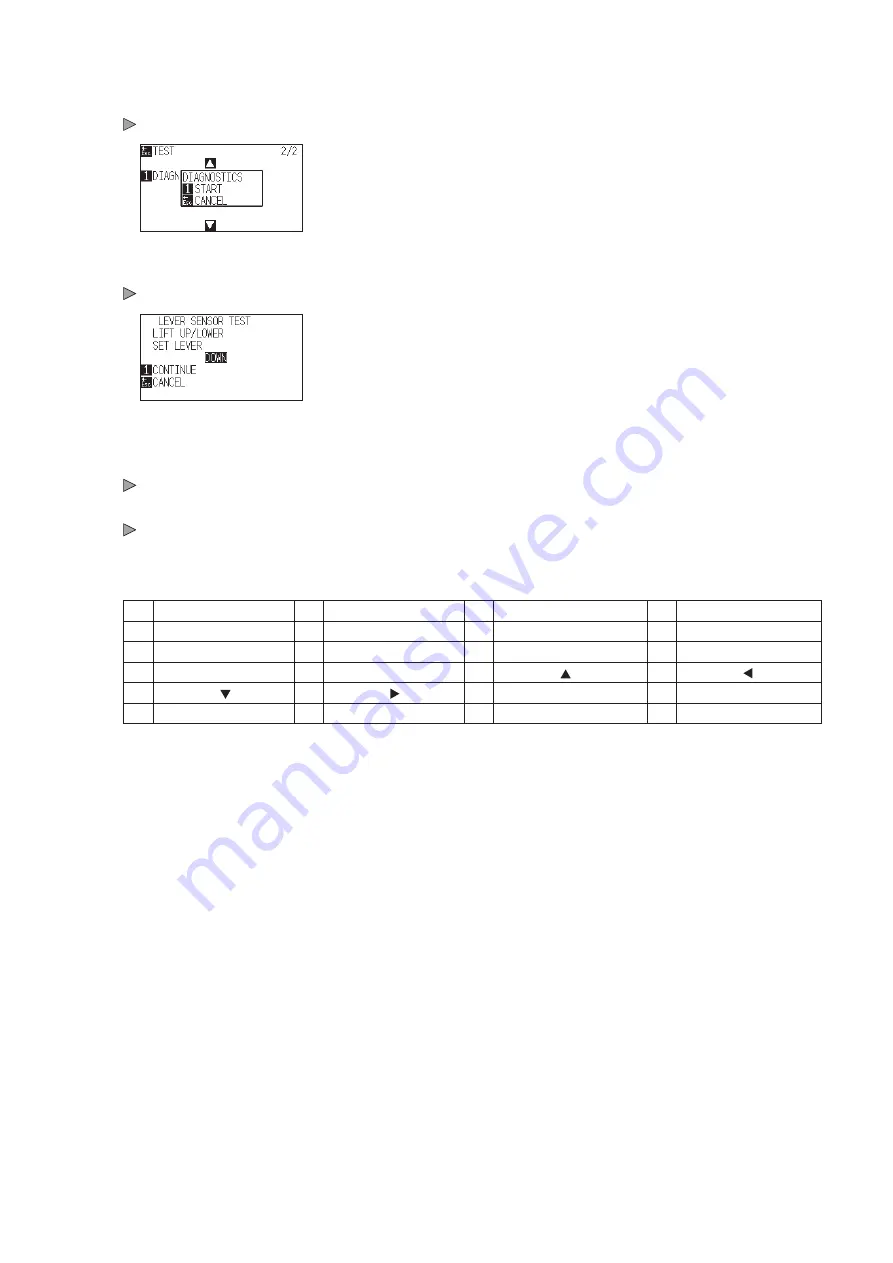
Press the [1] key (DIAGNOSTICS).
DIAGNOSTICS start screen is displayed.
7
Press the [1] key (START).
Messages for testing are displayed on the screen.
8
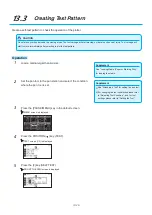
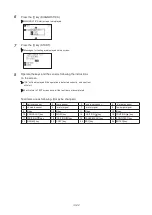
Operate the keys and the sensors following the instructions
on the screen.
"OK" will be displayed if the operation is detected correctly, and next test
will start.
It will return to TEST screen once all the test items are completed.
Test items are as following. (It may be changed.)
1 Set lever sensor
2 Home sensor
3 Push roller sensor
4 -X media sensor
5 +X media sensor
6 X motor signal
7 Y motor signal
8 Tool height signal
9 [1] key
10 [2] key
11 [3] key
12 [4] key
13 [CROSS CUT] key
14 [SLOW] key
15 POSITION [ ] key
16 POSITION [ ] key
17 POSITION [ ] key
18 POSITION [ ] key
19 [PAUSE/MENU] key
20 [COND/TEST] key
21 [ORIGIN] key
22 [COPY] key
23 [ESC] key
24 [ENTER] key
Summary of Contents for CE7000-130AP
Page 1: ...USER S MANUAL MANUAL NO CE70AP UM 151 CE7000 130AP CUTTING PLOTTER...
Page 2: ......
Page 19: ...1 3 Dedicated accessories A stand with a basket is supplied...
Page 84: ......
Page 104: ......
Page 110: ......
Page 128: ......
Page 184: ......
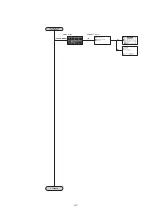
Page 245: ...A 7 PAUSE MENU 2 Continued MENU screen AXIS SETTING 1 1 Default screen Continued 1 2...
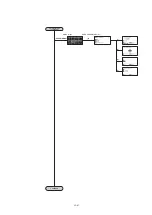
Page 246: ...A 8 3 PAUSE MENU Continued MENU screen AREA PARAMETERS 1 1 Default screen Continued 1 2 3 4...
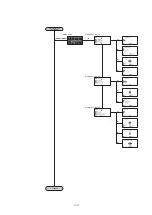
Page 250: ...A 12 PAUSE MENU Continued MENU screen TEST 1 2 TEST 2 2 Default screen Continued 2 3 1 1 4...
Page 251: ...A 13 PAUSE MENU MENU screen MEM SETTING 1 1 1 Default screen Continued Default screen Finish...
Page 254: ......
Page 258: ......
Page 260: ......

