2-29
2.8
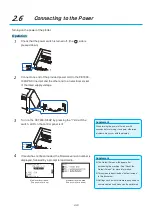
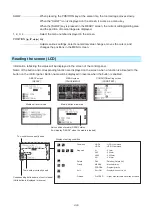
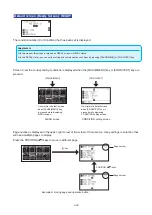
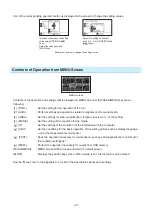
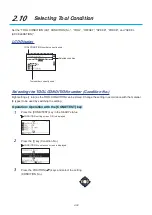
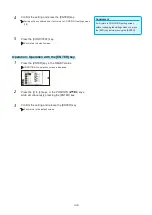
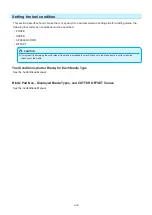
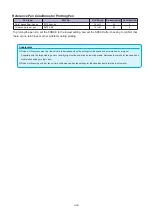
Setting Feeding Method
Feeding method for the loaded media is set.
Operation
CAUTION
For roll media, before selecting the [MEDIA SET
SELECTION], make sure to release the media lock.
Supplement
•
The CONTINUE menu parameter appears
when the media set lever is raised and then
lowered again after media was previously
loaded, making it possible to select the
previous settings.
When pressing the [4] key to select
“CONTINUE”.
When using the same media without changing
the position of the media, the CONTINUE
function enables the continued use of the
plotting area, pen position and origin position
that were specified before the media set lever
was lowered. If the current media is the same
size as the last media that was loaded, the
plotter does not detect the media's edges.
1
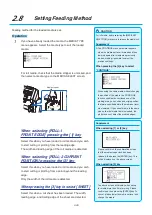
If you have already loaded the media, the MEDIA TYPE
menu appears. Select the media type to suit the loaded
media.
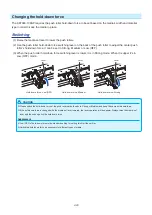
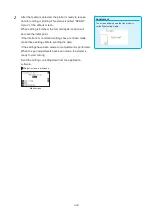
For roll media, check that the media stopper is unlocked, and
then select a media type on the MEDIA SELECT screen.
Media stopper
Supplement
When selecting [1] or [2] key
Please confirm on the confirmation screen
that the media stopper lock has been
released, then press the [ENTER] key. This
will be displayed on the above screen.
When selecting [3] key
The above screen will display when set-up
for media more than 5 meters long. Please
confirm and then press the [ENTER] key To
cancel, please lower the media set level and
change the media.
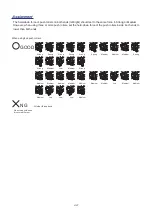
When selecting [ROLL-1
FRONT EDGE] pressing the [1] key
Select this when you have loaded a roll media and you wish
to start cutting or plotting from the leading edge.
The width and leading edge of the roll media are detected.
When selecting [ROLL-2 CURRENT
POSITION] pressing the [2] key
Select this when you have loaded a roll media and you wish
to start cutting or plotting from a point beyond the leading
edge.
Only the width of the roll media is detected.
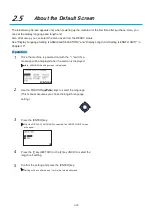
When pressing the [3] key to select [SHEET]
Select this when a cut sheet has been loaded. The width,
leading edge, and trailing edge of the sheet are detected.
Summary of Contents for CE7000-130AP
Page 1: ...USER S MANUAL MANUAL NO CE70AP UM 151 CE7000 130AP CUTTING PLOTTER...
Page 2: ......
Page 19: ...1 3 Dedicated accessories A stand with a basket is supplied...
Page 84: ......
Page 104: ......
Page 110: ......
Page 128: ......
Page 184: ......
Page 245: ...A 7 PAUSE MENU 2 Continued MENU screen AXIS SETTING 1 1 Default screen Continued 1 2...
Page 246: ...A 8 3 PAUSE MENU Continued MENU screen AREA PARAMETERS 1 1 Default screen Continued 1 2 3 4...
Page 250: ...A 12 PAUSE MENU Continued MENU screen TEST 1 2 TEST 2 2 Default screen Continued 2 3 1 1 4...
Page 251: ...A 13 PAUSE MENU MENU screen MEM SETTING 1 1 1 Default screen Continued Default screen Finish...
Page 254: ......
Page 258: ......
Page 260: ......

