4-16
4.3
Panel Cutting
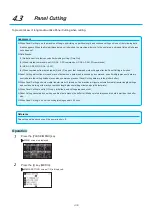
To prevent skew of long media, utilize Panel Cutting when cutting.
Supplement
•
When Panel Cutting is on, the machine will begin by dividing up partition length and continue cutting until one of the following data
breaks appears. When the first partitioned area cut is finished, the machine will move to the next area, and repeat this until all areas
have been cut.
•
Data Breaks:
(1) No data sent for a few second after finishing cutting. (Time Out)
(2) A feed-related command is set. (GP-GL: F, FS commands, HP-GL: AF, AH, PG commands)
(3) HP-GL: SP0, NR, GP-GL: J0, SO.
(4) When commands from data breaks (2) and (3) appear, that command work will begin after the Panel Cutting is finished.
•
Panel Cutting will continue for each piece of data when a data break is caused by a command, even if multiple pieces of data are
sent in before the cutting finishes (even when numerous pieces of Panel Cutting data are in the plotter buffer).
•
When Panel Cutting and auto media transfer are both turned on, the machine will ignore automatic media transfer length settings
and continue working with priority of partition length plus something minutes ago (with footprints).
•
When Panel Cutting is set to ON, copy, initial feed, and cutting area cannot set.
•
Panel Cutting cannot be done when one file of data makes the buffer full. Make sure to always send in data lower than the buffer
size.
•
When Panel Cutting is on, set the cutting/plotting speed to 30 cm/s.
Reference
This setting will be saved even if the power is shut off.
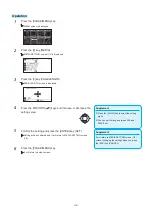
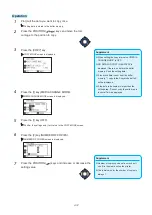
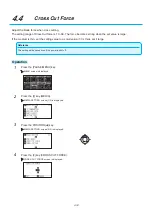
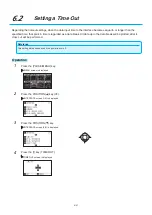
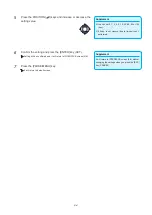
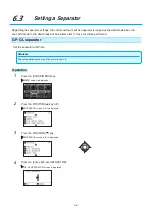
Operation
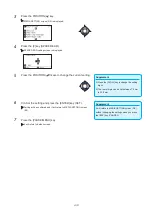
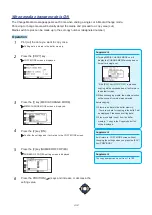
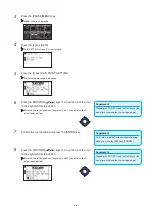
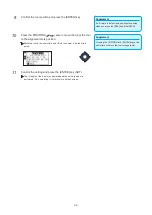
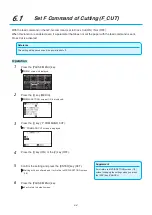
1
Press the [PAUSE/MENU] key.
MENU screen is displayed.
2
Press the [4] key (MEDIA).
MEDIA SETTING screen (1/3) is displayed.
Summary of Contents for CE7000-130AP
Page 1: ...USER S MANUAL MANUAL NO CE70AP UM 151 CE7000 130AP CUTTING PLOTTER...
Page 2: ......
Page 19: ...1 3 Dedicated accessories A stand with a basket is supplied...
Page 84: ......
Page 104: ......
Page 110: ......
Page 128: ......
Page 184: ......
Page 245: ...A 7 PAUSE MENU 2 Continued MENU screen AXIS SETTING 1 1 Default screen Continued 1 2...
Page 246: ...A 8 3 PAUSE MENU Continued MENU screen AREA PARAMETERS 1 1 Default screen Continued 1 2 3 4...
Page 250: ...A 12 PAUSE MENU Continued MENU screen TEST 1 2 TEST 2 2 Default screen Continued 2 3 1 1 4...
Page 251: ...A 13 PAUSE MENU MENU screen MEM SETTING 1 1 1 Default screen Continued Default screen Finish...
Page 254: ......
Page 258: ......
Page 260: ......

