2-44
2.11
Running Cutting Tests
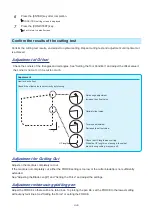
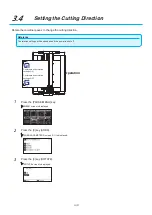
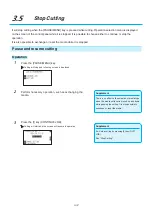
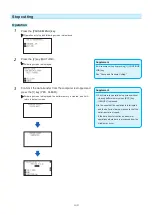
Test cutting can be performed after making the tool, speed, force, and acceleration settings to ensure that the
selected cutting conditions actually produce the desired cutting results. Check how far the blade cuts into the
media and how the corners are being cut. If the cutting results are not satisfactory, adjust the various settings and
repeat the test cutting until the optimal settings are achieved.
Cutting test
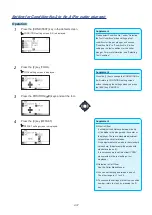
Here, you can either cut one test pattern based on the current values, or do three tests with ±1 values added.
Operation
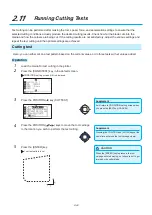
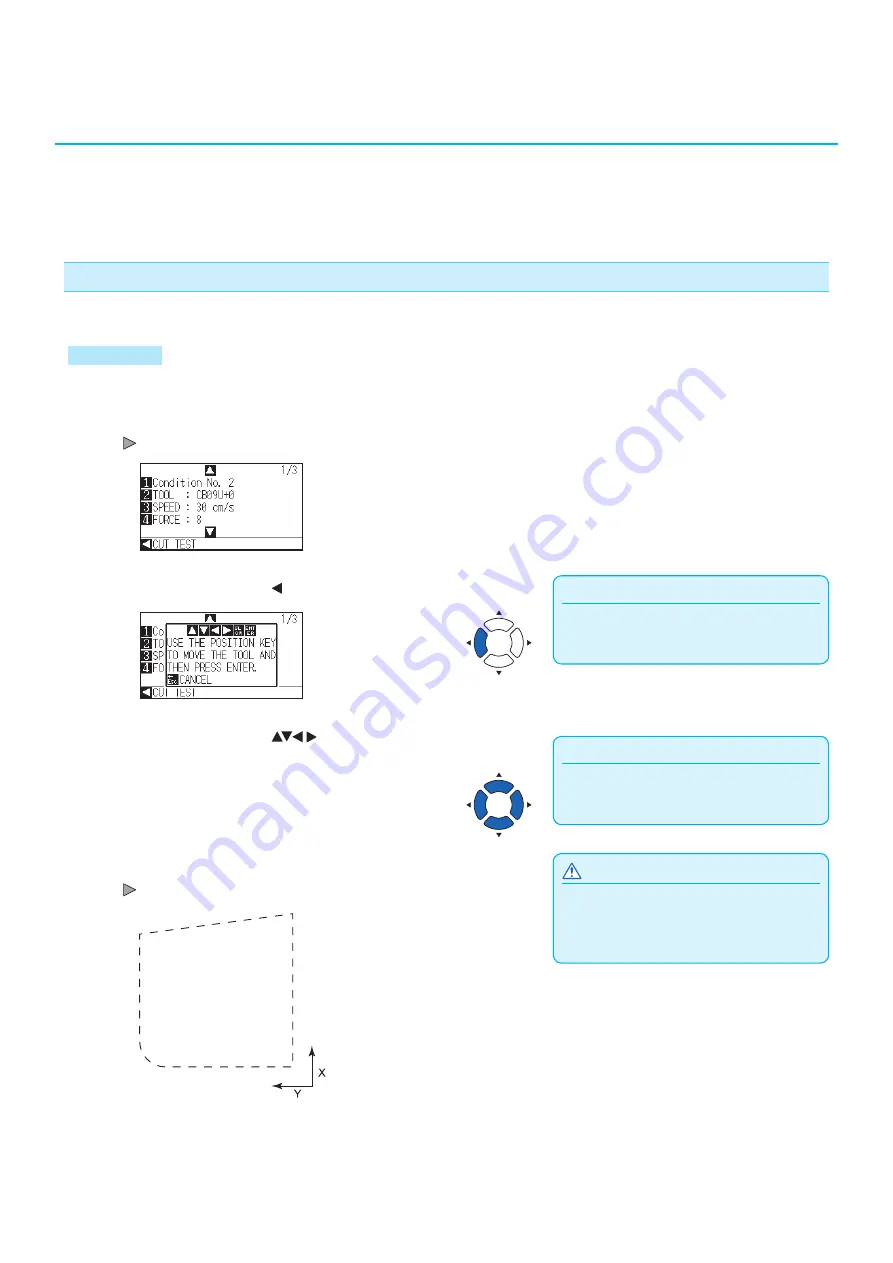
1
Load the media for test cutting in the plotter.
2
Press the [COND/TEST] key in the default screen.
CONDITION setting screen (1/3) is displayed.
Supplement
It will return to CONDITION setting screen when
you press the [ESC] key (CANCEL).
3
Press the POSITION ( ) key (CUT TEST).
Supplement
Pressing the POSITION and [SLOW] keys at the
same time will move the tool carriage slower.
4
Press the POSITION (
) keys to move the tool carriage
to the location you wish to perform the test cutting.
CAUTION
When the [ENTER] key is pressed, the tool
carriage will start moving, so take care not to get
injured by the cutter blade.
5
Press the [ENTER] key.
1 cut test pattern is cut.
Summary of Contents for CE7000-130AP
Page 1: ...USER S MANUAL MANUAL NO CE70AP UM 151 CE7000 130AP CUTTING PLOTTER...
Page 2: ......
Page 19: ...1 3 Dedicated accessories A stand with a basket is supplied...
Page 84: ......
Page 104: ......
Page 110: ......
Page 128: ......
Page 184: ......
Page 245: ...A 7 PAUSE MENU 2 Continued MENU screen AXIS SETTING 1 1 Default screen Continued 1 2...
Page 246: ...A 8 3 PAUSE MENU Continued MENU screen AREA PARAMETERS 1 1 Default screen Continued 1 2 3 4...
Page 250: ...A 12 PAUSE MENU Continued MENU screen TEST 1 2 TEST 2 2 Default screen Continued 2 3 1 1 4...
Page 251: ...A 13 PAUSE MENU MENU screen MEM SETTING 1 1 1 Default screen Continued Default screen Finish...
Page 254: ......
Page 258: ......
Page 260: ......

