6-6
Supplement
If the MARK SCAN MODE screen does not
appear, press the [2] key (ARMS) in the MENU
screen.
12
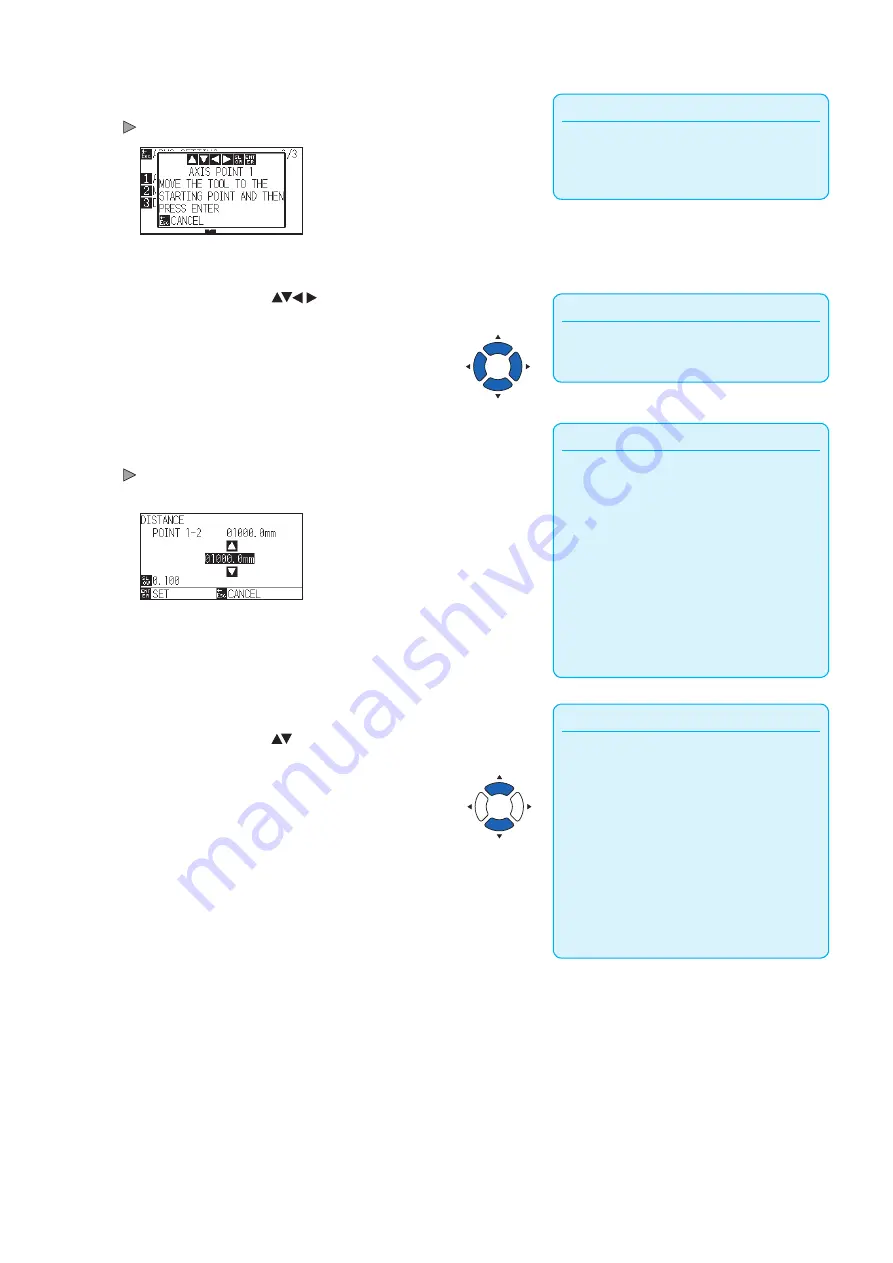
Press the [3] key (DURING DETECTION).
The following message is displayed.
Supplement
Pressing the POSITION and [SLOW] keys at the
same time will move the tool carriage slower.
13
Press the POSITION (
) key to move it to the
adjustment mark position.
Supplement
•
Repeat steps 13 to 14 when the message
prompting to move to the next registration
mark is displayed.
•
Number of times to repeat steps 13 to 14 differs
depending on the specified number of the
registration mark positions. Follow the message
that is displayed.
•
It will return to default screen without scanning
the settings when you press the [ESC] key
(CANCEL).
14
Confirm the position of the tool, and if it is OK, press the
[ENTER] key (SET).
Once all the adjustment marks are specified, DISTANCE screen is
displayed.
Supplement
•
Measured distance is displayed in the top
line in the DISTANCE input screen. Input
value (initially same as measured value) is
displayed under that.
•
If the input value is not changed, it will
assume that there is no difference between
measured distance and the distance in the
data.
•
Press the [SLOW] key to select the setting
digits.
15
Press the POSITION ( ) keys to set the original distance on
the data.
Summary of Contents for CE7000 Series
Page 1: ...CE7000 SERIES CUTTING PLOTTER USER S MANUAL MANUAL NO CE7000 UM 151 ...
Page 2: ......
Page 18: ......
Page 104: ......
Page 118: ......
Page 168: ......
Page 220: ......
Page 232: ......
Page 254: ......
Page 290: ......
Page 328: ......
Page 343: ...A 15 PAUSE MENU Continued MENU screen TEST 1 2 TEST 2 2 Default screen Continued 2 3 1 1 4 ...
Page 348: ......
Page 352: ......
Page 354: ......


