13-15
13.2
Basic operation of bar code
This section describes how to print and cut with the data link function of cutting plotter after creating standard bar
code in dedicated application.
The procedure to read the data linked to the bar code from the USB memory is explained.
Because the procedure differs for each application, refer to the following depending on the application to be used.
•
Graphtec Pro Studio / Cutting Master 4
Step 1: Create registration mark (alignment mark) data and design data for printing and cutting.
Step 2: Add bar code data.
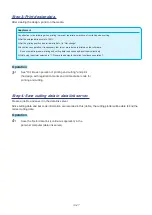
Step 3: Print design data.
Step 4: Save cutting data in USB memory.
Step 5: Cut the printed media.
Supplement
•
Graphtec Studio does not have a bar code function.
Graphtec Pro Studio / Cutting Master 4
Step 1:
Create registration mark (alignment mark) data and design data for printing and cutting.
See "13.1 Basic operation of printing and cutting" to create design with registration marks for printing and cutting.
Step 2: Add bar code data.
For the data link, it is necessary to add bar code data in order to link the printed print data for printing and cutting
with the cutting data saved in the USB memory.
Operation
2-
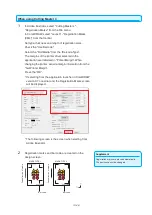
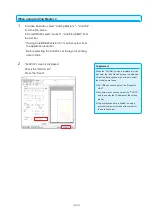
1 Create a bar code to use the data link function.
Summary of Contents for CE7000 Series
Page 1: ...CE7000 SERIES CUTTING PLOTTER USER S MANUAL MANUAL NO CE7000 UM 151 ...
Page 2: ......
Page 18: ......
Page 104: ......
Page 118: ......
Page 168: ......
Page 220: ......
Page 232: ......
Page 254: ......
Page 290: ......
Page 328: ......
Page 343: ...A 15 PAUSE MENU Continued MENU screen TEST 1 2 TEST 2 2 Default screen Continued 2 3 1 1 4 ...
Page 348: ......
Page 352: ......
Page 354: ......


