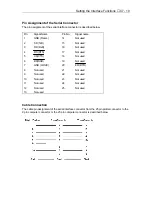
Setting the Interface Functions
♦
C7 - 4
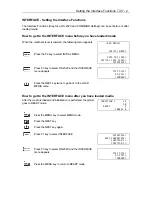
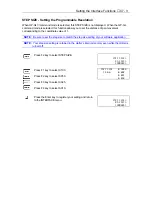
STEP SIZE>
RS-232C>
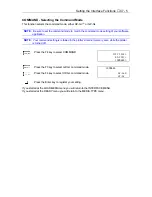
COMMAND>
RS-232C
\
1>
CONDITION NO. 2>
3>
RS-1 9600 BAUD
8 BIT
NONE PARITY
HARDWIRE
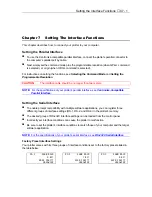
RS-232C – Setting the Data Transmitting Conditions
This function selects and sets the data transmitting condition of the serial interface. Three preset
conditions are available for easy access.
NOTE:
Be sure to set the transmitting conditions to match the setting of your software
applications
NOTE:
Your RS-232C setting is retained in the plotter’s internal memory while the plotter is
turned off.
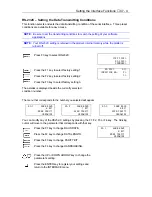
Press F3 key to select RS-232C.
Press the F1 key to select factory setting 1.
Press the F2 key to select factory setting 2.
Press the F3 key to select factory setting 3.
The asterisk is displayed beside the currently selected
condition number.
The menu that corresponds to the number you selected will appear
RS-1 9600 BAUD
RS-2 9600 BAUD
RS-3 9600 BAUD
8 BIT
7 BIT
8 BIT
NONE PARITY
EVEN PARITY
EVEN PARITY
HARDWIRE
HARDWIRE
HARDWIRE
You can modify any of the RS232-C settings by pressing the F1, F2, F3 or F4 key. The blinking
cursor will move to the parameter that corresponds with that key.
Press the F1 key to change BAUD RATE.
Press the F2 key to change DATA LENGTH.
Press the F3 key to change PARITY BIT.
Press the F4 key to change HANDSHAKING.
Press the UP or DOWN ARROW key to change the
parameter’s setting.
Press the ENTER key to register your settings and
return to the INTERFACE menu.
Summary of Contents for Cutting Pro FC4100-100
Page 1: ...cutting pro FC4100 series series USER S MANUAL 1 a...
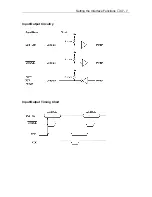
Page 138: ...Setting the Interface Functions C7 7 Input Output Circuitry Input Output Timing Chart...
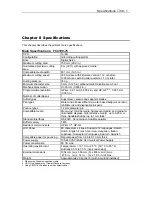
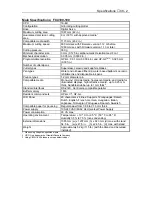
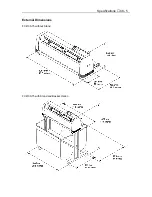
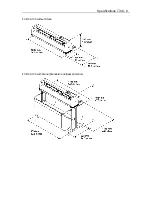
Page 147: ...Specifications C8 6 FC4100 100 without Stand FC4100 100 with Stand Standard and Basket Option...
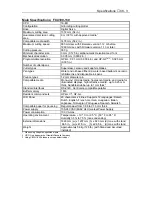
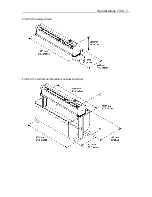
Page 148: ...Specifications C8 7 FC4100 130 without Stand FC4100 130 with Stand Standard and Basket Option...

