Advanced Functions and Settings
♦
C4 - 13
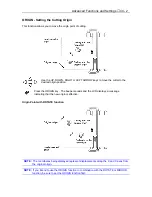
ORIGIN>
AREA>
EXPAND>
PAGE LENGTH>
INTERFACE>
AREA PARAMETERS>
FUNCTION 1>
FUNCTION 2>
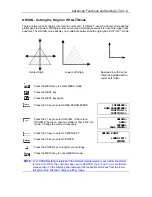
EXPAND - Expanding the Cut Area
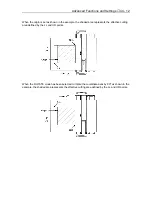
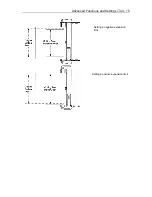
EXPAND mode allows you to widen and narrow the cut area. The cut area is automatically
determined by the position of the pinch rollers when the plotter is initialized.
Select EXPAND when cutting a pattern that is almost as wide as the media and you do not mind
having the footprints of the grit rollers on the edges of the pattern. However, this function can be
used to protect the cut pattern from the footprints by narrowing the cut area.
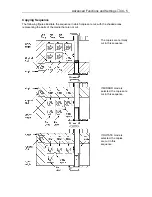
When the parameter of the EXPAND mode is set to zero (default), the limit of cut area is set at
1mm from the inside edge of the pinch roller tracks. The parameter of the EXPAND mode is
ranges from -10 to +10 mm. This parameter represents the allow change of the limit position on
each side of the cutting area.
A positive setting indicates the limit of both sides move toward the outside of the cutting area and
a negative setting indicates the limit of both sides move toward the inside of the cutting area.
For example, setting at +5 gives 10mm wider cutting area than the size of the default cutting area
where a setting at -5 gives a 10mm narrower cutting area than the default size.
CAUTION: In the case of setting the positive figure for the parameter, be sure to load the
media on to the plotter accurately so that the media does not skew during cutting.
The cutter blade may damage the cutting mat if the media skews.
CAUTION: In the case of s8 mm or more, be sure to set the Initial Blade Control
Position as “2mm below”. The cutter blade will damage the cutting mat if it is set
“OUTSIDE”. See
Initial Blade Control Position
in the
Background Setting
.
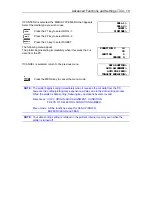
NOTE:
This function should be set before the cutting/plotting job is started since changing the
setting of this mode causes the plotter’s initialization which in turn clears all the data in
the buffer.
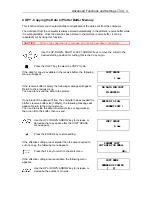
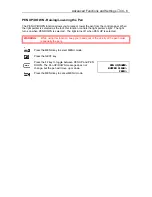
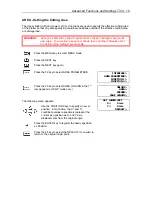
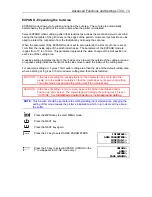
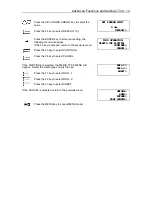
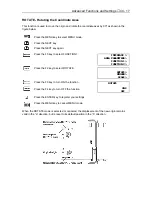
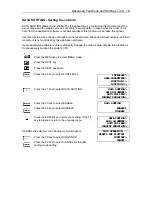
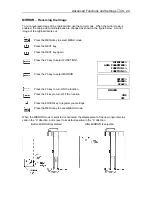
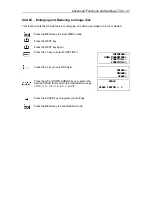
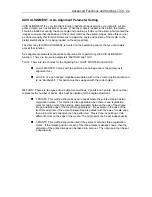
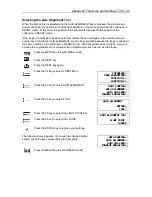
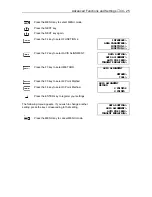
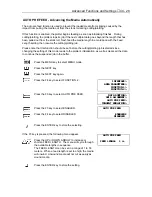
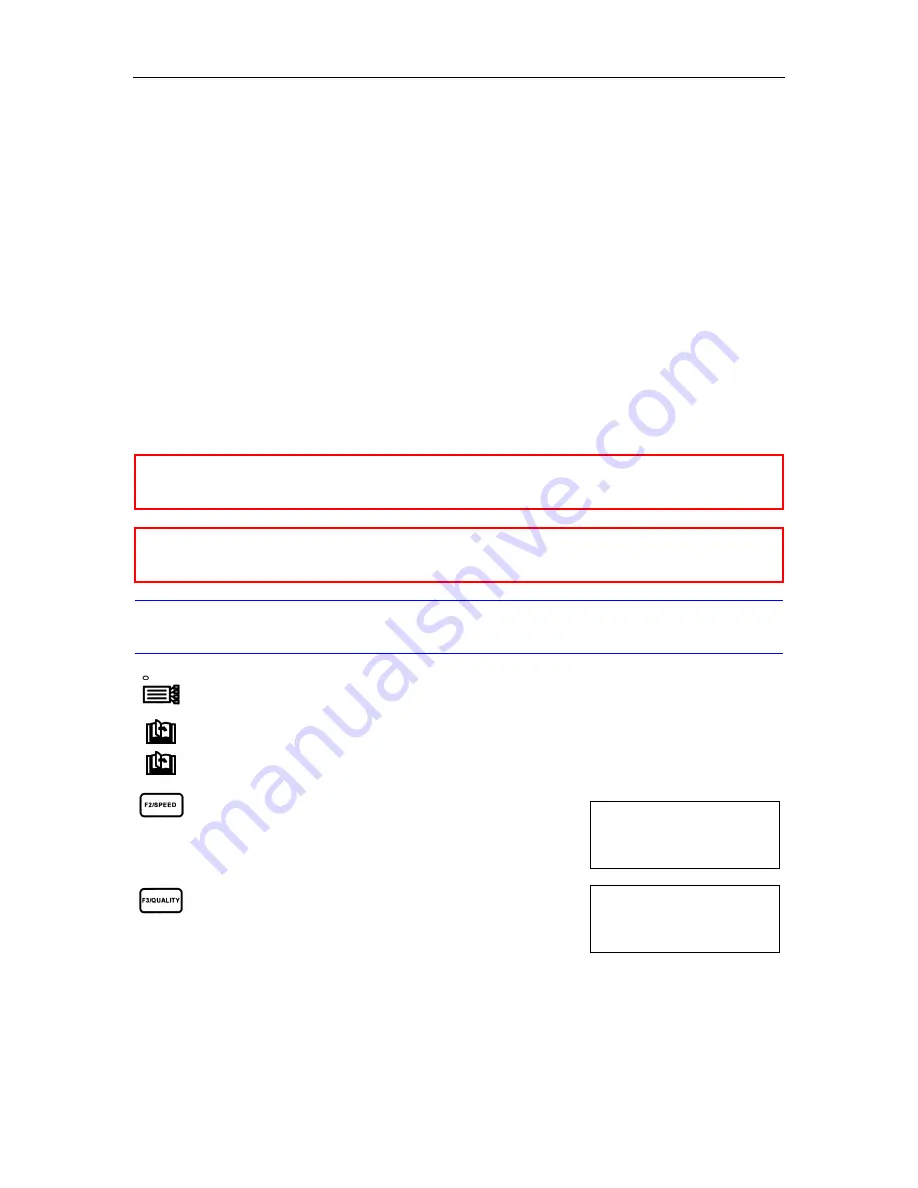
Press the MENU key to select MENU mode.
Press the NEXT key.
Press the NEXT key again.
Press the F2 key to select AREA PARAMETERS.
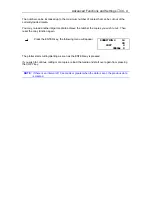
Press the F3 key to select EXPAND. (ORIGIN in the
1
st
row appears in HP-GP mode only.)
Summary of Contents for Cutting Pro FC4100-100
Page 1: ...cutting pro FC4100 series series USER S MANUAL 1 a...
Page 138: ...Setting the Interface Functions C7 7 Input Output Circuitry Input Output Timing Chart...
Page 147: ...Specifications C8 6 FC4100 100 without Stand FC4100 100 with Stand Standard and Basket Option...
Page 148: ...Specifications C8 7 FC4100 130 without Stand FC4100 130 with Stand Standard and Basket Option...

