Advanced Functions and Settings
♦
C4 - 23
INTERFACE>
AREA PARAMETERS>
FUNCTION 1>
FUNCTION 2>
DATA SORTING>
AXIS ALIGNMENT>
AUTO PRE FEED>
TANGENT EMULATION>
DATA SORTING>
AXIS ALIGNMENT>
AUTO PRE FEED>
TANGENT EMULATION>
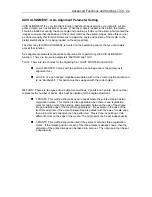
AXIS ALIGNMENT TOOL
LIGHT POINT
LOUPE
\
\
AXIS ALIGNMENT
METHOD>
TOOL>
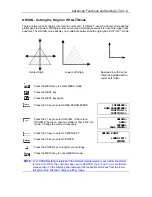
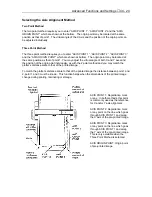
Selecting the Axis Alignment Tool
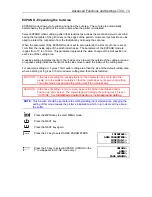
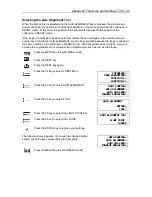
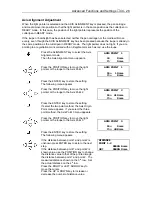
When the light pointer is selected and the AXIS ALIGNMENT key is pressed, the pen carriage
and media move into position so that the light pointer is in the same position as the cutter/pen in
READY mode. In this case, the position of the light pointer represents the position of the
cutter/pen in READY mode.
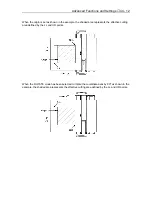
If the loupe or bombsight has been selected, neither the pen carriage nor the media will move
evenly, even though the AXIS ALIGNMENT key has been pressed because the loupe is already in
the same position as the cutter/pen in READY mode. The light pointer does not light. If you are
pointing to a registration mark colored with an illegible color such as red, use the loupe.
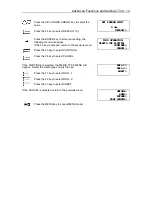
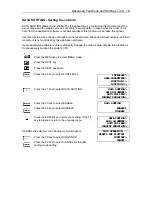
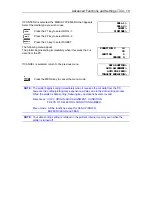
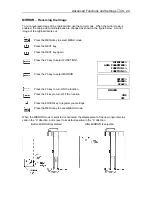
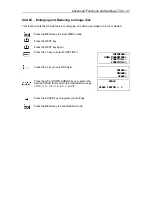
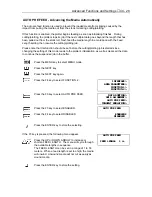
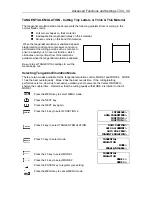
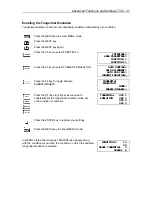
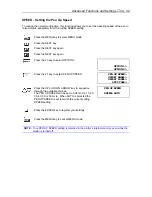
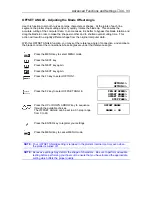
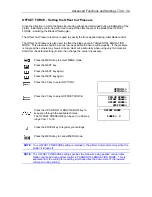
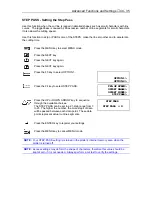
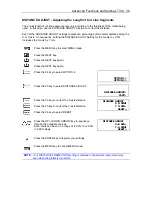
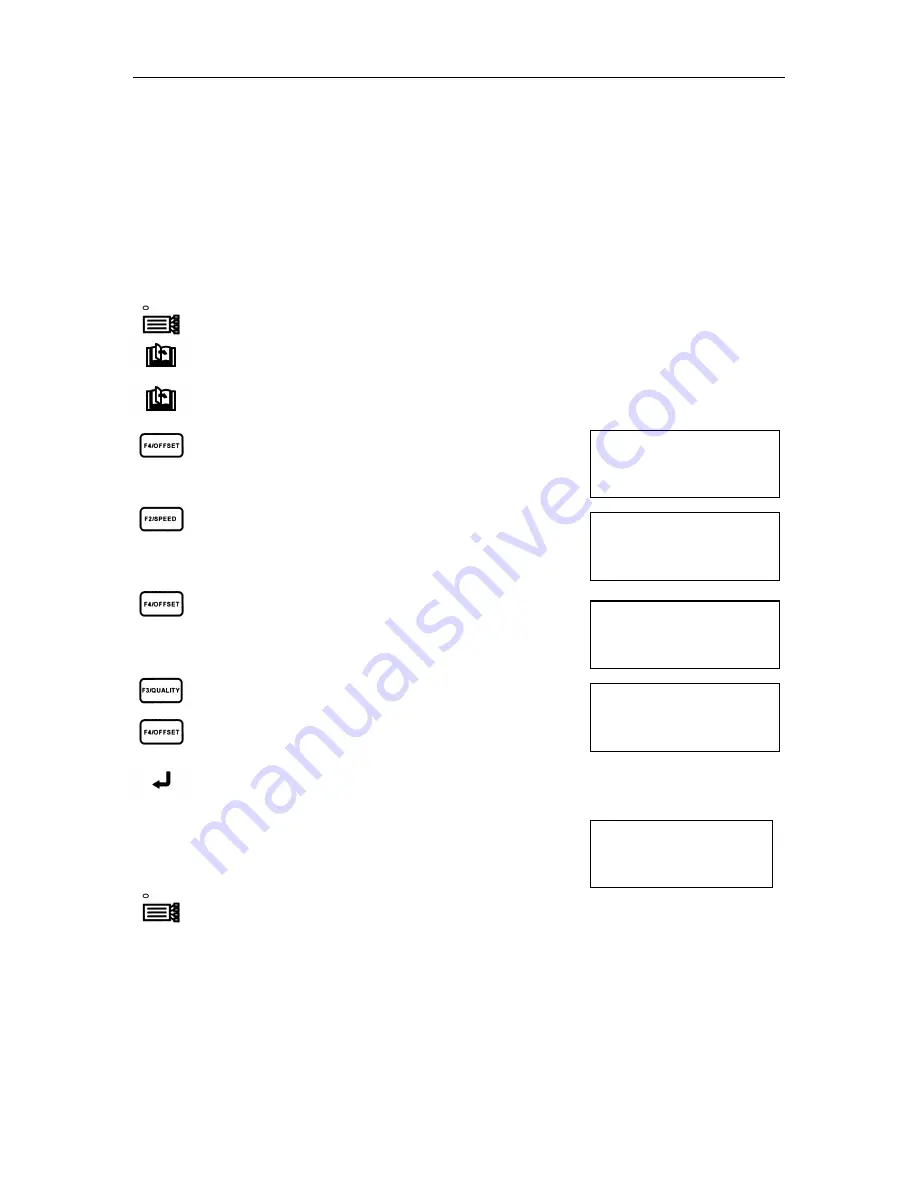
Press the MENU key to select MENU mode.
Press the NEXT key.
Press the NEXT key again.
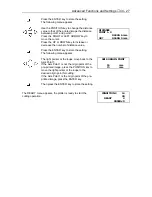
Press the F4 key to select FUNCTION 2.
Press the F2 key to select AXIS ALIGNMENT.
Press the F4 key to select TOOL.
Press the F3 key to select the LIGHT POINTER.
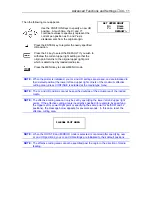
Press the F4 key to select the LOUPE.
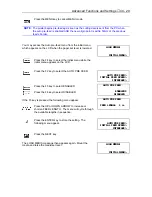
Press the ENTER key to register your settings.
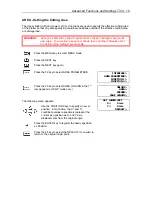
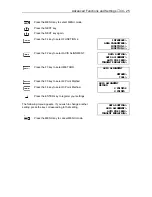
The following menu appears. If you wish to change another
setting, press the key corresponding to that setting.
Press the MENU key to cancel MENU mode.
Summary of Contents for Cutting Pro FC4100-100
Page 1: ...cutting pro FC4100 series series USER S MANUAL 1 a...
Page 138: ...Setting the Interface Functions C7 7 Input Output Circuitry Input Output Timing Chart...
Page 147: ...Specifications C8 6 FC4100 100 without Stand FC4100 100 with Stand Standard and Basket Option...
Page 148: ...Specifications C8 7 FC4100 130 without Stand FC4100 130 with Stand Standard and Basket Option...

