FC2240-UM-251-9370
7-23
7. DISASSEMBLY AND ADJUSTMENT
7.13 Replacing the Electrostatic Adhesion Plate
(This operation requires three persons.)
7.13.1 Peeling Off the Electrostatic Adhesion Plate
(1) Turn off the power and remove the high-voltage power supply cable connectors (P34 and J34) at the
rear of the writing panel.
(2) Remove the Y bar. (See section 7.3, “Adjusting the Y slider”.)
(3) Cut into the electrostatic adhesion plate at intervals (50-100 mm) that will make it easy to peel off
the electrostatic adhesion plate. If this scratches the aluminum plate underneath, polish away the
unevenness with #1500 sandpaper.
(4) Peel off the electrostatic adhesion plate, using force if necessary. Using pliers or the like makes it easy.
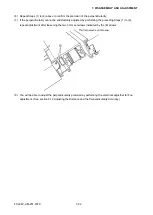
(5) Remove any remaining double-sided tape and glue. Sprinkle on ECT-1 toner cleaning fluid (available
from Graphtec) and leave for 1 or 2 minutes. Scrape off with some sort of scraper (e.g. spatula).
(6) When everything has been removed from the aluminum plate, wipe it off with ethyl alcohol.
7.13.2 Preliminary Preparations for Pasting On New Plate
(1) Wipe off the front and rear surfaces of the electrostatic adhesion plate with ethyl alcohol to remove any
dirt and dust.
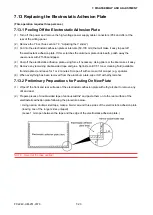
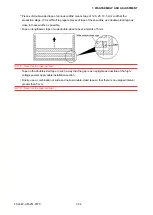
(2) Prepare pieces of double-sided tape of various widths* and paste them on to the rear surface of the
electrostatic adhesion plate following the procedure below.
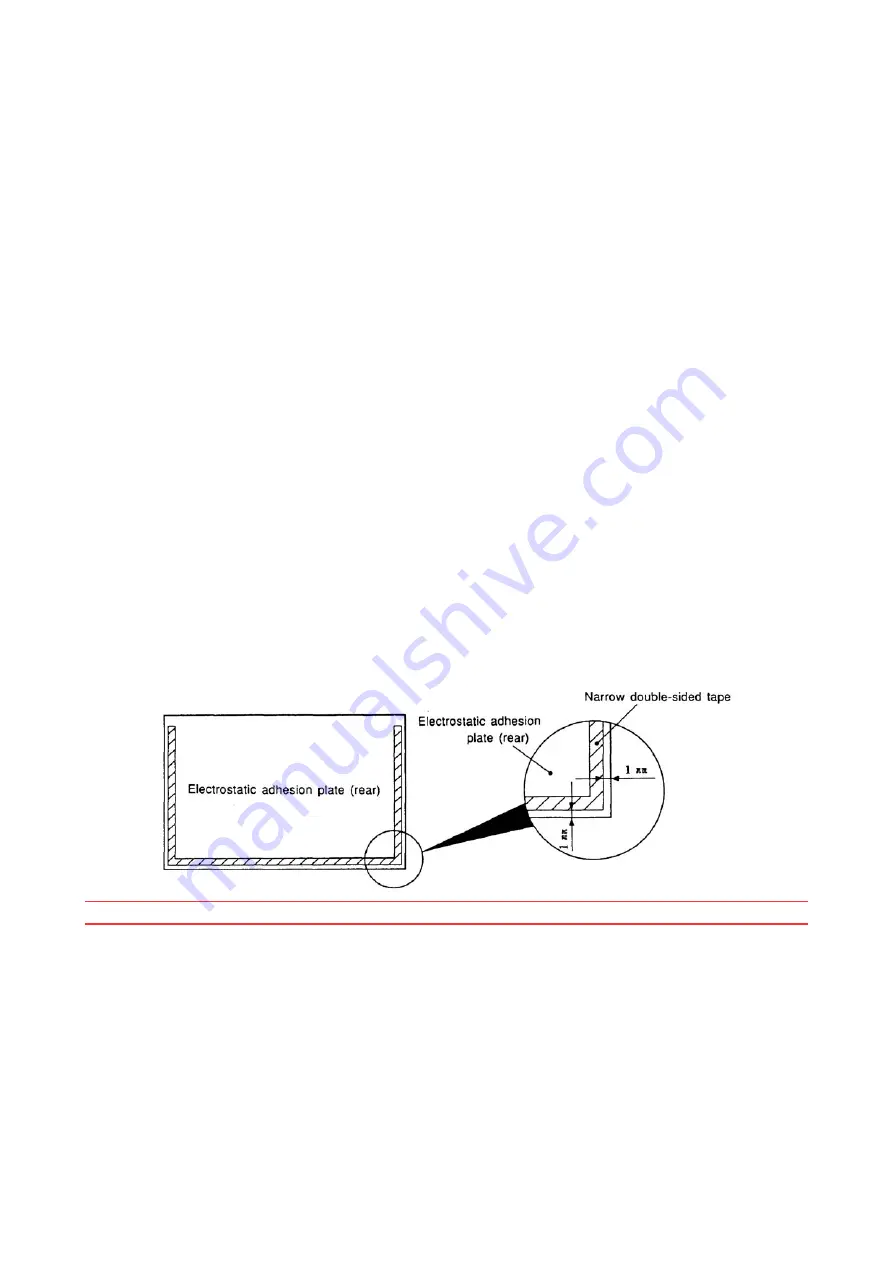
• Using narrow double-sided tape, make a border around three sides of the electrostatic adhesion plate
(leaving one of the longer sides untaped).
(Leave 1 mm open between the tape and the edge of the electrostatic adhesion plate.)
NOTE: Never let the tape overlap!
Summary of Contents for FC2240
Page 1: ...CUTTING MACHINE SERVICE MANUAL FC2240 FC2240 UM 251 04 9370...
Page 2: ......
Page 8: ...FC2240 UM 251 9370 vi...
Page 38: ...FC2240 UM 251 9730 3 15 3 OPERATIONS Sample printout by the CONDITION function...
Page 42: ...FC2240 UM 251 9730 4 2 4 DAILY MAINTENANCE AND STORAGE...
Page 70: ...FC2240 UM 251 9370 7 26 7 DISASSEMBLY AND ADJUSTMENT...

