FC2240-UM-251-9370
8-15
8. ELECTRICAL ADJUSTMENTS
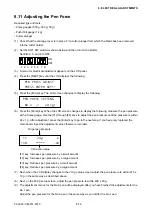
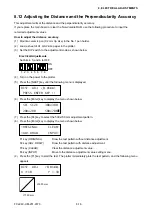
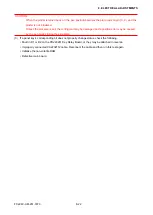
(10) Proceed to the adjustments for the 24 g to the 1000 g.
(11) When the adjustments have been completed for the No.2 pen, the LCD display returns to the 24 g
screen for the No.1 pen. At this screen, either press the [NEXT] key to proceed to the next adjustment,
or turn off the plotter to exit the adjustment menu and then return the DIP switch to its normal settings.
NOTE: After you have changed the numeric value on the LCD, press the F3 key (PEN U/D) to raise and
lower the cutter before measuring the pen force again.
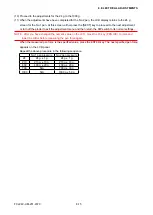
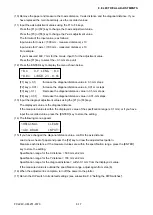
When the measured pen force is the specified value, press the ENTER key. The next specified pen force
appears on the LCD panel.
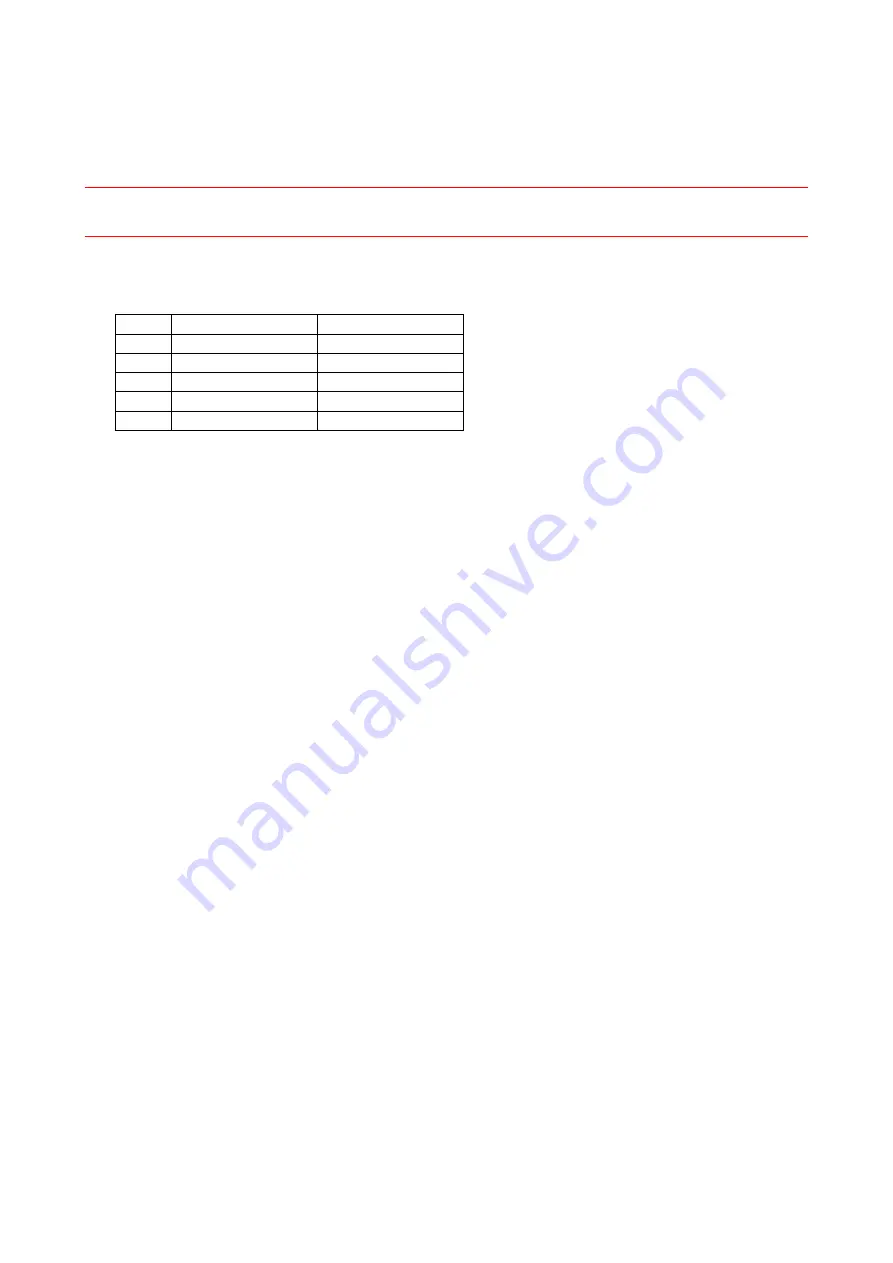
Repeat the above procedure in the following sequence.
No.1 pen pressure
No.2 pen pressure
24
24 g ± 1 g
24 g ± 1 g
210
210 g ± 10 g
210 g ± 10 g
400
400 g ± 20 g
400 g ± 20 g
700
N/A
700 g ± 30 g
1000
N/A
1000 g ± 50 g
Summary of Contents for FC2240
Page 1: ...CUTTING MACHINE SERVICE MANUAL FC2240 FC2240 UM 251 04 9370...
Page 2: ......
Page 8: ...FC2240 UM 251 9370 vi...
Page 38: ...FC2240 UM 251 9730 3 15 3 OPERATIONS Sample printout by the CONDITION function...
Page 42: ...FC2240 UM 251 9730 4 2 4 DAILY MAINTENANCE AND STORAGE...
Page 70: ...FC2240 UM 251 9370 7 26 7 DISASSEMBLY AND ADJUSTMENT...

